January 2019 – Daniel Pietzsch’s Photo Journal
photojournal.danielpietzsch.com
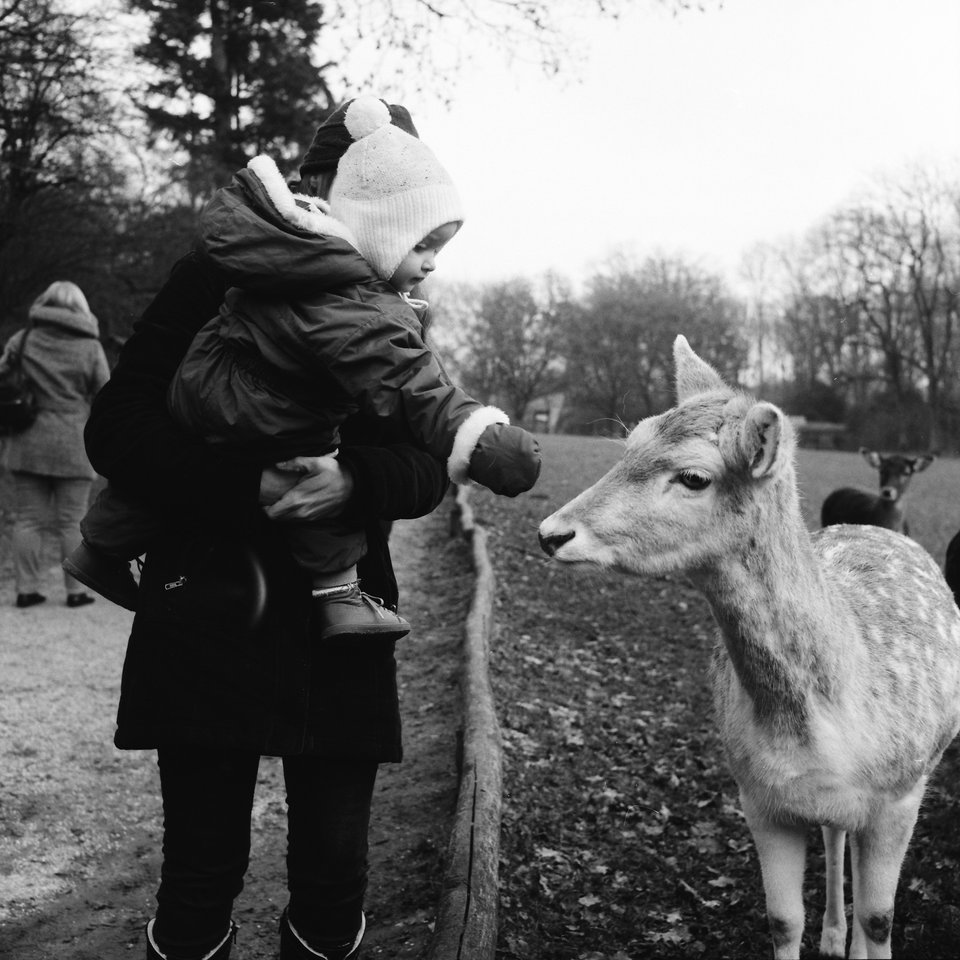
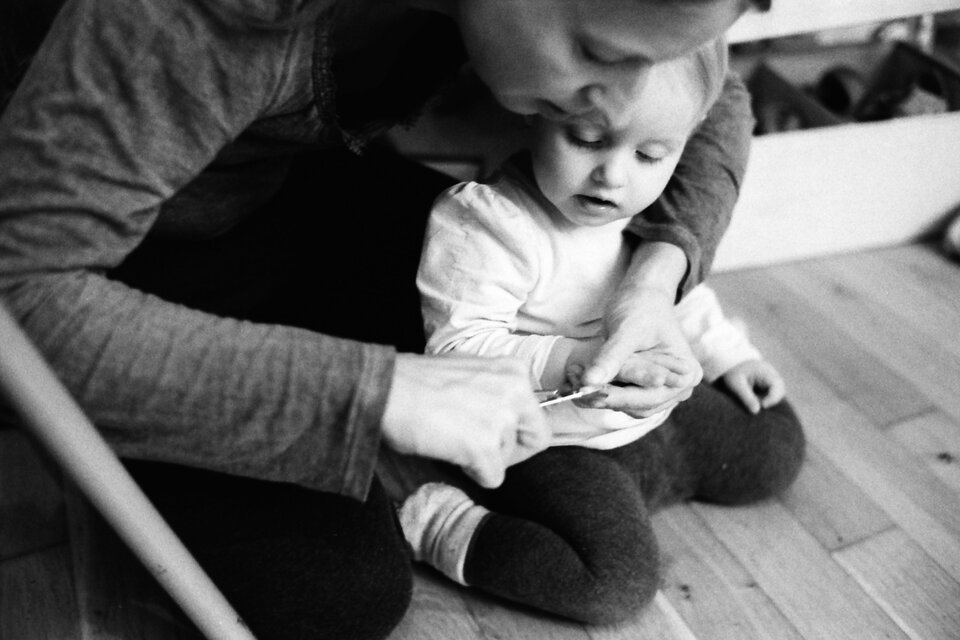
Dad on a visit and other daily-life snapshots.
Boom! Another journal entry!
photojournal.danielpietzsch.com
Dad on a visit and other daily-life snapshots.
Boom! Another journal entry!
photojournal.danielpietzsch.com
Still in a bit of a photographic rut, I didn’t take that many pictures this month, either. But here are twelve. And this wraps up 2018.
Finally wrapping up 2018.
photojournal.danielpietzsch.com
Simply ten photographs.
I wouldn’t call it “catching up on my photo blog”, but at least here’s another post.
Ok, finally put up the scanner at the new apartment. Catching up on scanning…
photojournal.danielpietzsch.com
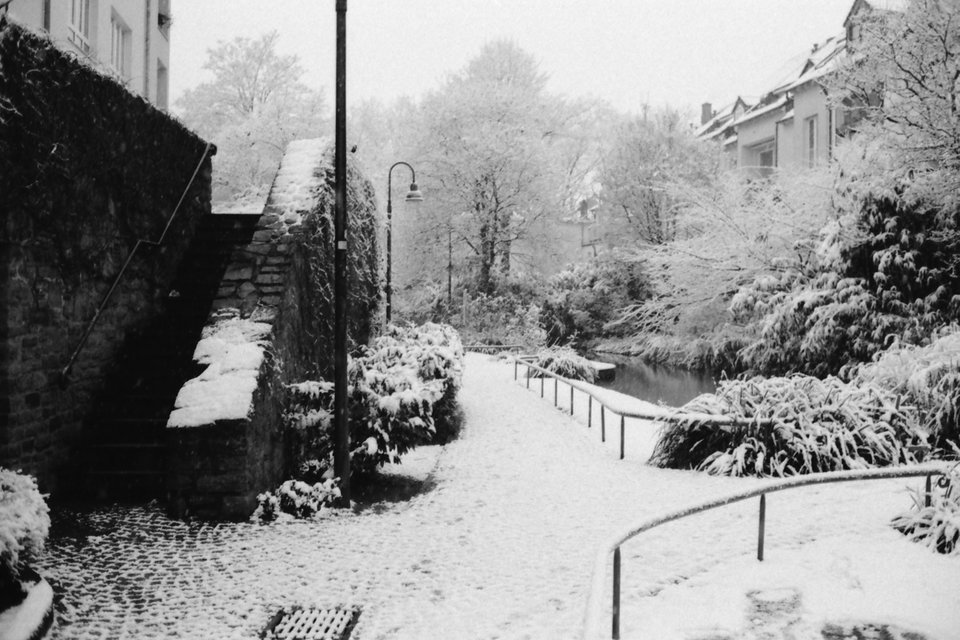
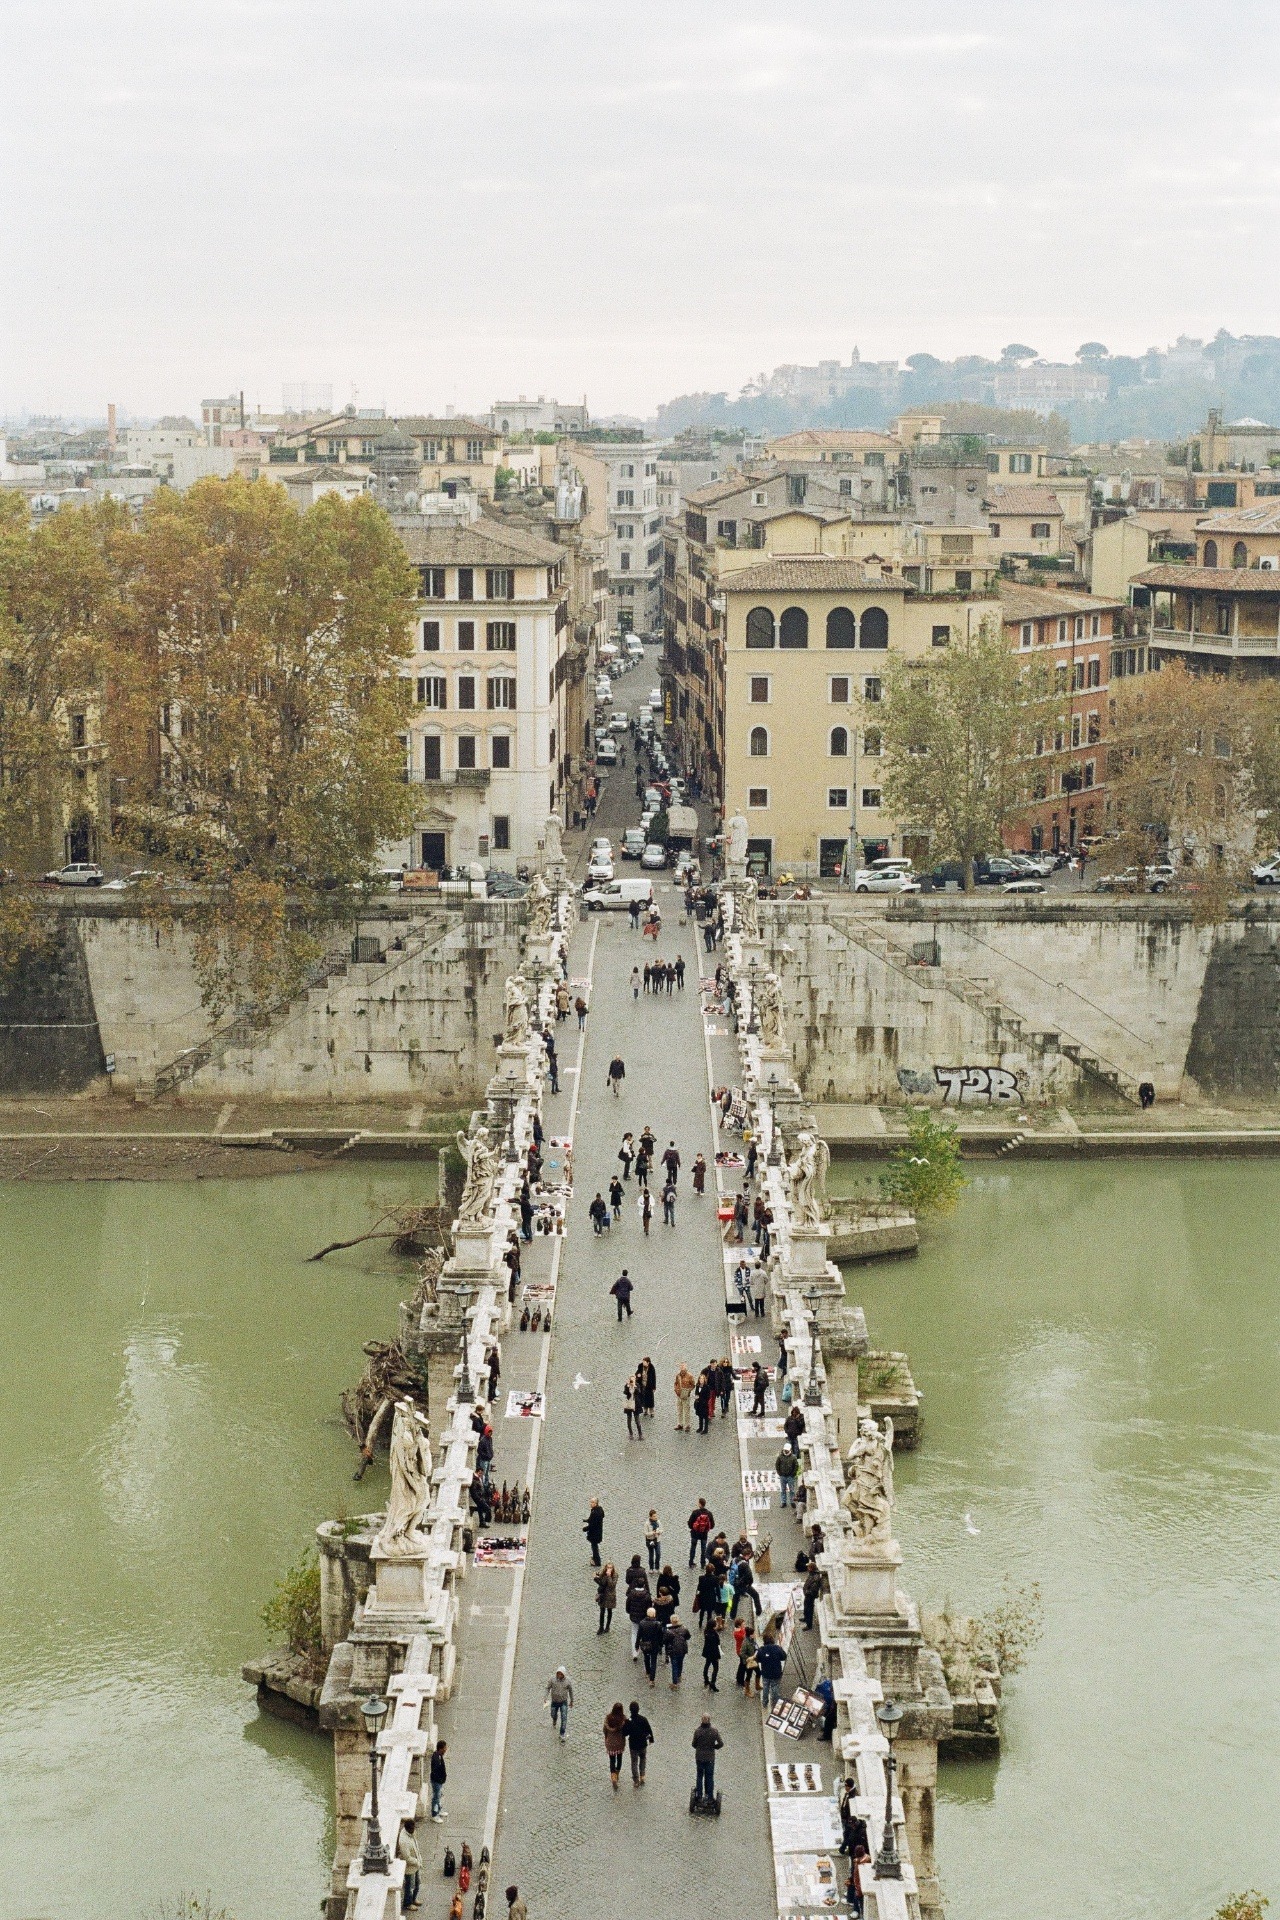
In Paris.
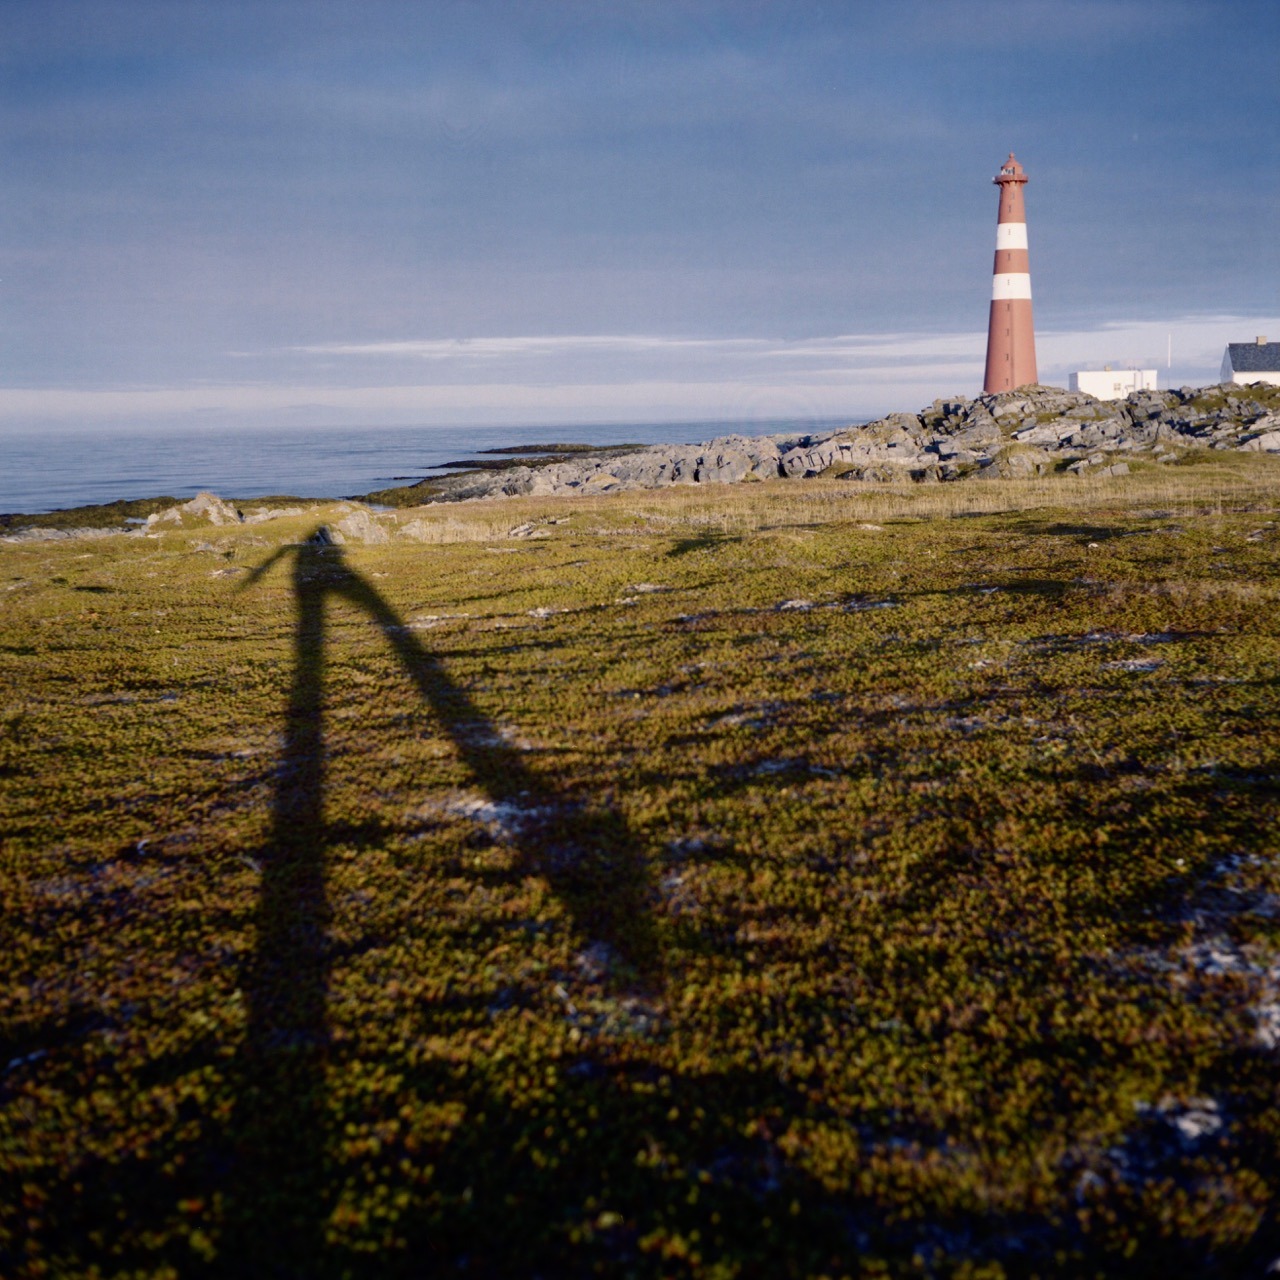
My selected photos from last October. Mostly shots from Paris.
I’m pretty happy with how they turned out. Especially the ones from the Rolleiflex.
At some point I want one. A Widelux. A Horizon. Or even an XPan. Maybe a cheap Sprocket Rocket at first.
I was just looking at some of Jeff Bridges’ photos, and really like how he uses the Widelux to document the making of the movies he’s starring in. I mean, they are interesting and unique pictures to begin with, but that wide frame makes them even more so.

I recently had to pull-develop a roll of APX 400, which I unintentionally had exposed at EI200 or even EI100. And I couldn’t find developing times for XTOL online for pulling APX. But I found an entry in a Flickr group, that suggested using 2/3s of the original developing time per stop pulled. That sounded reasonable. So, for my APX 400 in XTOL 1:1, this meant instead of 12 minutes at 20 ℃, I developed for 8 minutes. The negatives came out looking fine.
(This little accident happened, because I loaded APX 400 via a bulk-rolled canister with a 200 ISO DX code into my Leica Mini, which is an automated camera, where you can’t set the ISO manually. And the DX code was even partially covered by tape that I used to label the film. The tape meant, the camera might not have been able to read the DX code at all, making it fall back to its default ISO setting. Which is probably ISO 100 from what I gathered online. Either way, I ended up with an overexposed roll. The question was if it was one stop or two. I decided it was two. But I only compensated for one stop in development, as I thought it’s probably safer to overdevelop a little bit, rather than ending up with too-thin negatives in case it was actually only one stop overexposed.)
I found this old photo from 2013 in my drafts, and I must say I’m rather pleased with the quality of this scan. I’m pretty sure, this roll was developed and scanned by Foto Görtz here in Düsseldorf. I don’t know what they were (or are) using, but I’m sure it’s something better than the flatbed scanner I use.
This is Kodak Gold 200, shot with a Nikon FE and the 50mm f/1.8 E lens.
Recently I learned you can use diluted vinegar essence as the stop bath when developing film1. That comes in timely since I’m running out of the dedicated stop bath chemical very soon.
I know some people simply use water as a stop bath. And I was contemplating trying this approach. But I often read it’s not ideal, because it’ll exhaust the fixer more quickly. And since I now found out about the vinegar approach, I think I’m going to try that instead.
In the (German) video, they don’t tell exactly how much diluted: the only say “a dash of vinegar”. On another site I’m told roughly 1 tablespoon on a litre of water. ↩︎
When you miscount and think you have bulk loaded one roll more than you actually have, you run into some problems. When you think, ‘ok, yes, that last roll often has a few more frames on it’ and keep winding but it doesn’t stop even at a frame count of fifty, there has to be something wrong. This just happened to me. And now I have one very very full canister with 50+ frames and one with around 30, which could have easily used another 10 more frames.
One should probably always stop when the canister is full enough. At the worst you’ll have so little film left unspooled, it doesn’t make sense for another roll. But I think that’s better than having to deal with a fat 50-frame roll, where I’m unsure, if it’ll be usable in any camera without issues or whether it’ll fit in the developing tank. I’ll probably just waste a few centimetres and trim that one down to 40+ exposures before using it.
To reduce my reliance on an external light meter, most times I guess and set my exposure before taking a meter reading. This makes me assess the available light first and makes think about what the exposure might be. When – or even if – I then take a meter reading, I’ll correct my aperture and shutter speed settings, if need be.
I found this to be a very effective way to get better at guessing exposure. Outdoors, I use the sunny 16 rule as my guidance, of course. For indoors, I mainly rely on experience.
There’s something very rewarding about being able to operate an all-manual film camera and produce useable images with it. You have to get the exposure right, the timing, the focus, the framing; you often need a steady hand in low light; and developing the film needs to be done correctly, too.
I do use a light meter app on my phone to help me with setting the exposure, though, but that’s about it for additional technical help. A meter simply makes me more confident in dialling in my exposure. But – to be honest – more often than not, I guess (or even know) the exposure.
And I could shoot more automatic film cameras to help me out. But I prefer those manual mechanical ones. This might be making it unnecessarily hard for myself, but that’s exactly the challenge I like so much. But just because I’m using these manual tools, doesn’t mean I’m automatically taking better pictures, of course.
And to end this not on a more modest note: once you start shooting film and use manual cameras – while at first indeed challenging – you’ll notice it’s actually not that hard. I got used to this way of shooting and now prefer it over using all sorts of automatics. It makes for a more controlled, quicker, and more enjoyable experience for me. And it’s a more calm way of shooting, without many buttons to push or looking at flashing lights or screens.
But still: it’s a nice feeling having captured an image where I was 100% responsible for all the technical settings and processes.

Since I started bulk loading my own film, I’ve collected a few notes and tips on how to make it all work smoothly and consistently. Plus, I have some extra tips on using those rolls in a Leica M.
To understand these tips, you’ll already have to know how to operate your daylight film loader. If you don’t, here’s a video explaining it in great detail using a Watson loader, which is very similar to mine: How To: Bulk Loading Film.
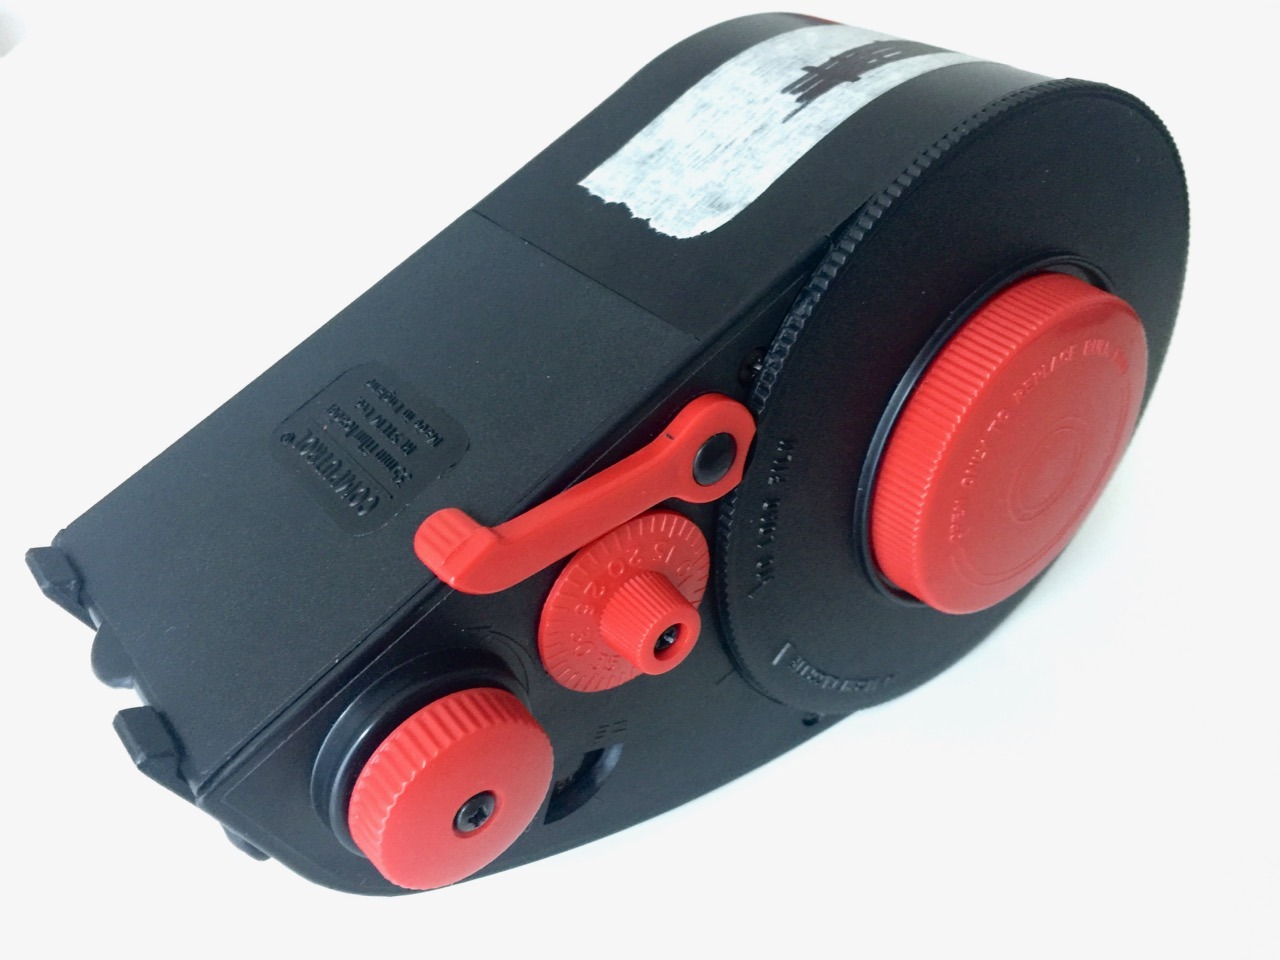
I’m using a Computrol 35mm bulk film loader. So that’s what these tips refer to. If you’re using a different style of loader, some might still apply, but some might not.
Let’s get started:
Currently, I’m using standard, already used 35mm film canisters and roll the bulk film onto them. For this, I tape the film from the bulk roll to the little bit remaining film that’s still attached to the canister. Here’s a video that shows how this works: Bulk Load Film Tutorial.
So, first some tips for inserting the film cassette and getting everything ready:
If you’re aiming for getting eighteen 36-exposure rolls out of your 30.5 meters (100 ft) of film, make sure you wind on a full counter run, which is 40 “clicks” or frames. So, before loading a new roll, I set my counter to “0” and wind on 40 clicks, until it’s back at “0” (which is equal to “40”).

With this method, I always get 18 rolls out of the 30.5 meters and each roll has at least 36 exposures on them. Plus, the counter is already reset for the next roll.
When you wound on you film, it’s time to get the freshly loaded canister out of the loader.
When you shoot a bulk-loaded roll, you can’t simply shoot it until you can’t advance to the next frame any more. Because you would lose a frame or so at the end, since during the loading process both ends of the roll were exposed to light. So, you need to pay attention towards the end of the roll, to know when the film is full.
Here’s what I do to make sure I don’t lose any frames with my M:
Shooting my M4-2 from frame “0” to “38” indeed gives me 39 fully exposed frames most times. Occasionally, the first or last frame are incomplete. But it’s recently always been at least 38 frames.
I’ve discovered bulk loading of film for myself. It’s like rolling your own cigarettes – but for film. I think. Because I never smoked.
Anyhow, I do it to save money. Others do it to be able to fill canisters with a different number of frames each roll. But I don’t do that.
Rolling your own is more time consuming than simply buying a pre-made 35mm canister. Plus you need to factor in the costs – albeit small – for the machine you need to be able to load the film in the first place. So, I would only recommend it to people who shoot film frequently.
But if you do, it’s well worth it. From where I buy, one roll of HP5 bulk-loaded is approximately €4 instead of €5.401 when bought standard. Furthermore I get to shoot cheaper films even cheaper. I recently shot a lot of APX 400. Bulk loading this brings its price per roll down from €4.50 to approximately €2.60. And that’s a nice price for a roll of a good black and white film.
A 10-pack of HP5 is currently €54.60. A 30.5 meter bulk film roll is ~€73, which I get 18 36-exposure films out of. ↩︎
I’m going to do my last film development in the current flat to wrap up this day. Four rolls of APX 400 @1600 in XTOL.
There’s a bottle of Flens in the fridge and Matt Day has a new video up. That’ll keep me entertained while in the bathroom.