By the way: did you know about the fantastic “A boy and his dad” photo blog? Well, now you do! You’re welcome!
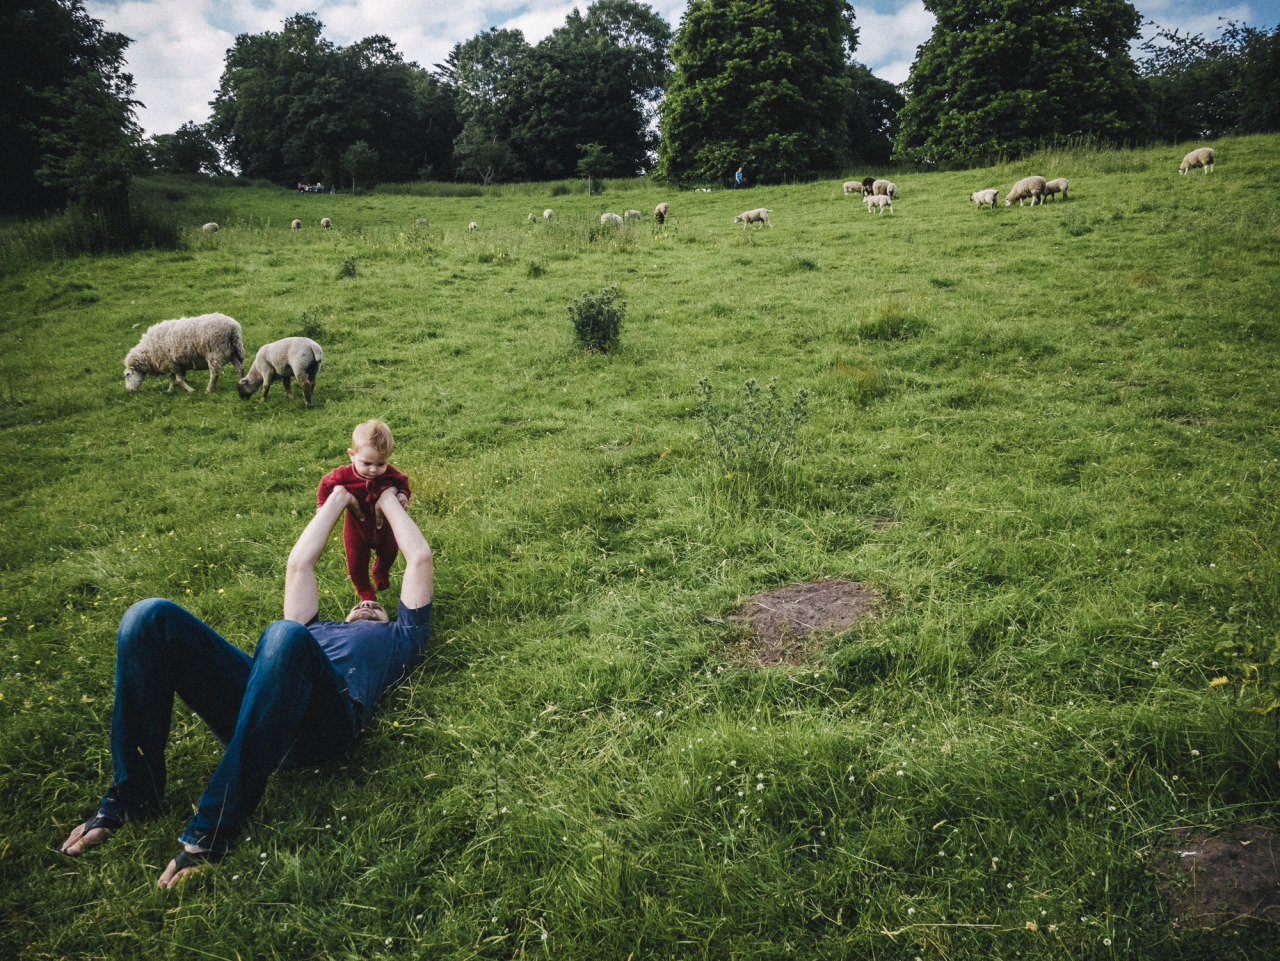
By the way: did you know about the fantastic “A boy and his dad” photo blog? Well, now you do! You’re welcome!
And speaking of Matt Stuart: This is a well done one minute video showing him shooting. You may pick up a few techniques: like “scratch-your-nose-to-pretend-your-werent-shooting”, “pretend-to-shoot-something-else-at-first-then-quickly-recompose”, “be-quick” or “take-multiple-shots-of-a-scene”.
When you miscount and think you have bulk loaded one roll more than you actually have, you run into some problems. When you think, ‘ok, yes, that last roll often has a few more frames on it’ and keep winding but it doesn’t stop even at a frame count of fifty, there has to be something wrong. This just happened to me. And now I have one very very full canister with 50+ frames and one with around 30, which could have easily used another 10 more frames.
One should probably always stop when the canister is full enough. At the worst you’ll have so little film left unspooled, it doesn’t make sense for another roll. But I think that’s better than having to deal with a fat 50-frame roll, where I’m unsure, if it’ll be usable in any camera without issues or whether it’ll fit in the developing tank. I’ll probably just waste a few centimetres and trim that one down to 40+ exposures before using it.
To reduce my reliance on an external light meter, most times I guess and set my exposure before taking a meter reading. This makes me assess the available light first and makes think about what the exposure might be. When – or even if – I then take a meter reading, I’ll correct my aperture and shutter speed settings, if need be.
I found this to be a very effective way to get better at guessing exposure. Outdoors, I use the sunny 16 rule as my guidance, of course. For indoors, I mainly rely on experience.
There’s something very rewarding about being able to operate an all-manual film camera and produce useable images with it. You have to get the exposure right, the timing, the focus, the framing; you often need a steady hand in low light; and developing the film needs to be done correctly, too.
I do use a light meter app on my phone to help me with setting the exposure, though, but that’s about it for additional technical help. A meter simply makes me more confident in dialling in my exposure. But – to be honest – more often than not, I guess (or even know) the exposure.
And I could shoot more automatic film cameras to help me out. But I prefer those manual mechanical ones. This might be making it unnecessarily hard for myself, but that’s exactly the challenge I like so much. But just because I’m using these manual tools, doesn’t mean I’m automatically taking better pictures, of course.
And to end this not on a more modest note: once you start shooting film and use manual cameras – while at first indeed challenging – you’ll notice it’s actually not that hard. I got used to this way of shooting and now prefer it over using all sorts of automatics. It makes for a more controlled, quicker, and more enjoyable experience for me. And it’s a more calm way of shooting, without many buttons to push or looking at flashing lights or screens.
But still: it’s a nice feeling having captured an image where I was 100% responsible for all the technical settings and processes.

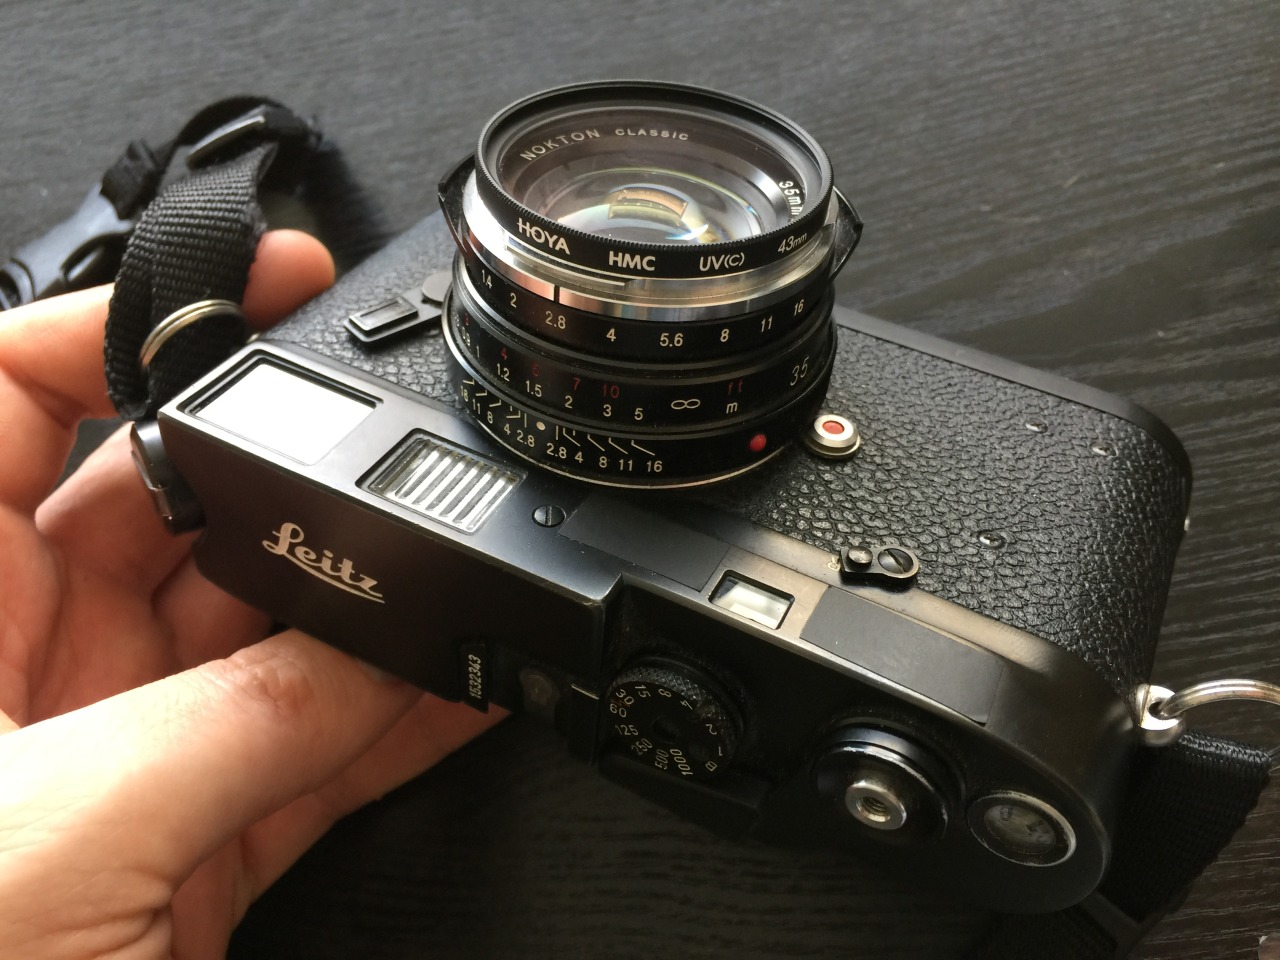
I recently bought a UV filter for my Voigtländer Nokton lens. I’m not really interested in its UV-filtering capabilities; instead, I want it to protect my lens’ glas from damage. I usually carry my camera around my neck or shoulder without a lens cap, so some form of protection makes me feel more comfortable doing so.
I wasn’t too keen to put a piece of glas in front of the actual lens – since this could result in reflections and worse image quality in general – but so far it seems to have been working alright.
Previously, I’ve been using a lens hood for protection. But it’s kind of bulky and I think it occasionally results in black corners on the photo. And that’s why I’m currently trying this new filter instead.
I’ve been shooting the Rolleiflex this weekend, simply because I couldn’t find some appropriate sticky tape for rolling a new 35 mm roll for my Leica.
Shooting the Rollei is always fun, though, so I didn’t mind.
Since I started bulk loading my own film, I’ve collected a few notes and tips on how to make it all work smoothly and consistently. Plus, I have some extra tips on using those rolls in a Leica M.
To understand these tips, you’ll already have to know how to operate your daylight film loader. If you don’t, here’s a video explaining it in great detail using a Watson loader, which is very similar to mine: How To: Bulk Loading Film.
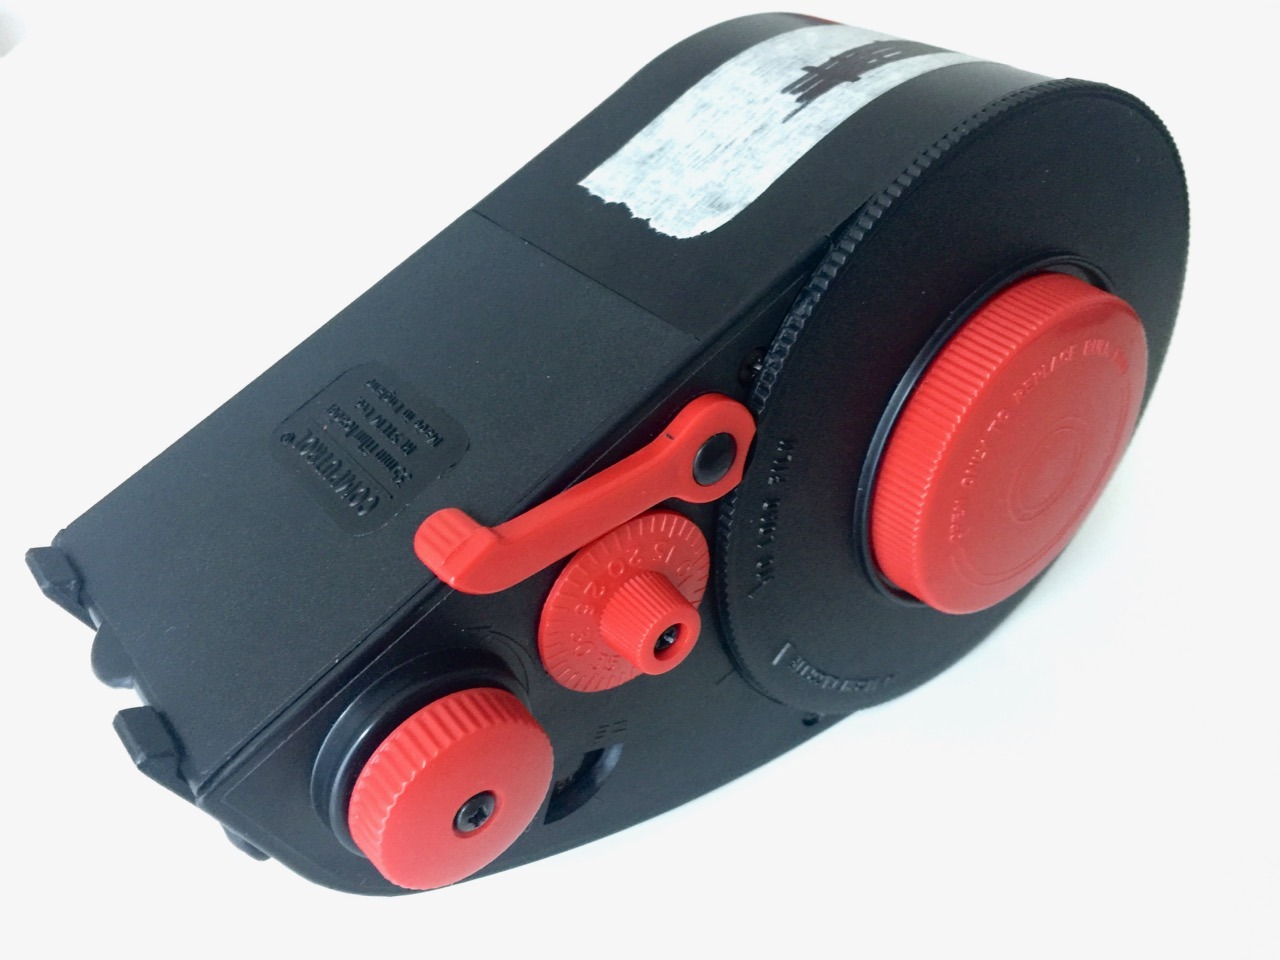
I’m using a Computrol 35mm bulk film loader. So that’s what these tips refer to. If you’re using a different style of loader, some might still apply, but some might not.
Let’s get started:
Currently, I’m using standard, already used 35mm film canisters and roll the bulk film onto them. For this, I tape the film from the bulk roll to the little bit remaining film that’s still attached to the canister. Here’s a video that shows how this works: Bulk Load Film Tutorial.
So, first some tips for inserting the film cassette and getting everything ready:
If you’re aiming for getting eighteen 36-exposure rolls out of your 30.5 meters (100 ft) of film, make sure you wind on a full counter run, which is 40 “clicks” or frames. So, before loading a new roll, I set my counter to “0” and wind on 40 clicks, until it’s back at “0” (which is equal to “40”).

With this method, I always get 18 rolls out of the 30.5 meters and each roll has at least 36 exposures on them. Plus, the counter is already reset for the next roll.
When you wound on you film, it’s time to get the freshly loaded canister out of the loader.
When you shoot a bulk-loaded roll, you can’t simply shoot it until you can’t advance to the next frame any more. Because you would lose a frame or so at the end, since during the loading process both ends of the roll were exposed to light. So, you need to pay attention towards the end of the roll, to know when the film is full.
Here’s what I do to make sure I don’t lose any frames with my M:
Shooting my M4-2 from frame “0” to “38” indeed gives me 39 fully exposed frames most times. Occasionally, the first or last frame are incomplete. But it’s recently always been at least 38 frames.
Continuing on yesterday’s topic, here’s why I find a 35 mm lens so fitting for my photography.
I currently mostly shoot documentary style and street photography. And I want my photos to convey a feeling of “having been there”. That’s why my lens should approximate the field of view I have as a human being. I find anything from 30 mm to 45 mm works1. But since the most common focal length for prime lenses that fit this range is 35 mm, that’s what I use.

I find 28 mm lenses a little too wide and 50 mm too long. But I’d prefer the former, if forced to choose. ↩︎
Over time, I’ve more and more reduced the number of lenses and focal lengths I use.
When I bought my first “serious” camera – a Nikon D40 in 2008 – I thought I needed more lenses to cover all the focal lengths. And so I bought more lenses. I had lenses to cover everything from 10mm (we’re talking APS-C here) all the way up to 200mm. Plus a fast 50mm-equivalent prime for low light.
But as the years went on, I stopped using most of these lenses and their camera systems. I simply increasingly came to know what I value about a camera system, what kind of photos I like to take, and what focal lengths suit me best.
So at the moment, I’m mainly using a Leica M with a 35mm lens. That’s all I need.
Unpacking the film. Loading it into the camera. Winding to the first frame. Shoot ⟲ Wind. Spooling the roll back into the canister. Taking it out. Labelling it.
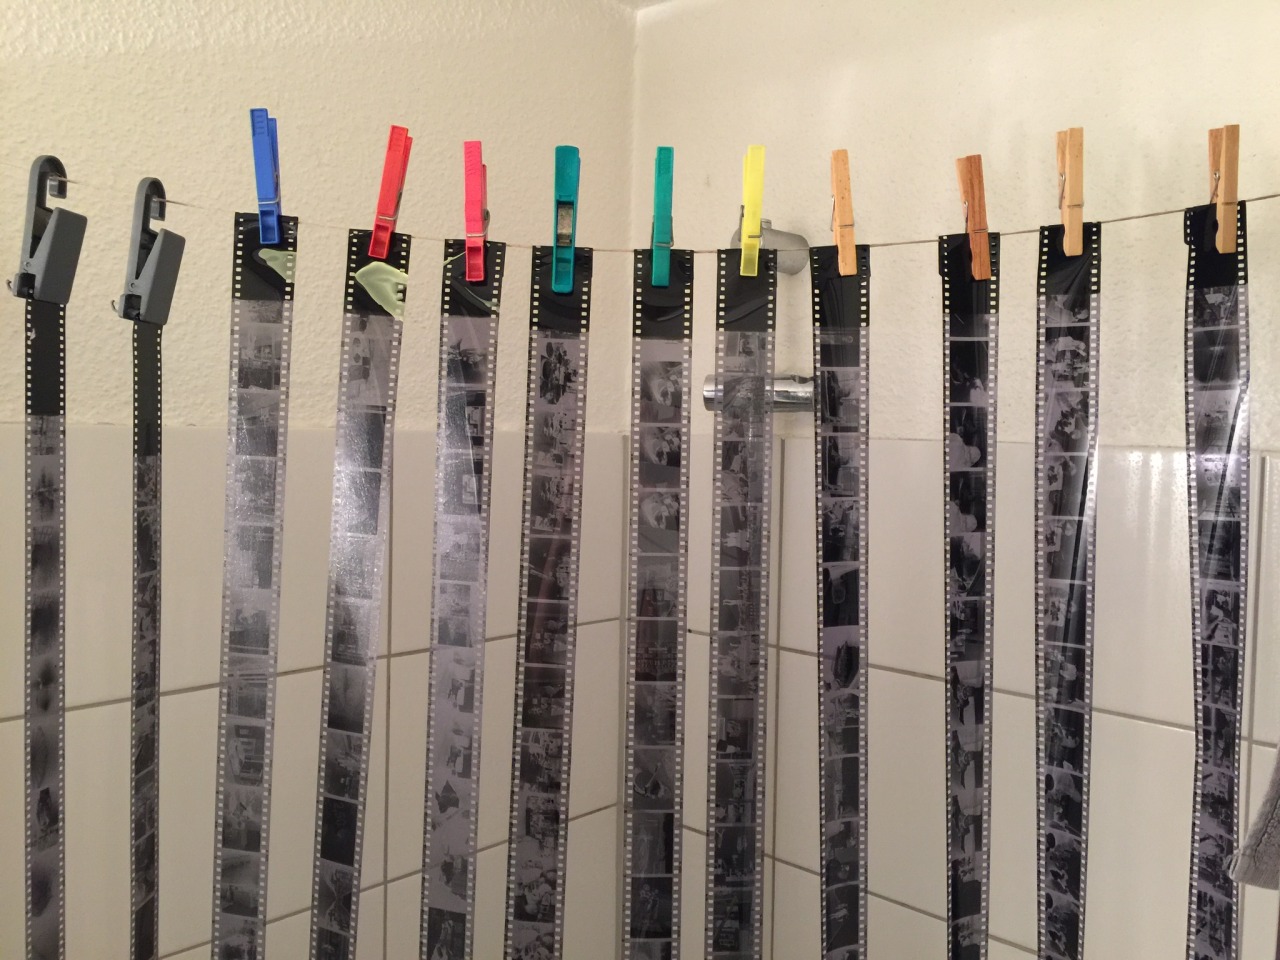
Transfering the roll into the developing tank. Preparing the developer solution. Developing. Stop bath. Fixing. Opening the tank. Washing. Final rinse. Taking it out. Holding the whole strip against the light, checking the results. Hanging it to dry.
Cutting the roll up into individual strips. Inserting them into the negative sleeves. Labelling those.
This workflow with all it’s little steps and rituals, is what I enjoy about film. Not always, and not all parts equally, but most of them most times. It’s nice to be working with my hands, creating a unique, tangible object.
For the most part, this object will still be turned into digital files; and edited, processed, published and printed from there. But for me, it’s still very worthwhile going through these manual steps first. Plus, it gives me the option for making a print in the darkroom. Which is a topic for another post in this series.


Here’s an outtake from the September 2018 journal entry.
Rolleiflex. Fomapan 100. Developed in Rodinal 1+50. Really like this film!
My Voigländer Bessa 6x9 folding camera has two red windows1 on the back for looking up at what frame number you are and to know how far to advance the film for the next frame. I was wondering which one to use and found a photo.net thread on this topic. Here’s what I think is a correct answer:
> The second red window was for the 645 mask. You may use either red window so long as, on a given roll of film, you use the same red window consistently.
For my first roll, I chose the one on the left, which is the window further away from the take-up spool. Everything went well, with all exposures captured completely.
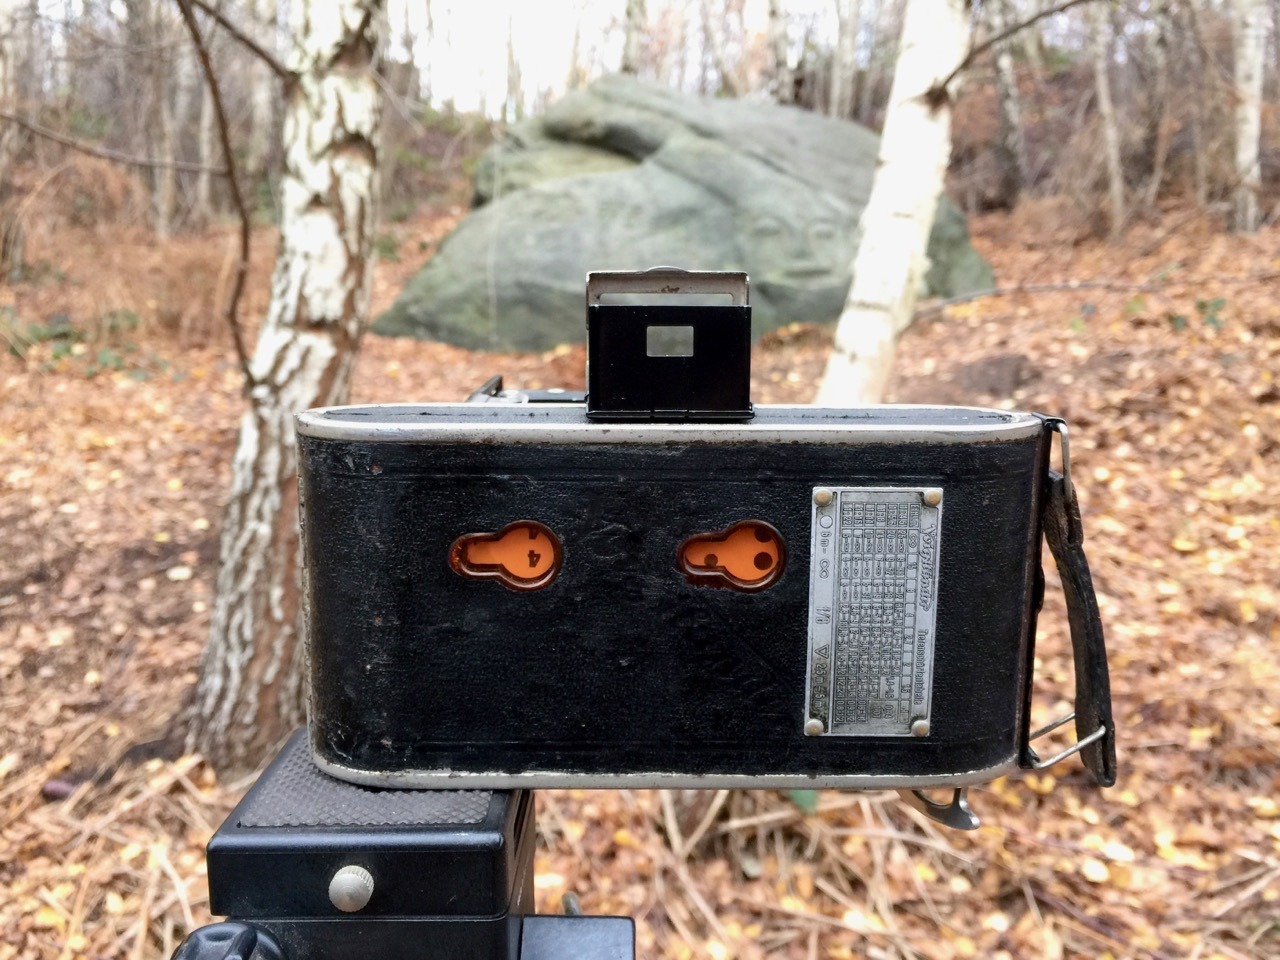
They’re actually orange in my case. ↩︎
Analogue cameras – especially (purely) mechanical ones – became a big part of the appeal of shooting film for me. They feel great in your hand and are often very solidly built1. Their controls offer everything you need, and nothing you don’t. There’s nothing to configure via menus or an assortment of buttons or screens. You choose a shutter speed, you choose an aperture, and you’re ready for the next frame. Simple2!
With the mechanical variety, you can feel it doing its work every step of the way. It’s a more immediate and satisfying experience for me. And more relaxing, too, compared to handling yet another computer. Plus, it’s a nice feeling to know you’re able to operate an all manual camera.
I also love the little ritual of manually advancing the film to the next frame. I love rewinding the film when it’s full and inserting a new one. I love the simplicity of the rangefinder construction3, where the lens’ aperture blades immediately move when you change its setting, where there are no mirrors involved, and instead you look through a separate little window to frame the scene.
And just like old cars, they’re often great to look at, too.


They’re often heavier than digital ones, though, too, which I’m not crazy about. ↩︎
Of course, that’s possible, because the film is a fixed recording medium, whereas a digital camera and its sensor need to be and should be configurable. But that’s exactly the point: film allows the cameras to stay simple. ↩︎
I’m sure the construction is indeed not so simple. But the idea and the interface are, and that’s what counts as a user. ↩︎
I often struggle finalizing a monthly edit for my photo journal. I’m never quite sure what frames to pick and which to kick.
The first and second round of culling is quickly done, but really narrowing it down takes me quite a while. And it’s one reason I’m so far behind with posting there1.
The journal is not meant be a portfolio, and so I don’t really see the need nor do I want to only select the very best shots. But I’d like to select a somewhat tight selection that still communicates what that month was like.
And that’s really the bit I’m fighting with. While the target audience is primarily myself, I still want to display the photos in a way other people find it interesting, too. If only to make sure that I find the selection still interesting in a few years time. I don’t want to go through two hundred photos per month, but I don’t want to leave out things that I might miss later, either.
So, each month’s selection will probably always contain – and be allowed to contain – images that are nothing special, but where I feel they need to be in there to better tell the story. But it’s not easy for me to let go of certain photos. And I often procrastinate on the editing process, because I dread deciding which additional frames to remove from what I consider an already tight edit – which I know or feel it is actually not.
Maybe I should constraint myself to speed things up: simply stick to a fixed number of images – say a maximum of thirty photos per month – and work within that limit. But, what if I shot a lot of street and otherwise documentary photography and simply want to share more? Maybe put them somewhere else? Here? I really don’t know. Maybe “simply” get better at editing. But how?
Right after the reason, that I accumulated a lot of unprocessed rolls during last year’s travels, which I had to catch up developing and scanning. ↩︎