I thought about it for a while before making the booking, because I thought it’s maybe a little decadent to do so. But Nicole quickly convinced me by saying something along the lines of: “You only live once. You like his photos a lot. Go, do it!”. So I booked the workshop, flights and accommodation.
Unfortunately, and to my surprise, the workshop was cancelled two days beforehand and one day before my flight on Tuesday. But lucky me, Severin contacted me directly and suggested to do a workshop just for me. Instead of the originally scheduled 3 days, the workshop took place on two days – one day meeting and shooting and one day in the darkroom. But that was absolutely fine with me, now that I got an exclusive one-on-one training.
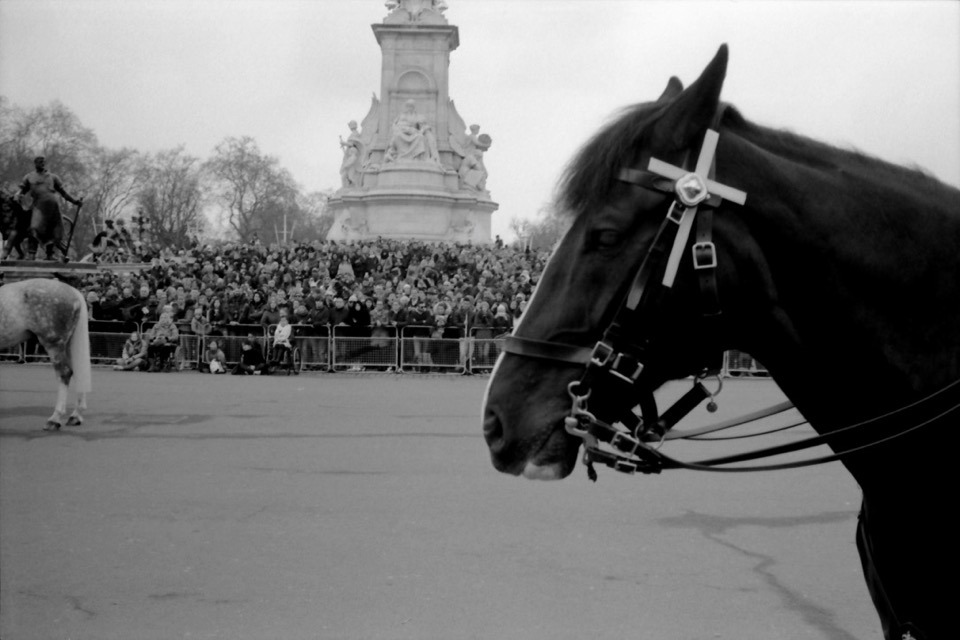
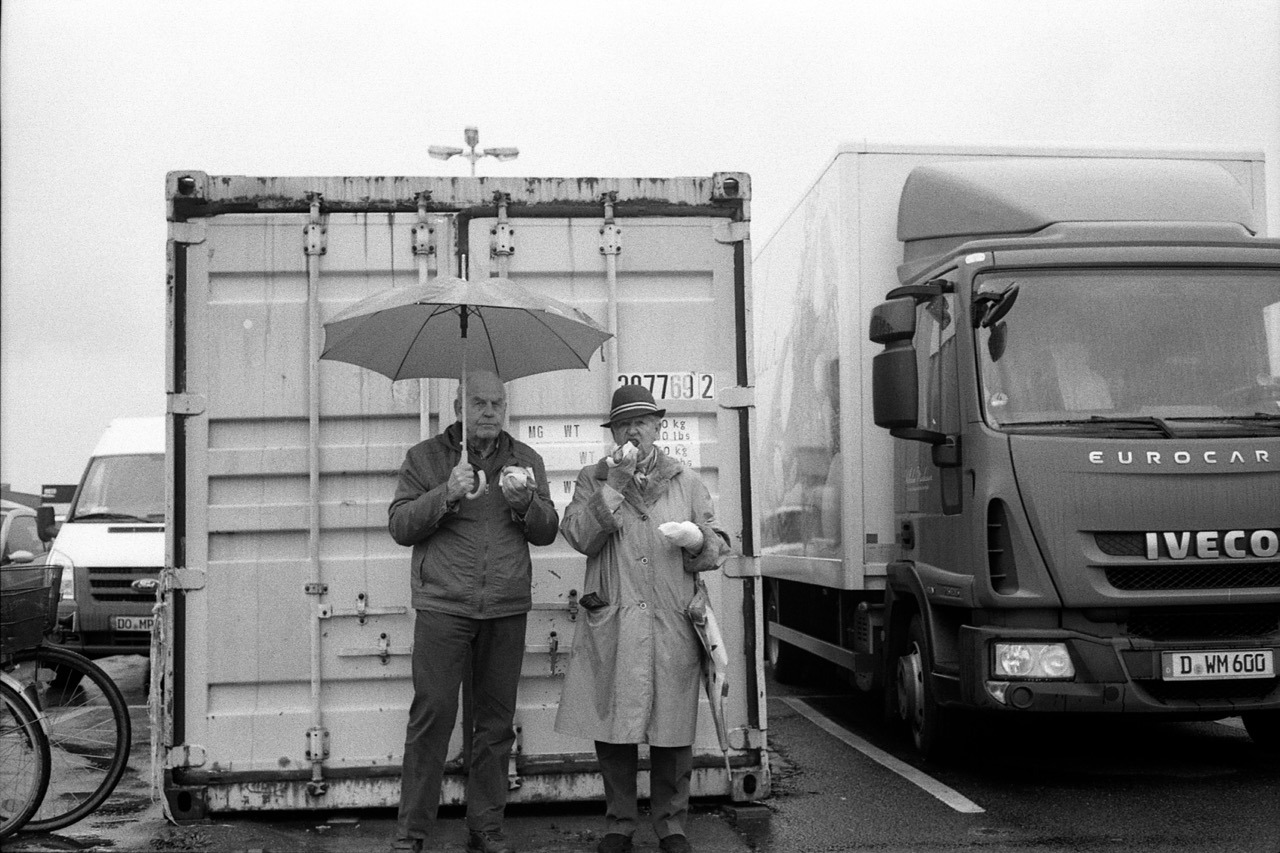
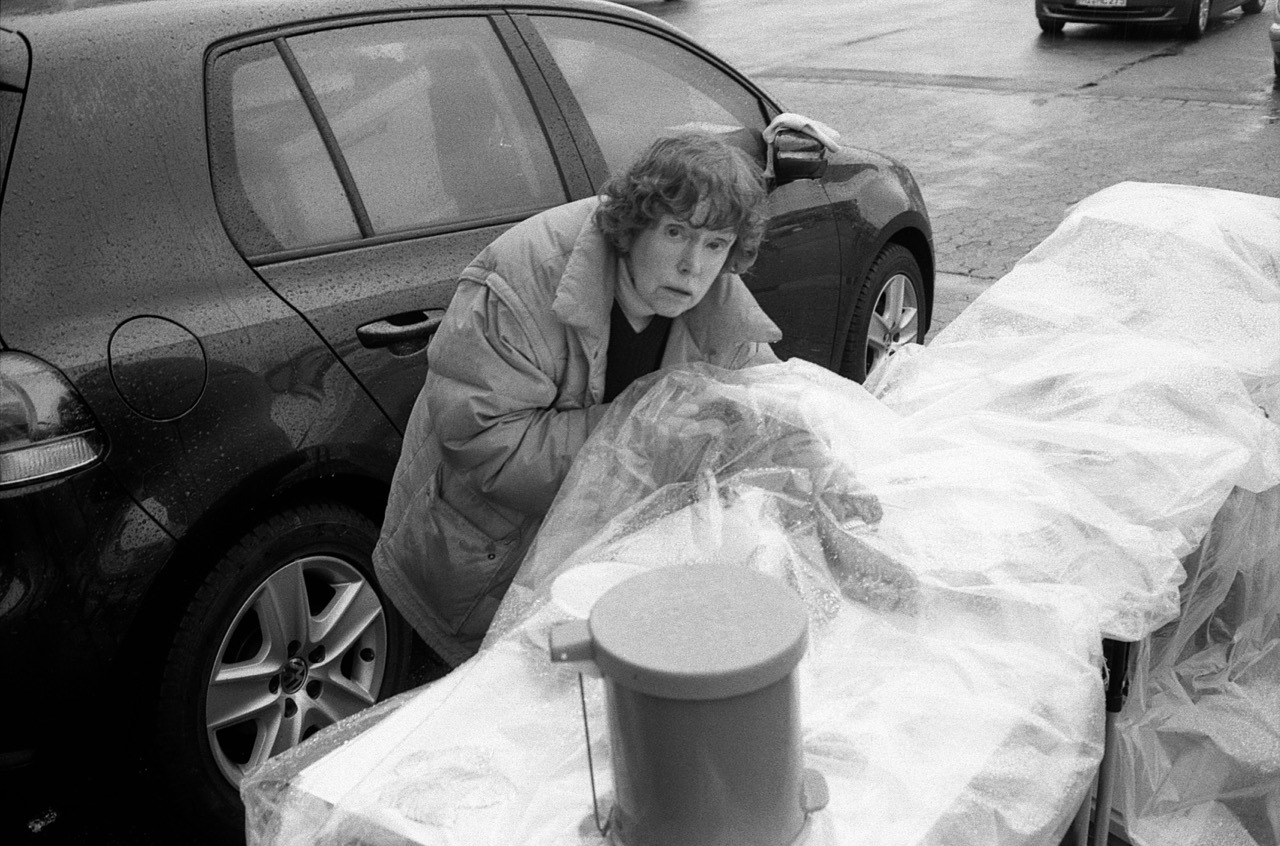
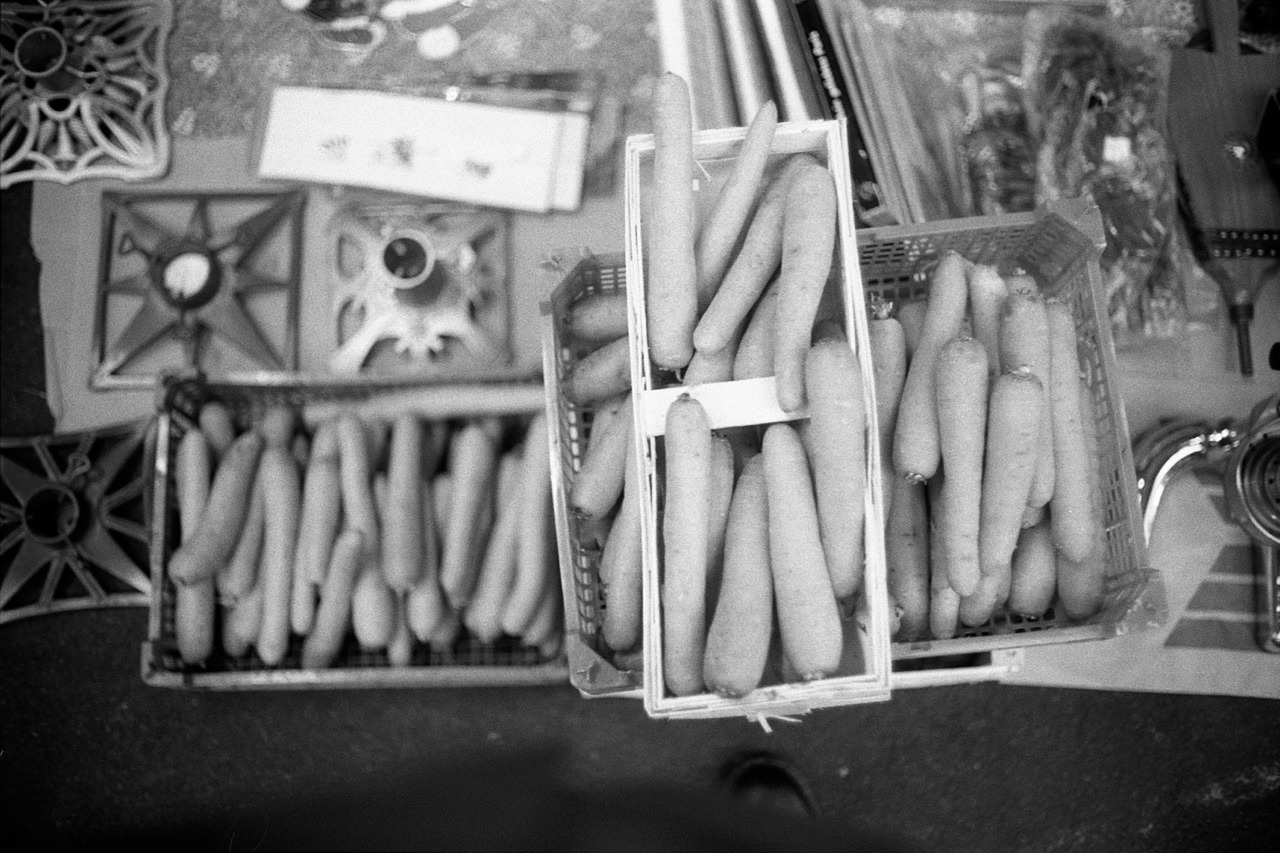
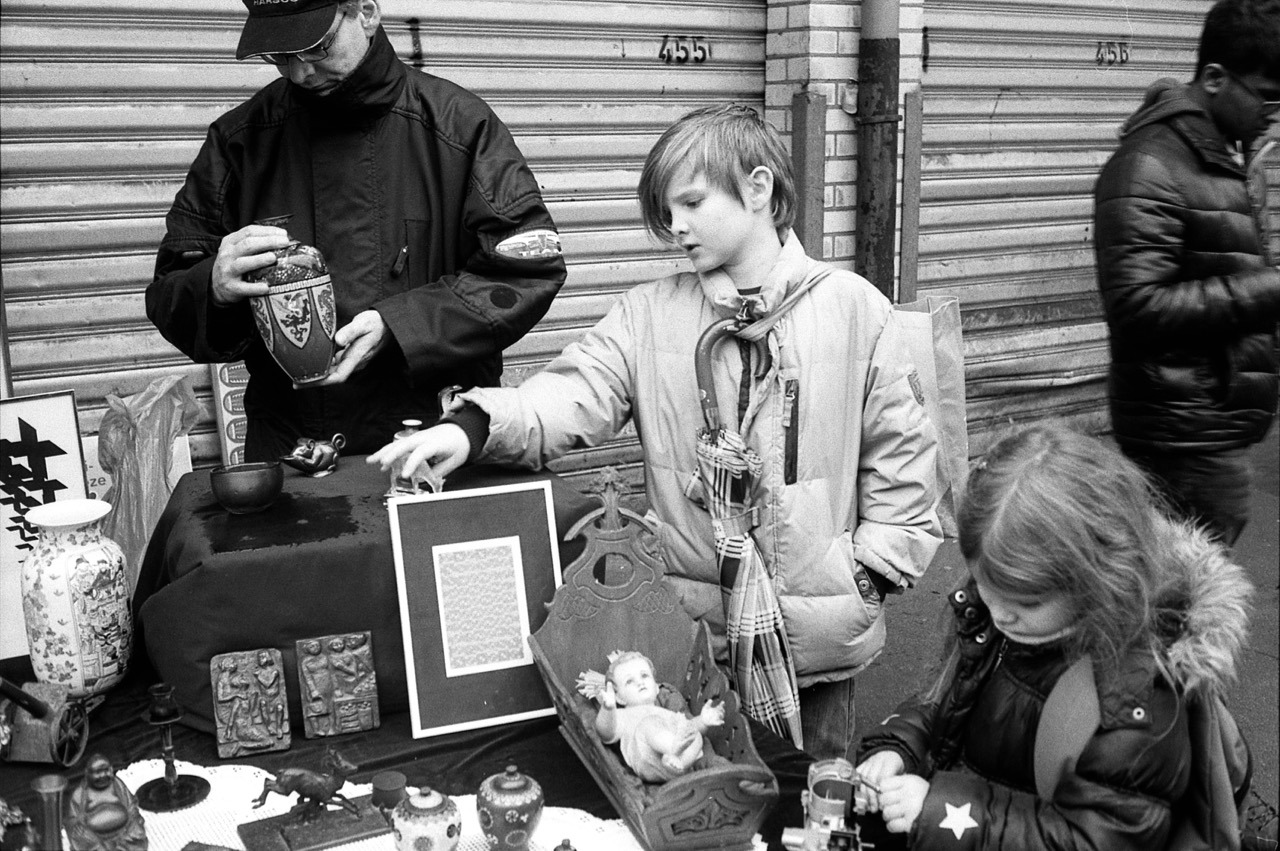
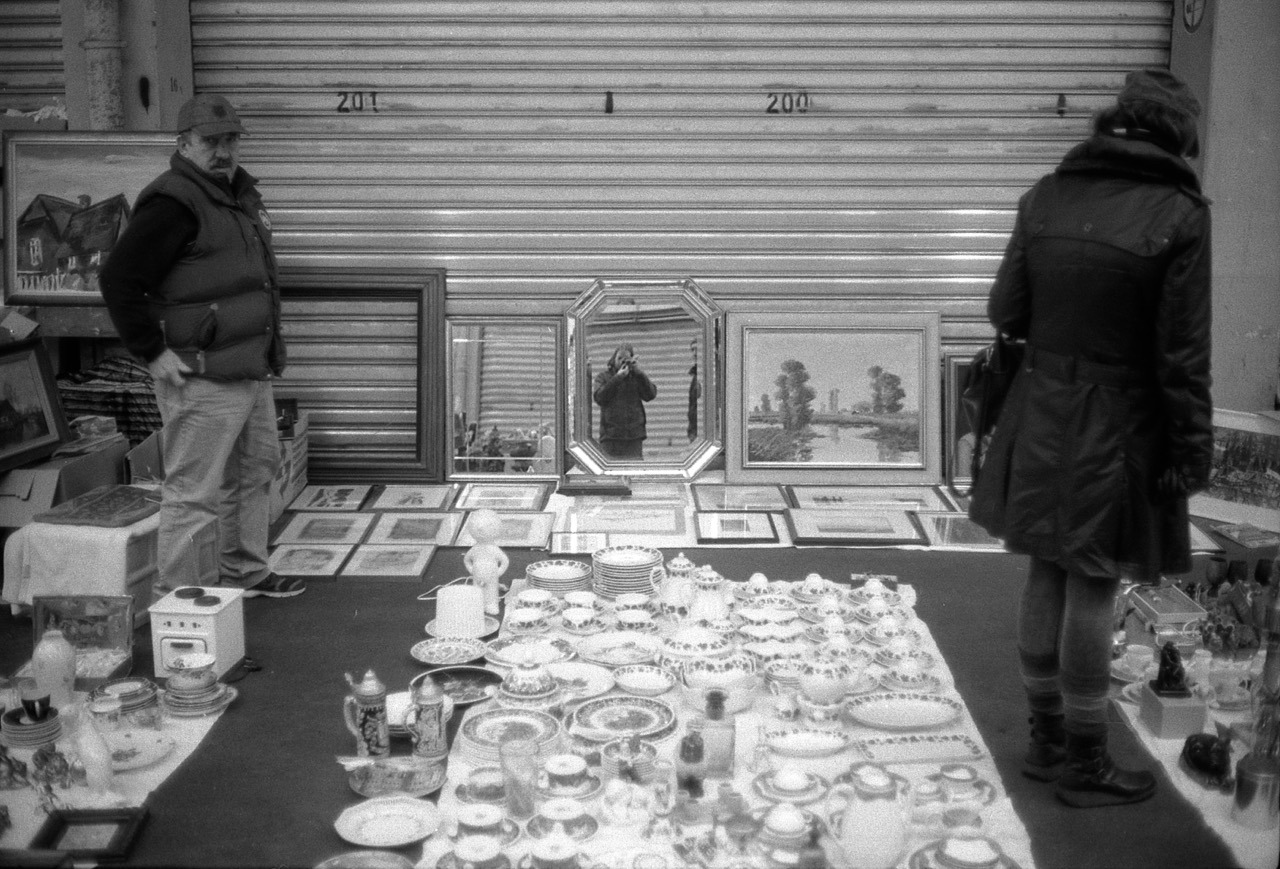
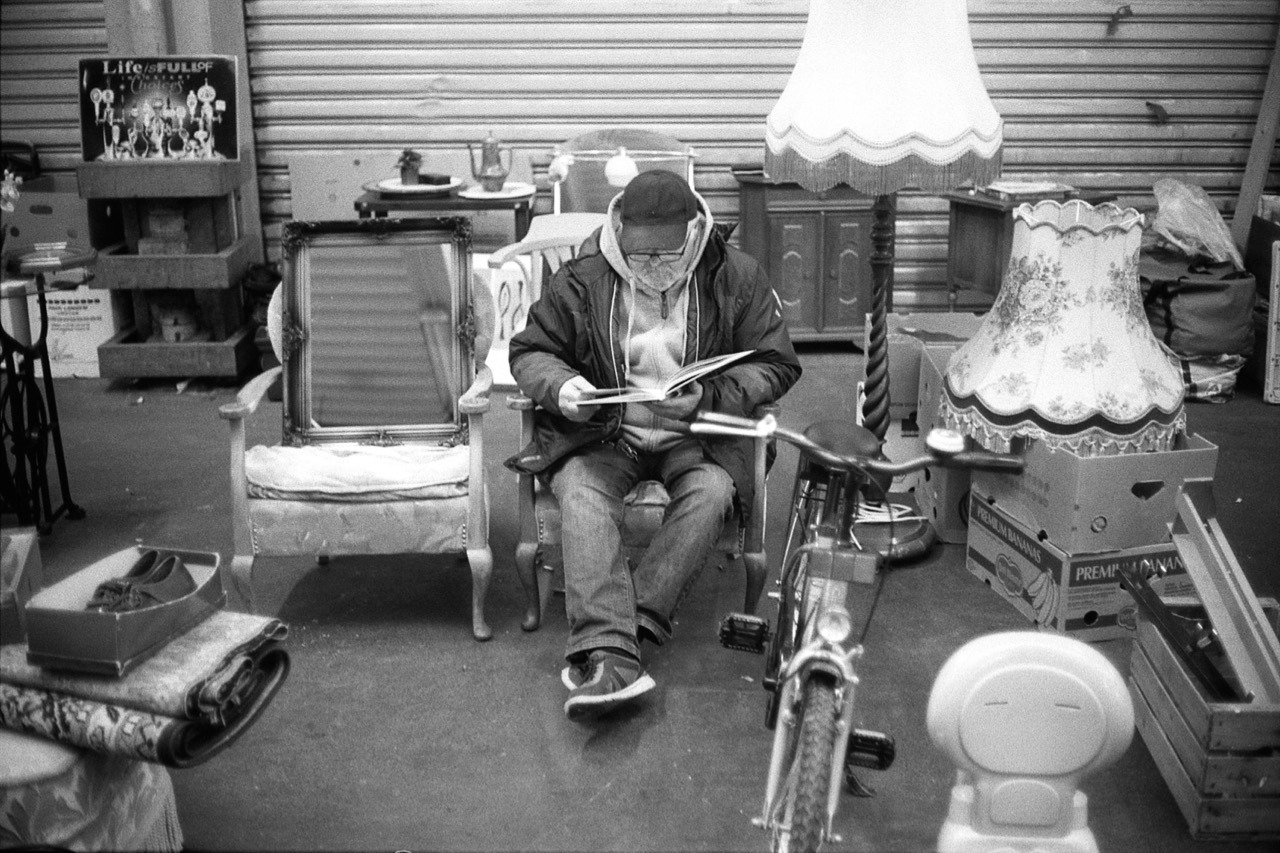
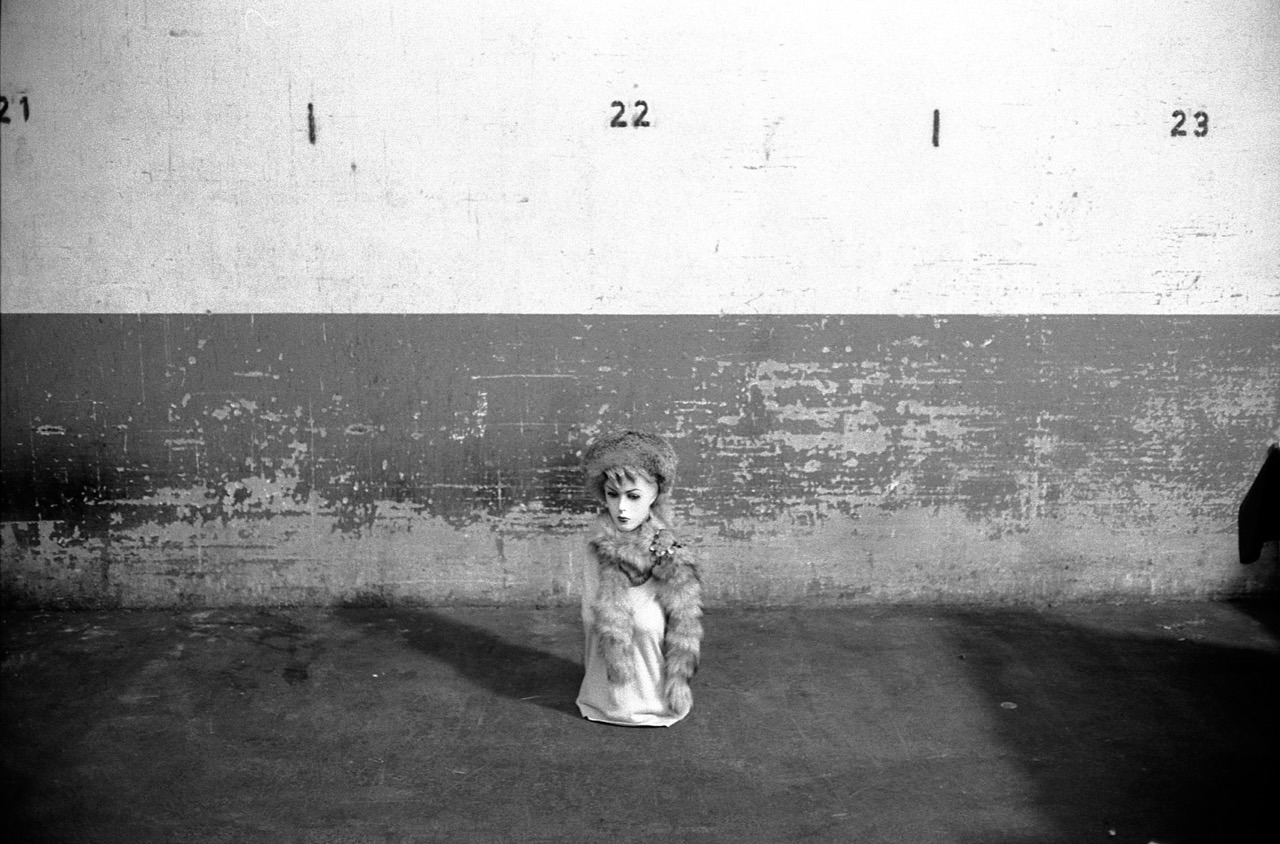
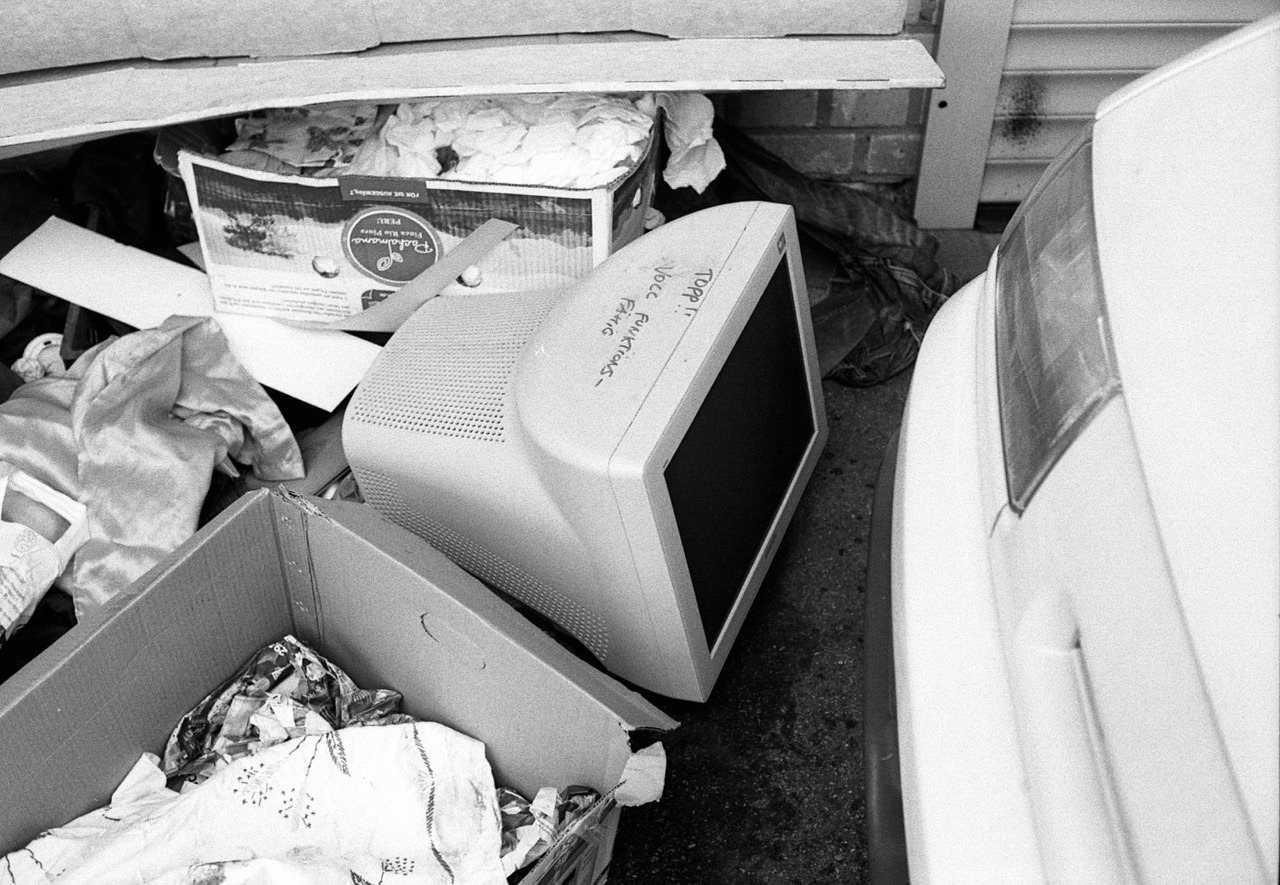
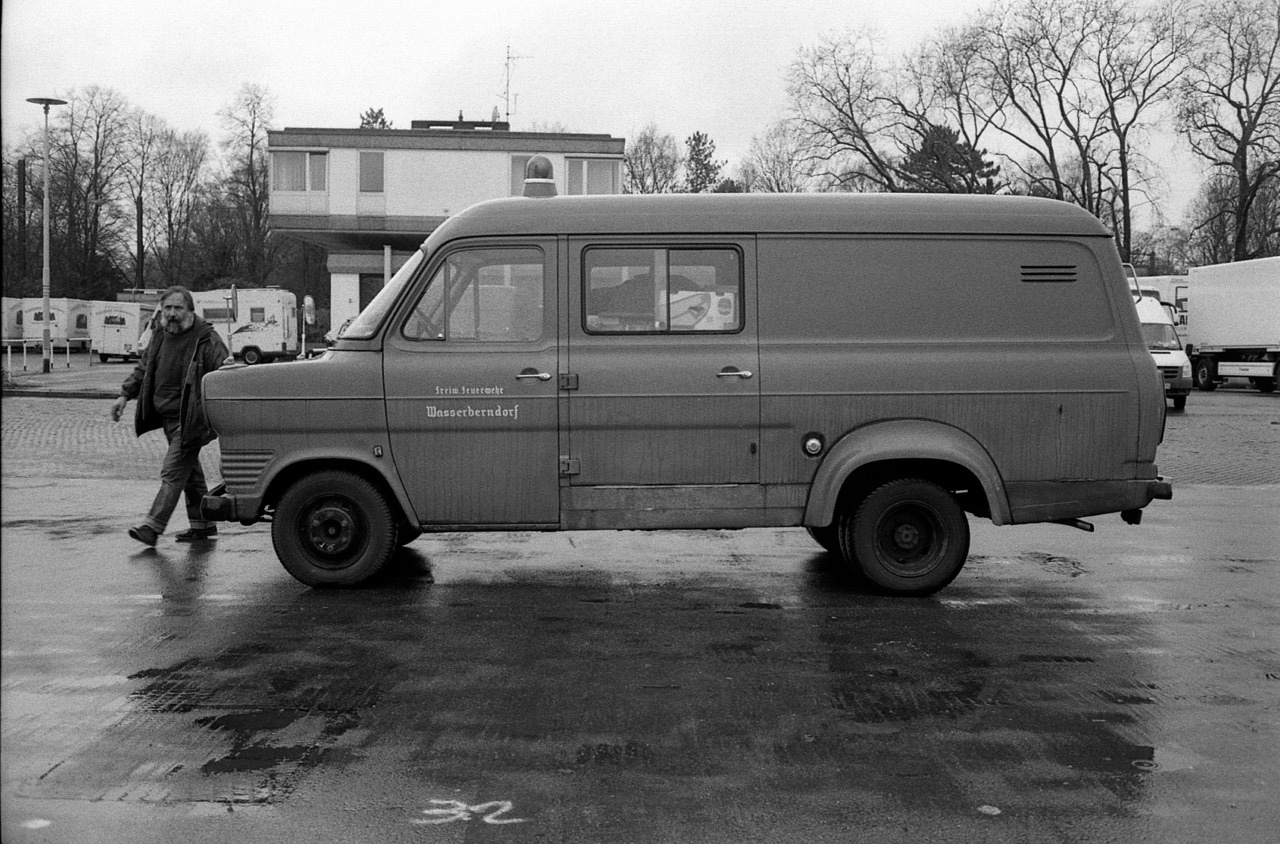
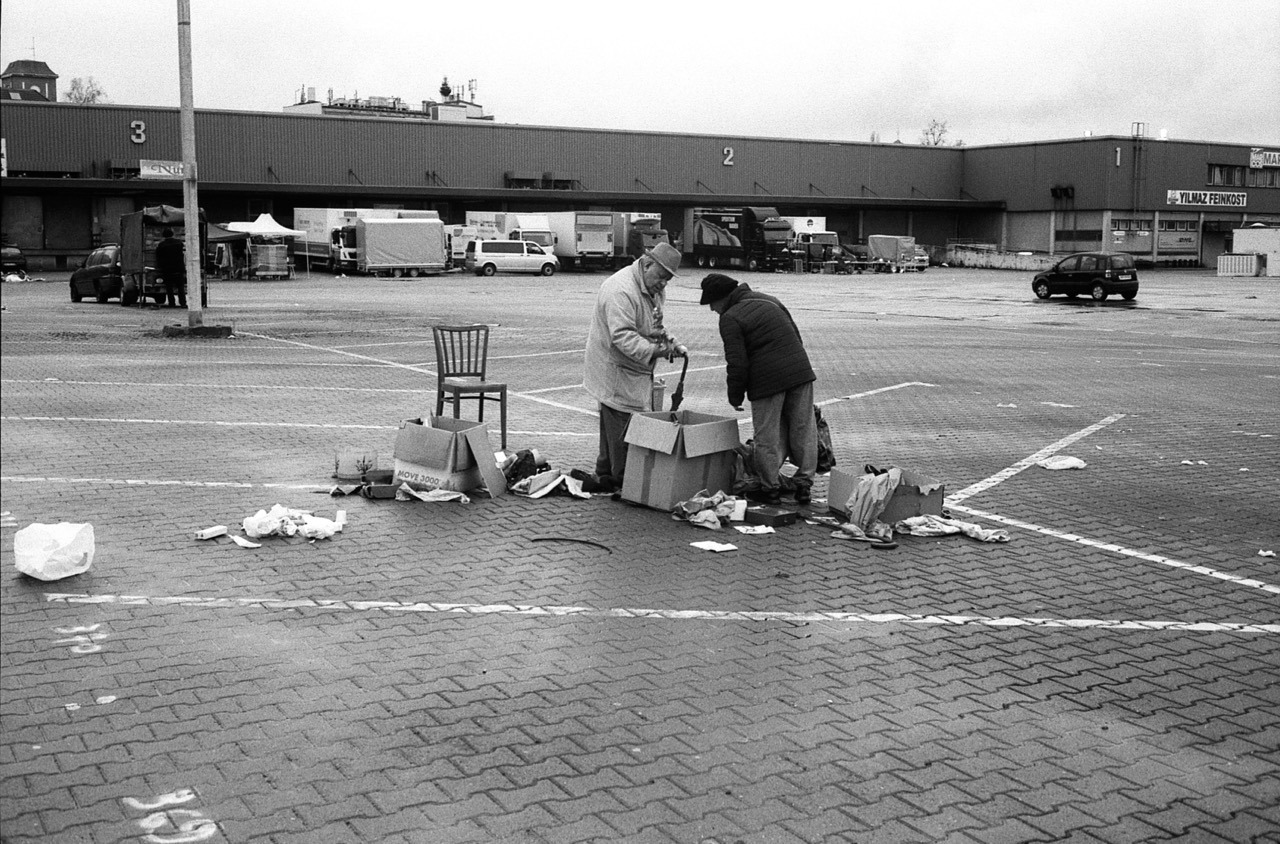
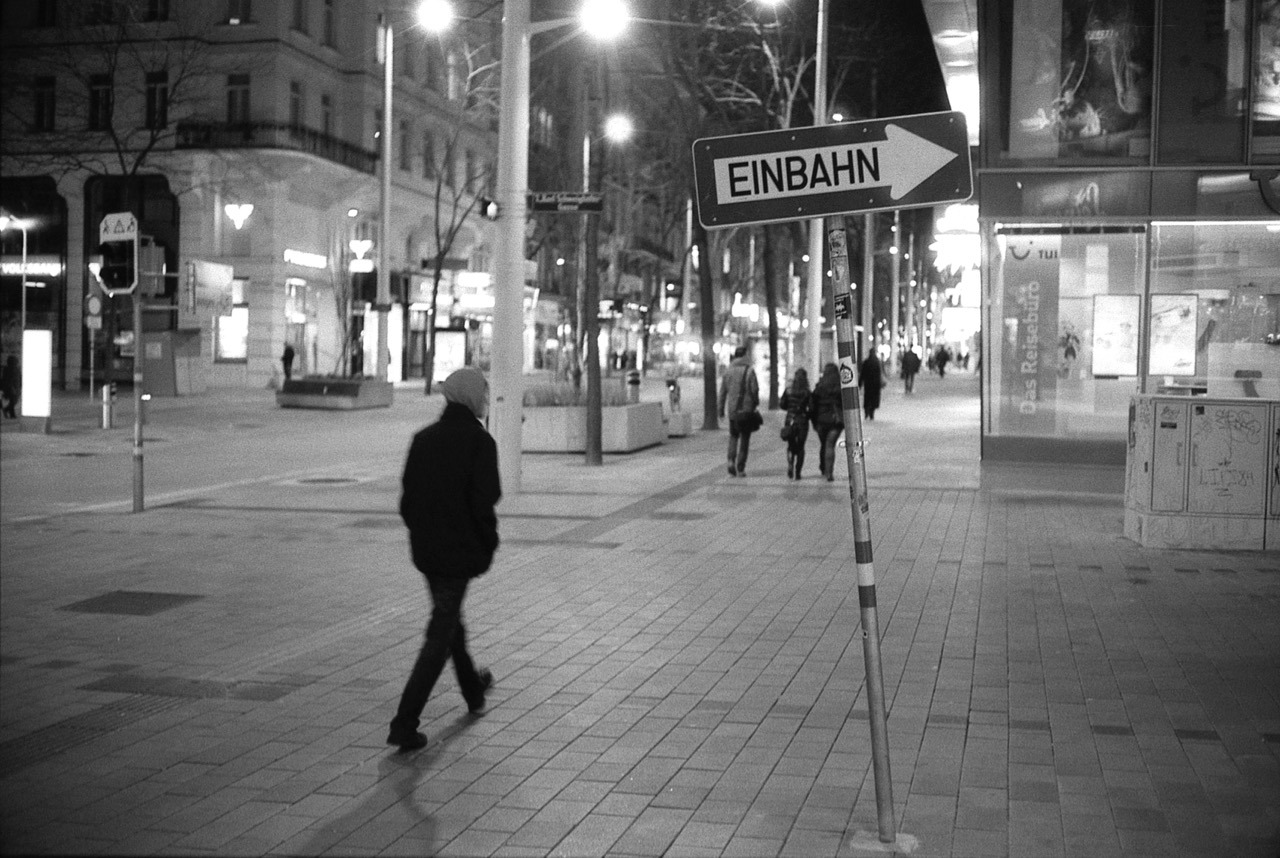
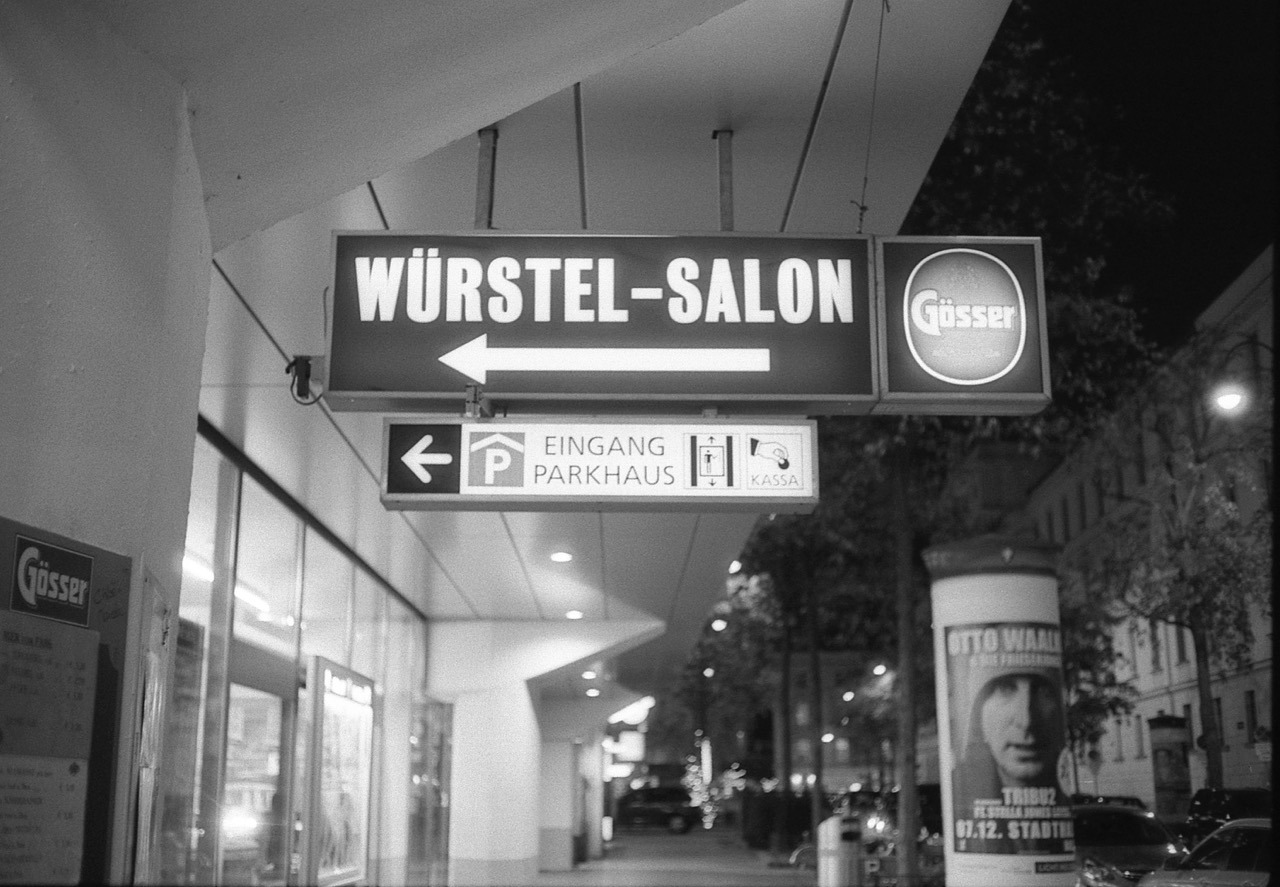
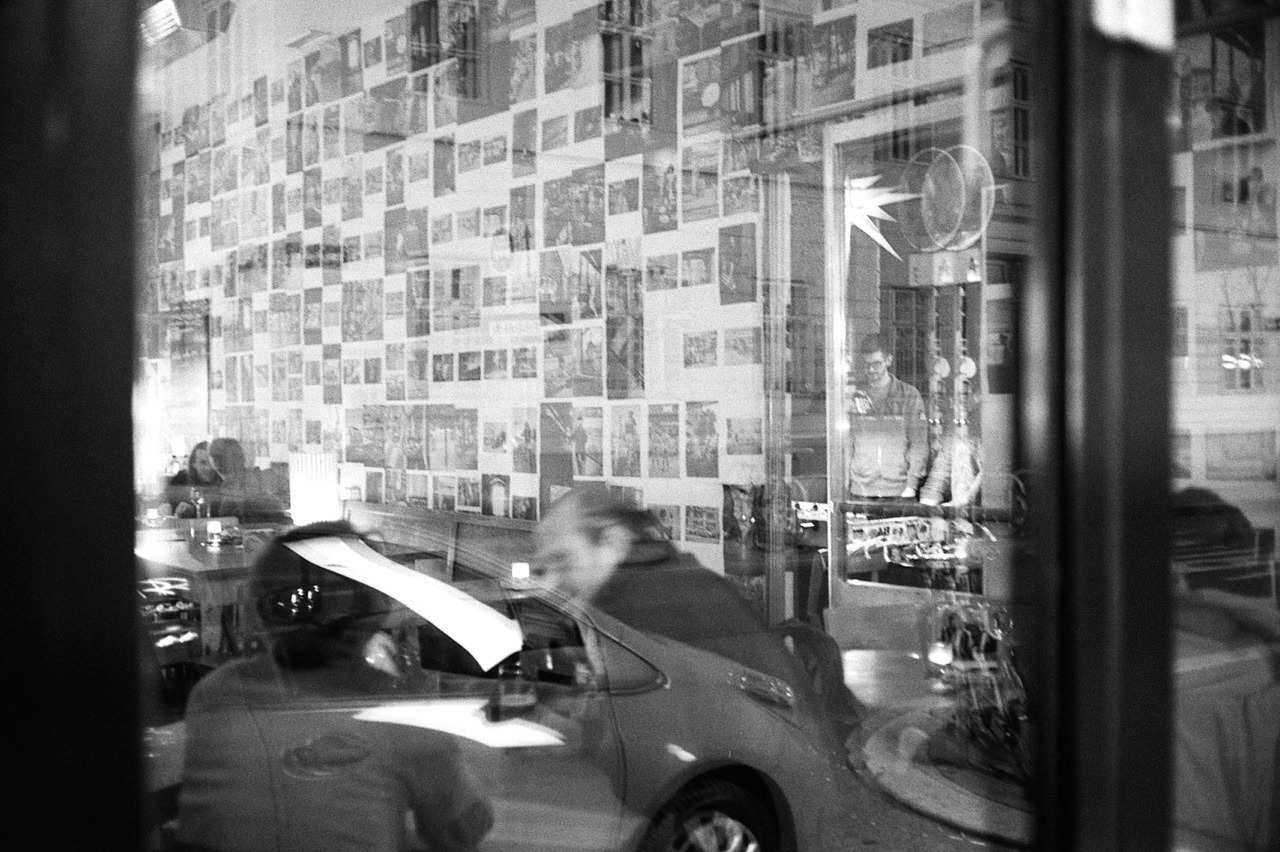
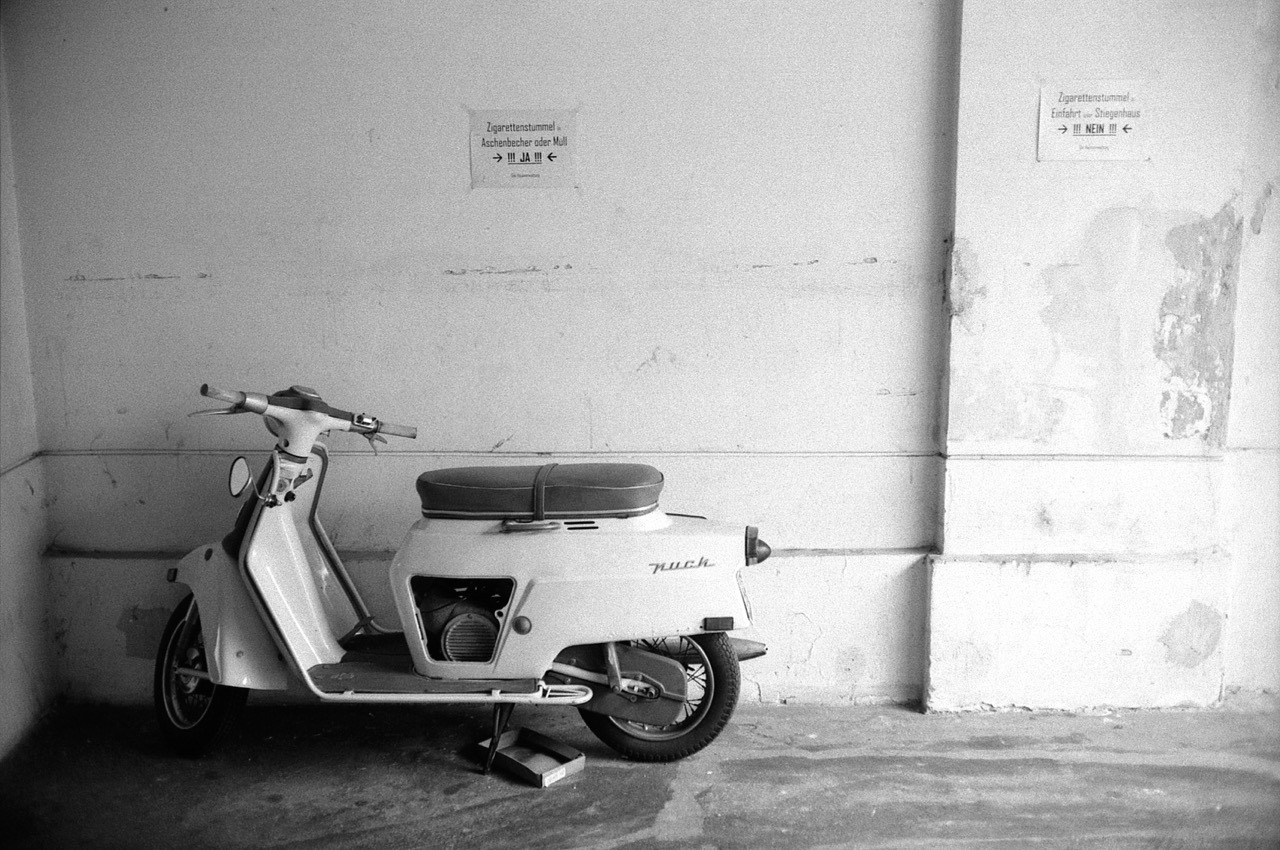
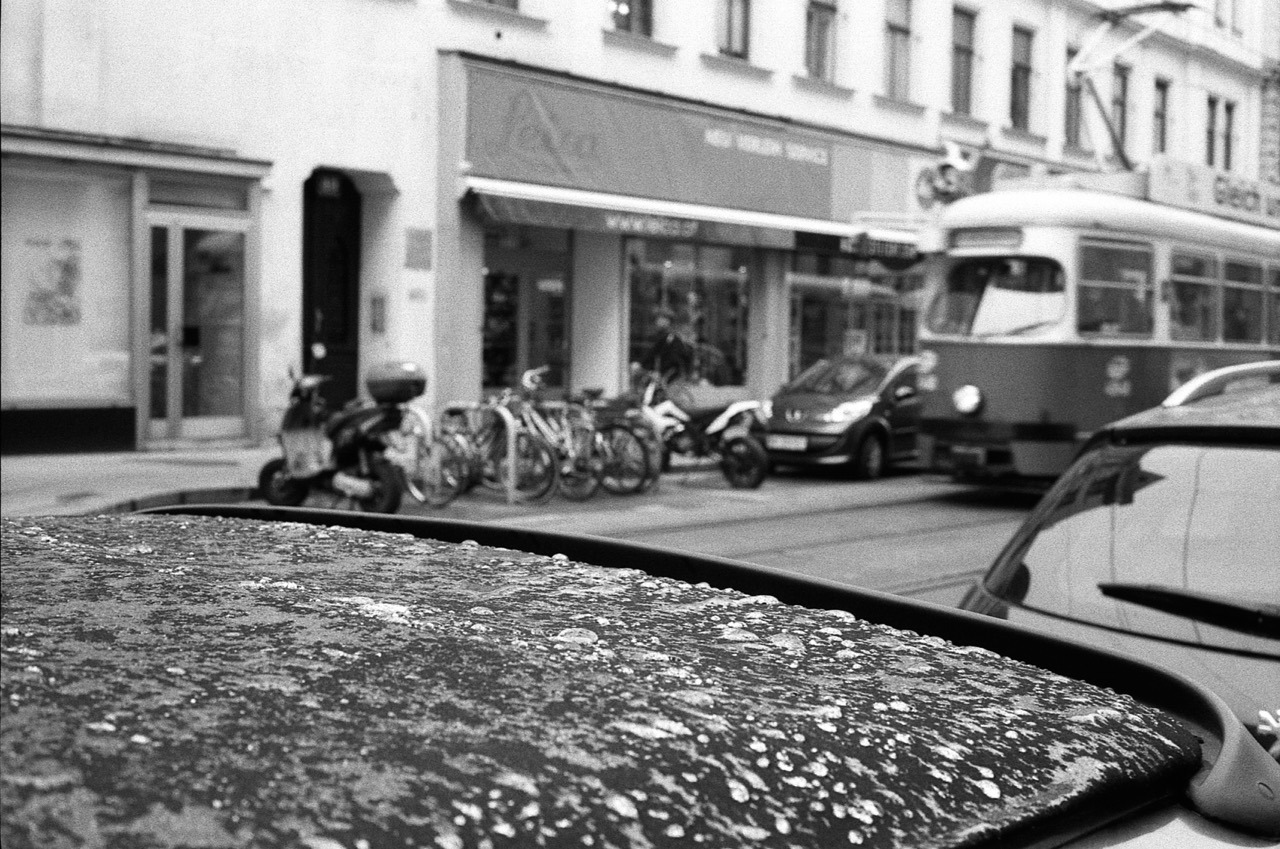
So, here are my impressions from these days in Vienna. One roll was shot on my Olympus Trip 35, but most photos were taken with a Canon Canonet G-III QL-17. The films were either Ilford HP-5 Plus, Kodak Tri-X or Ilford FP-4. The rolls were developed in Xtol 1+1 and scanned with the Epson V200.
MoonlightCafé Wirr with Severin’s Vienna-Mag hanging on the walls.It was cold!
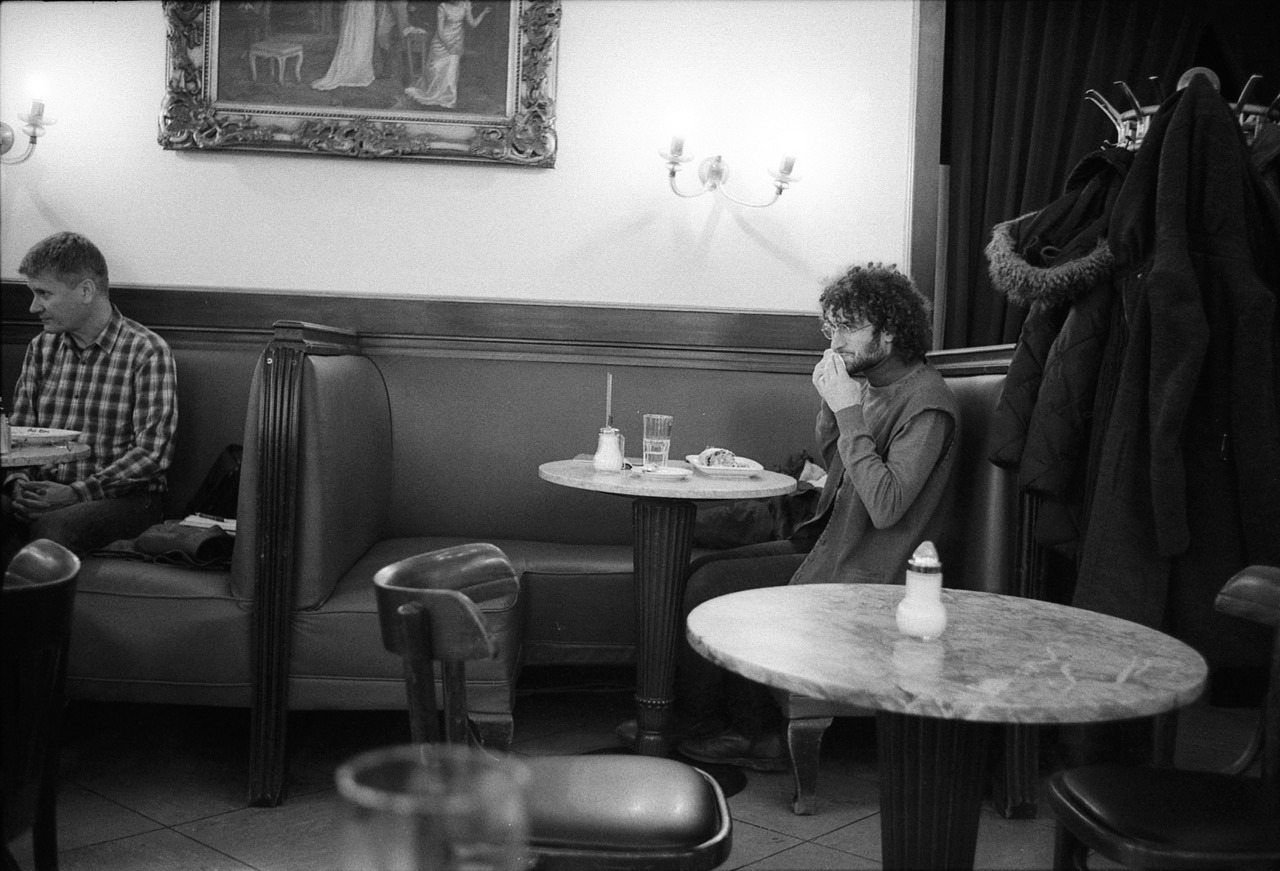
On Thursday, the first day of the workshop, we met at Café Ritter, had coffees and got to know each other. We then went out, walked on and around Mariahilferstraße and shot quite a few frames before having an early dinner.
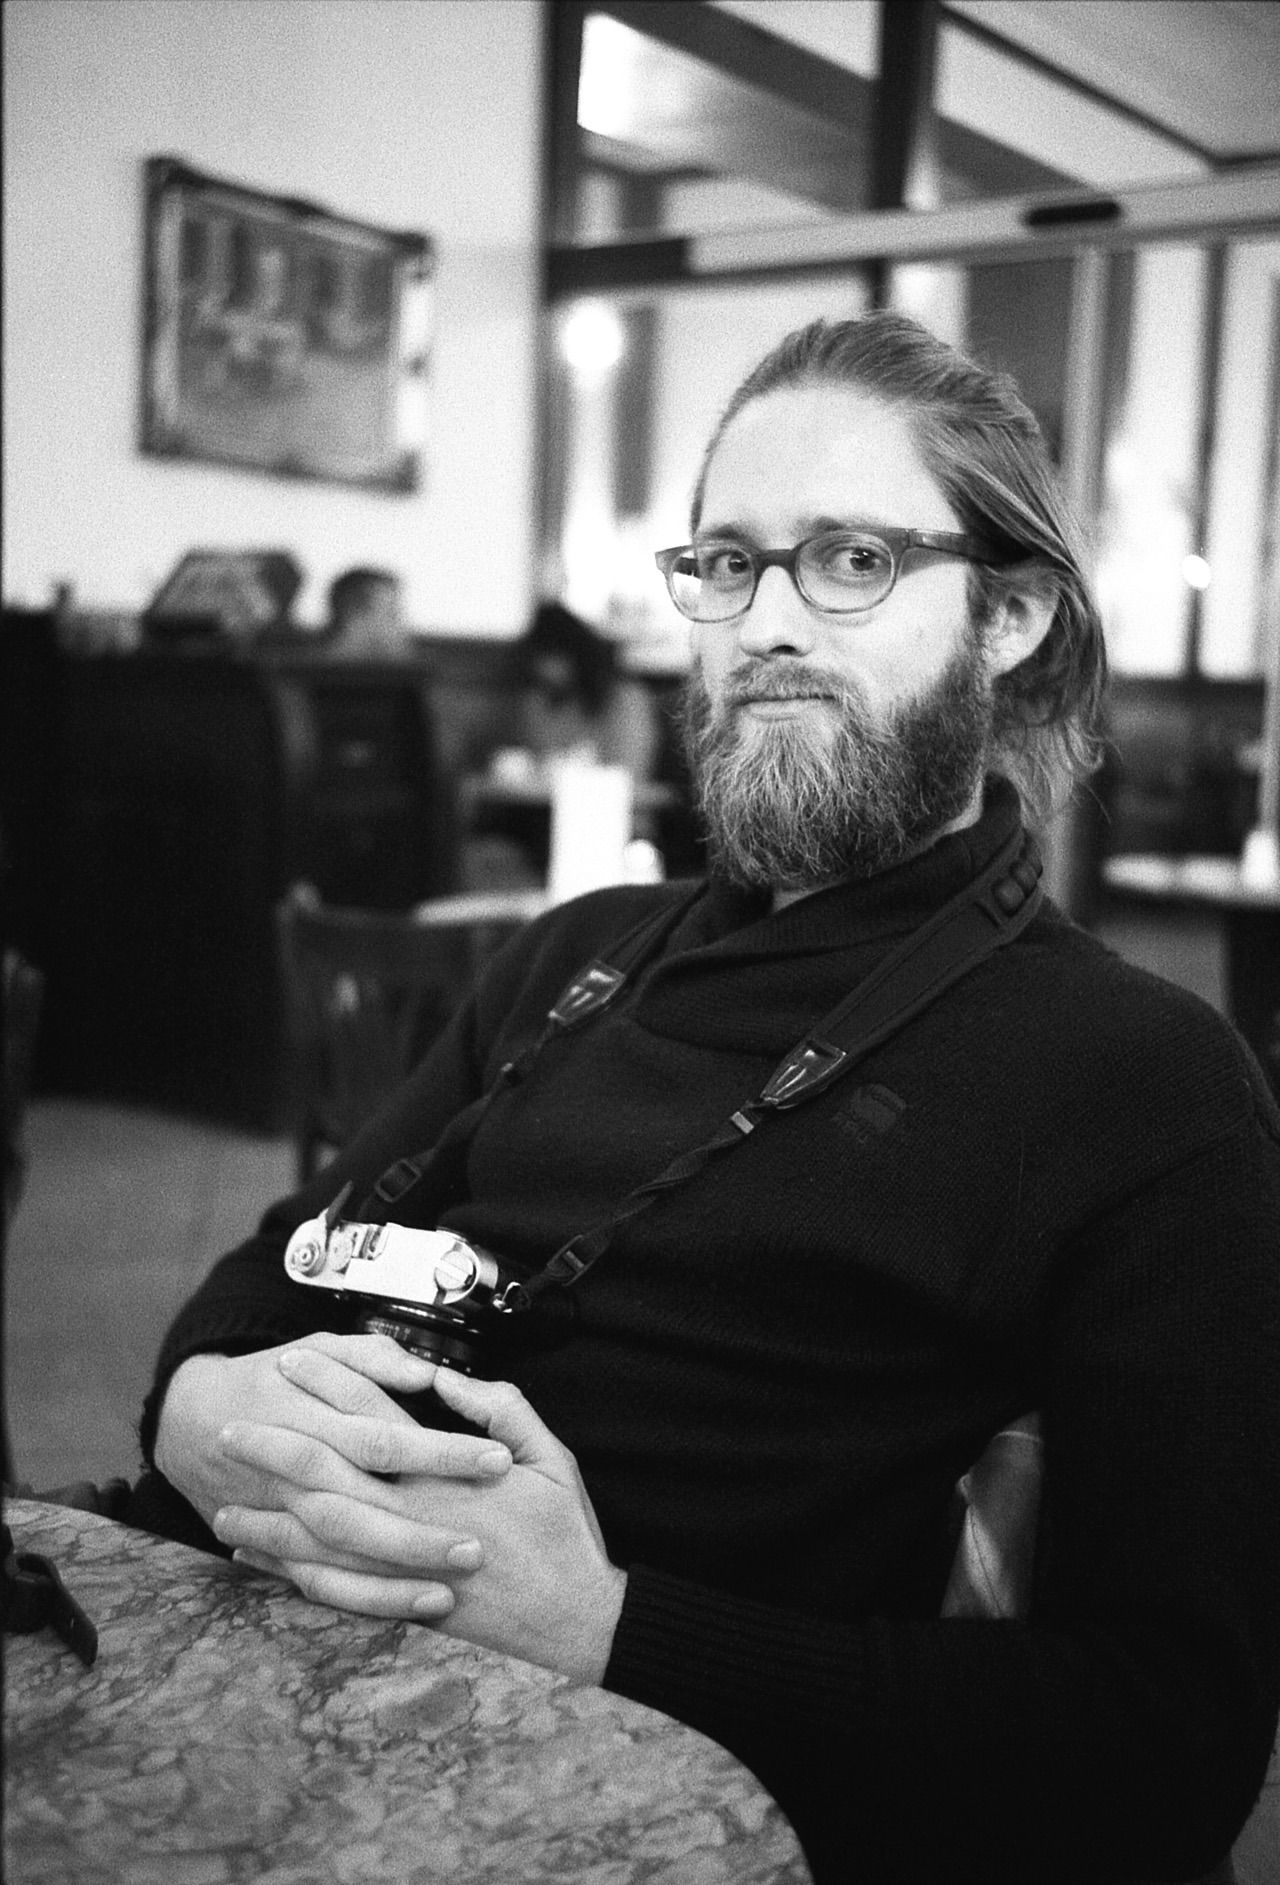
First meetup with Severin at Café Ritter.Read More...
Last week, I’ve been developing and scanning my first roll of 35mm film. I’m going to share some thoughts on this process and of course, I’m going to share some of the photos.
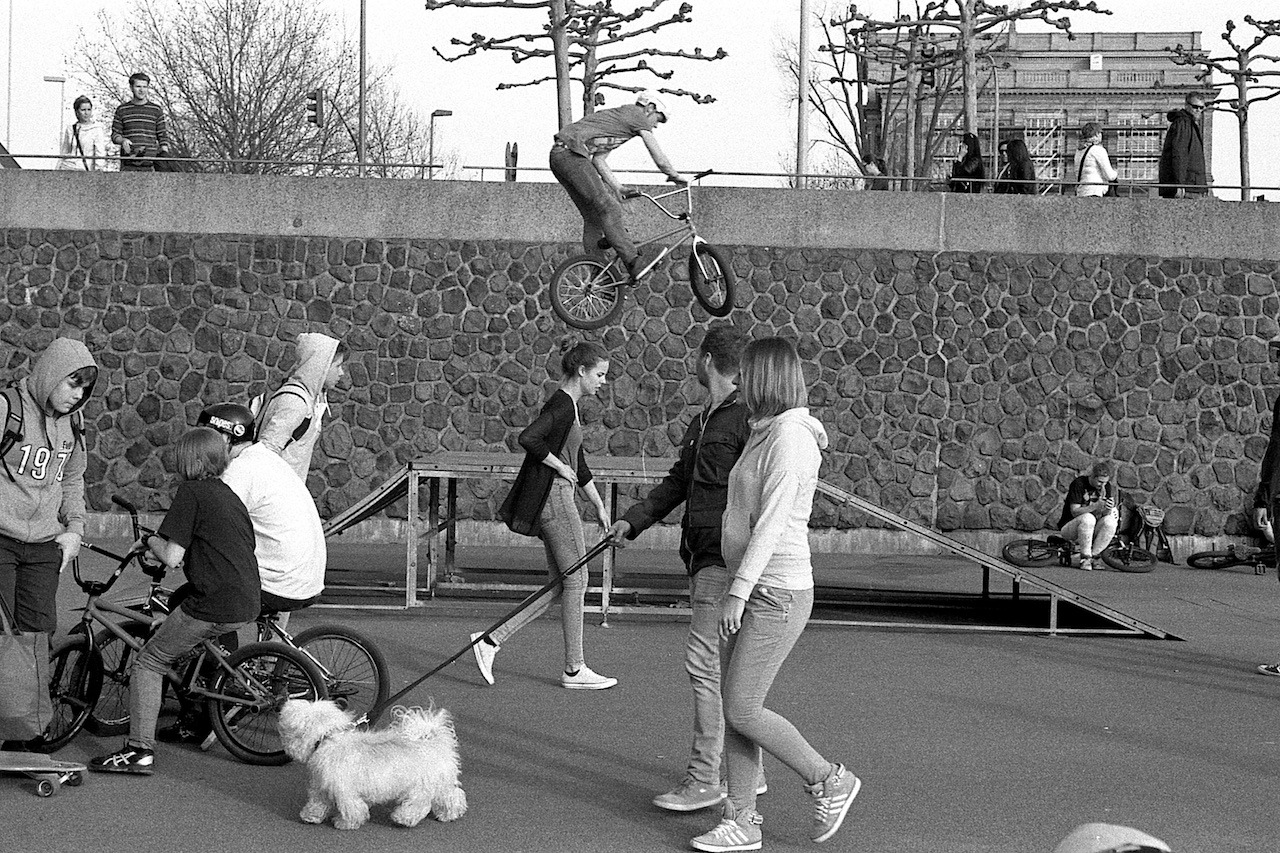
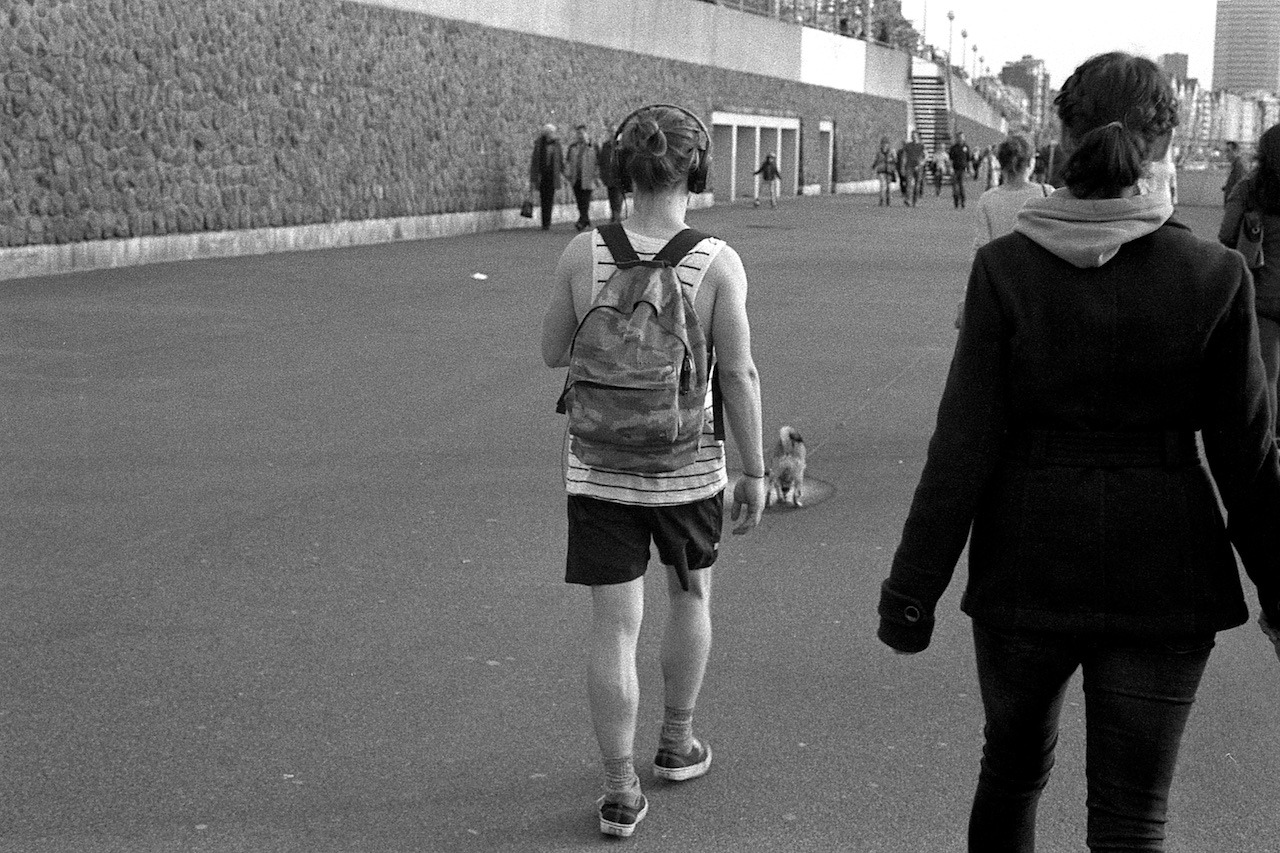
All the black and white photos shown here were shot using my Nikon FE with a 50mm E-Series lens on a beautiful and relatively warm Sunday afternoon two weeks ago in Düsseldorf. The film was a black and white Ilford HP5 Plus.
Developing
Drying film roll
The developing was a bit of a daunting task, since I didn’t want to screw up and ruin the film – either by accidentally exposing the film to light, or by making a mistake during the developing process using the chemicals.
So, I first spent some time to read about how to develop a black and white film and also watched a couple of YouTube videos. And ultimately, I found a PDF from Ilford’s website to be the best guide. Although, I specifically developed an Ilford film – a HP5 Plus – I think this PDF would be helpful regardless of the film.
FilmDev.org: Developing recipes. A good resource to see how other people are developing their films and for reassuring yourself that you’re doing the right thing.
So, the first step was to get the film onto the reel.
After I shot the film, I didn’t wind back the film completely, so the leader was still outside. This gave me the option not having to crack open the roll in the dark and thus having to handle all steps in complete darkness. Since the leader was out, I could insert the first bit of the film into the reel with the lights on.
Winding the film onto the reel was quite fiddly, and I didn’t quite manage to get it on there as shown in the videos. But eventually, I got it on there by simply pushing the film in bit by bit.
It was definitely summer for this guy
Then, I had to develop the film in four steps:
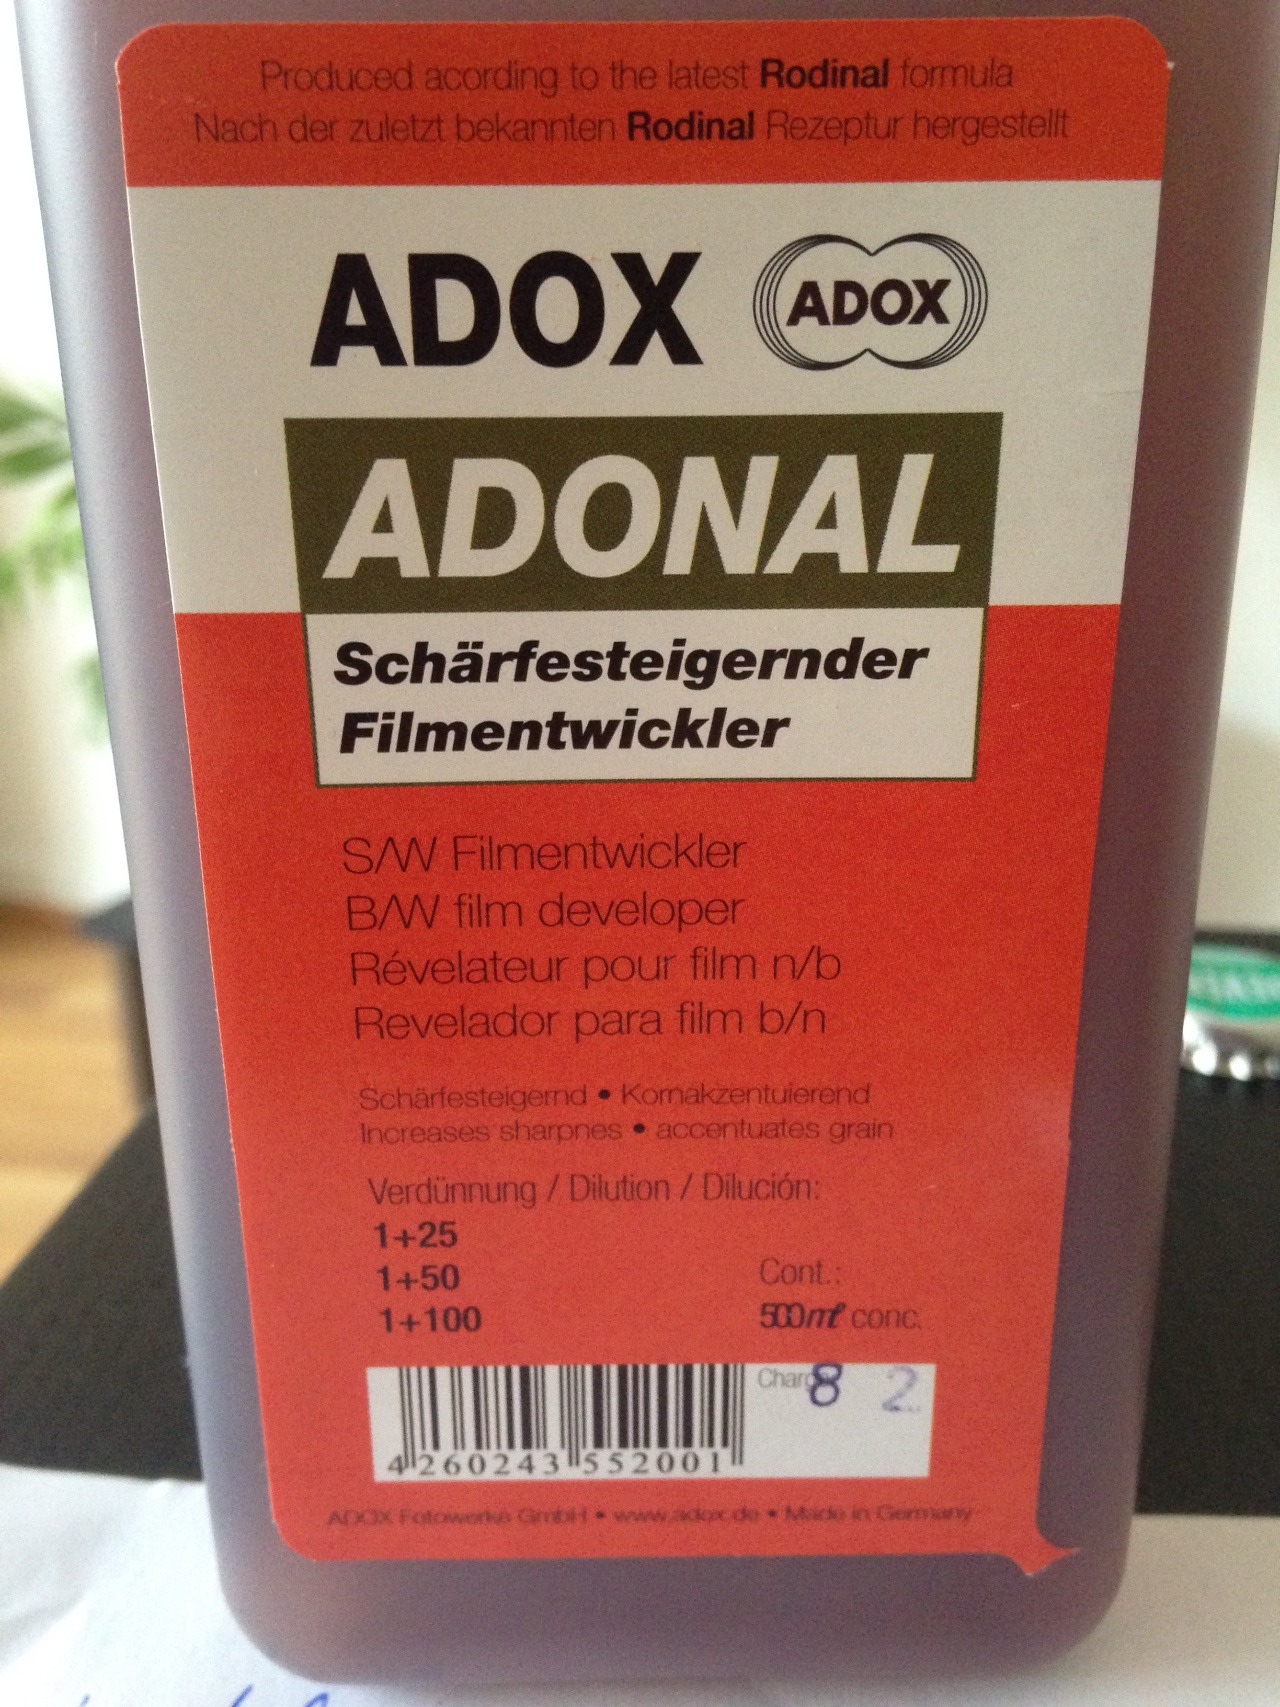
Developing it with the Rodinal-solution (Adox Adonal).
Stopping development with a stop bath.
Fixing the film (using a Adox Adofix solution).
Washing (and using Adox Adolfo wetting agent at the final rinse).
The Rodinal developer
For each process, I used a chemical solution, and all of them had to be tempered to roughly 20°C. It was a bit tedious to prepare all the solutions and especially maintaining them at 20°. But as I found out later, you probably don’t really need the chemicals for steps 2. and 4. And keeping all solutions at 20 degrees seems not to be too important, either. So next time, I’ll try without the chemicals for these steps and just use water.
And, what I should have done after washing (the last step), is wipe the whole film with a sponge to get rid of any remaining solution residues and also to get rid of the first few dust particles that might have already settle onto the film.
Then it was time for drying for which I just hung the strip over the bath tub.
On last word of caution: you should be aware that these chemicals are not harmless. I had a lightly irritated eye a bit later, probably from the solution fumes. So take care with those chemicals!
Watching football
Scanning
To be able to scan the images, I had to cut the film-strip into sets of six images, so they fit into the scanner’s tray. Pretty easy. Just use regular scissors.
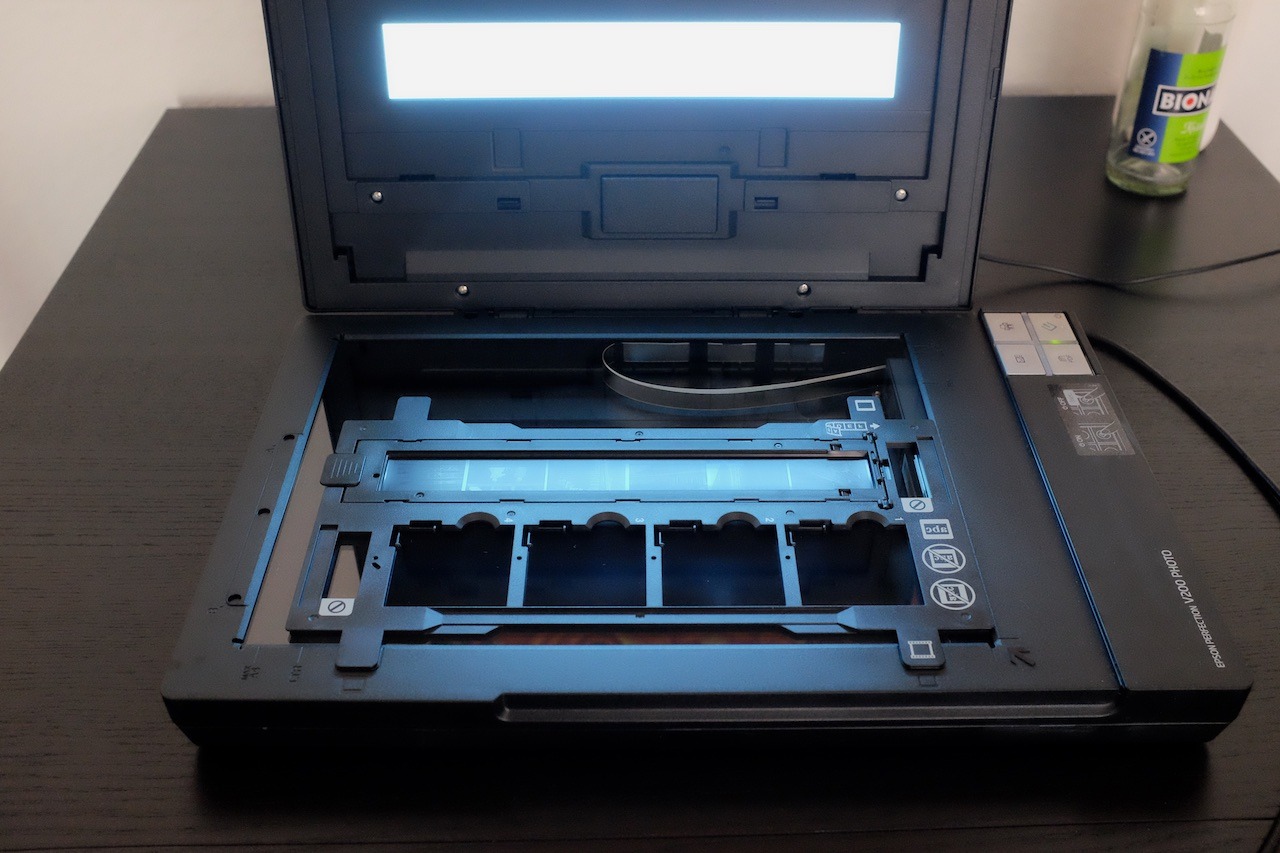
Scanning the negatives
The scanning itself was pretty straight forward, too. I used a Epson Perfection V200 Photo scanner. The Software – “Epson Scan” – automatically recognises the individual images and it’s just a matter of choosing the resolution and file-format you want. I chose JPEG with 600 dpi for a 10x15cm target format, which gives me 8.7 megapixel images.
What I can recommend – and what I didn’t do right from the beginning – is to examine the negatives once again before putting them into the scanner and wiping them with a dry and clean cloth. This should get rid of any new dust.
Here are two helpful resources for the scanning process:
Overall, it was not really difficult to develop the film. And next time I’ll probably be considerably faster, since I’ll be more familiar with the process, and – as I said – will skip preparing the stop-bath solution.
So, I’m going to do this again. Especially since I really enjoy the whole workflow.
It’s really different to shoot film. I tend to shoot more deliberate, and also pay more attention to composition right away. There’s the suspense having to wait for your photos and not knowing how they turned out. And in the end there are way less photos to edit. And, I think I end up with a much higher percentage of “keepers”. And of course, I like the look of film.
I’ve pretty much read and looked through this now. It’s a good book. It’s a mix of showing you techniques you can use on the street and introductions to photographers.
While the choice of photographers is a little iN-PUBLIC-biased (the author David Gibson is himself a member of this collective), I still enjoyed it a lot – especially for the introduction or re-introduction to great photographers and their different styles. Recommended!
33/365: I was coming around a corner, when the guy on the right just got out of the supermarket, re-joining his two co-workers that have been waiting for him. They started walking my way for 200 meters or so. And that’s when I made this photo.