Created by photographer Andrew Jamieson of Andy Creative, the video below shows his entire medium format process—from loading the film, to taking the picture, to developing the roll, to scanning in and post-processing the shots—in four mesmerizing minutes.
A great video indeed. And apart from the medium format film, this process is very familiar to me by now.
In the latest installment of the series, Dan K shares with us some technique tips that will help you find your way around the world of film photography.
Some great tips. This one regarding exposure is something I wasn’t so aware of, and probably explains why some of my recent film-photos not always turned out that great:
In practice, having lots of exposure latitude means you don’t need to be spot on with your exposure. As you over-expose, you will lose highlight detail. Conversely, as you under-expose, you may start to lose shadow detail. It’s best to get it right, but when I am working with high-latitude print film in a meterless camera, I tend to err on the side of over-exposure and give an extra stop of exposure for good measure. This is Old timers would say “Expose for the shadows”. In fact, you are supposed to be using something called “The Zone System” to balance shadows and highlights. Read up on it if you want to learn more. As a general rule of thumb, if the scene has a high dynamic range and your key subject is not the brightest part of the image, then expose to keep shadow detail. Let the emulsion’s greater over-exposure latitude handle the tricky highlights. This is the opposite of the way you’d do it with a digital camera, where you might try to avoid blowing out the highlights. Try it and once you have the hang of it, it will make a lot of sense.
I thought about it for a while before making the booking, because I thought it’s maybe a little decadent to do so. But Nicole quickly convinced me by saying something along the lines of: “You only live once. You like his photos a lot. Go, do it!”. So I booked the workshop, flights and accommodation.
Unfortunately, and to my surprise, the workshop was cancelled two days beforehand and one day before my flight on Tuesday. But lucky me, Severin contacted me directly and suggested to do a workshop just for me. Instead of the originally scheduled 3 days, the workshop took place on two days – one day meeting and shooting and one day in the darkroom. But that was absolutely fine with me, now that I got an exclusive one-on-one training.
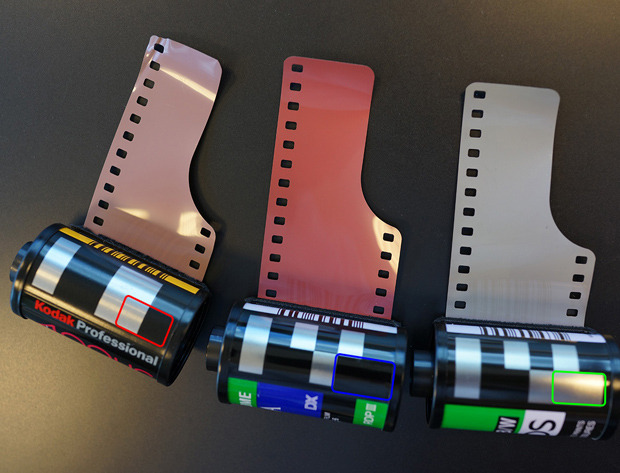
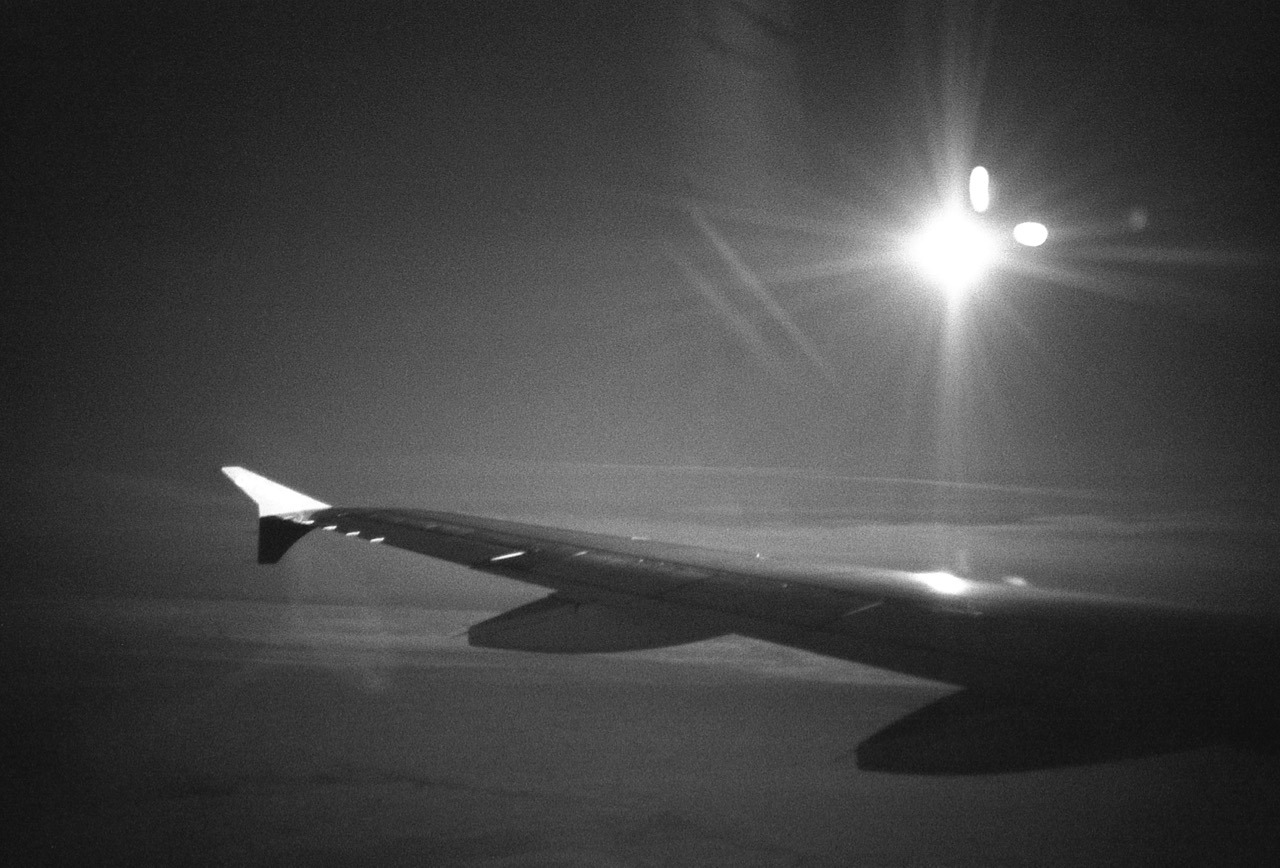
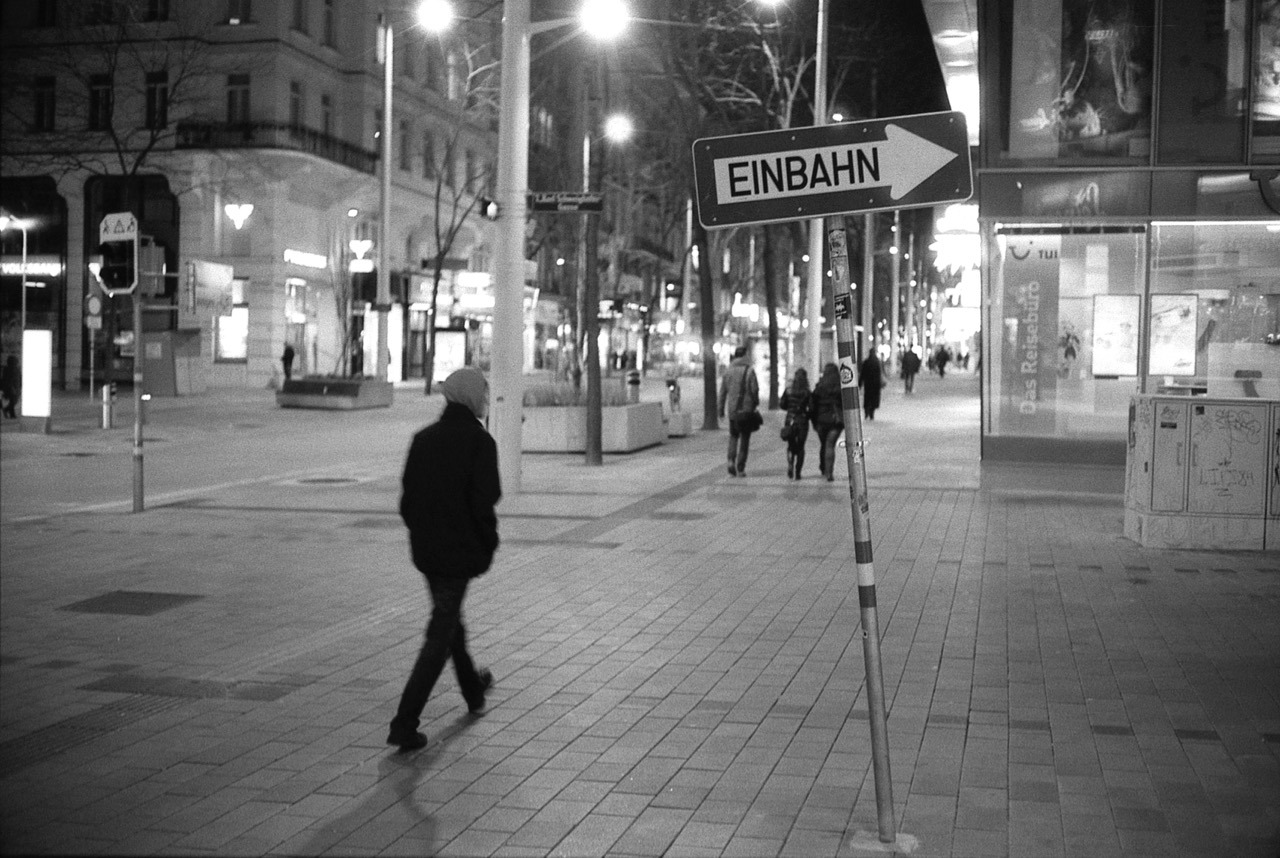
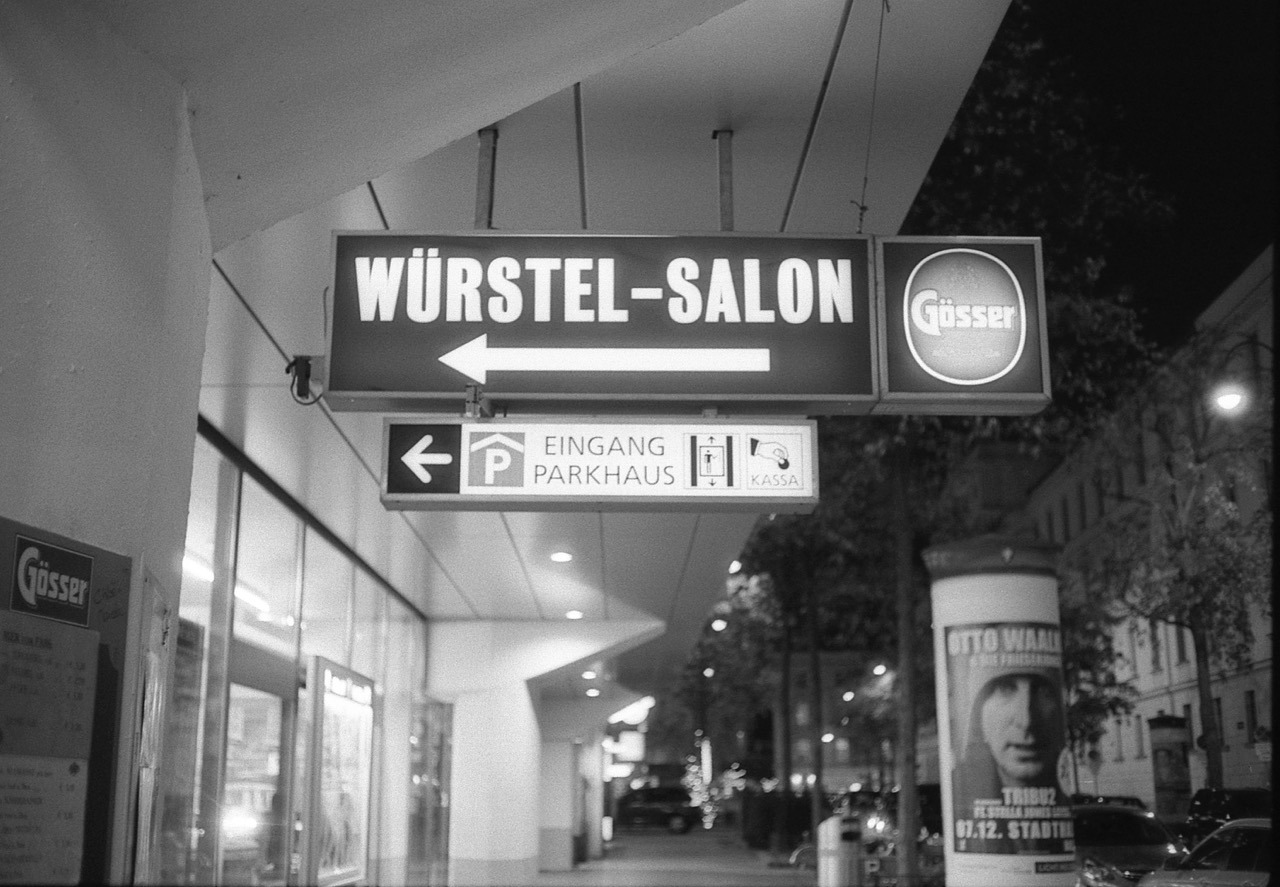
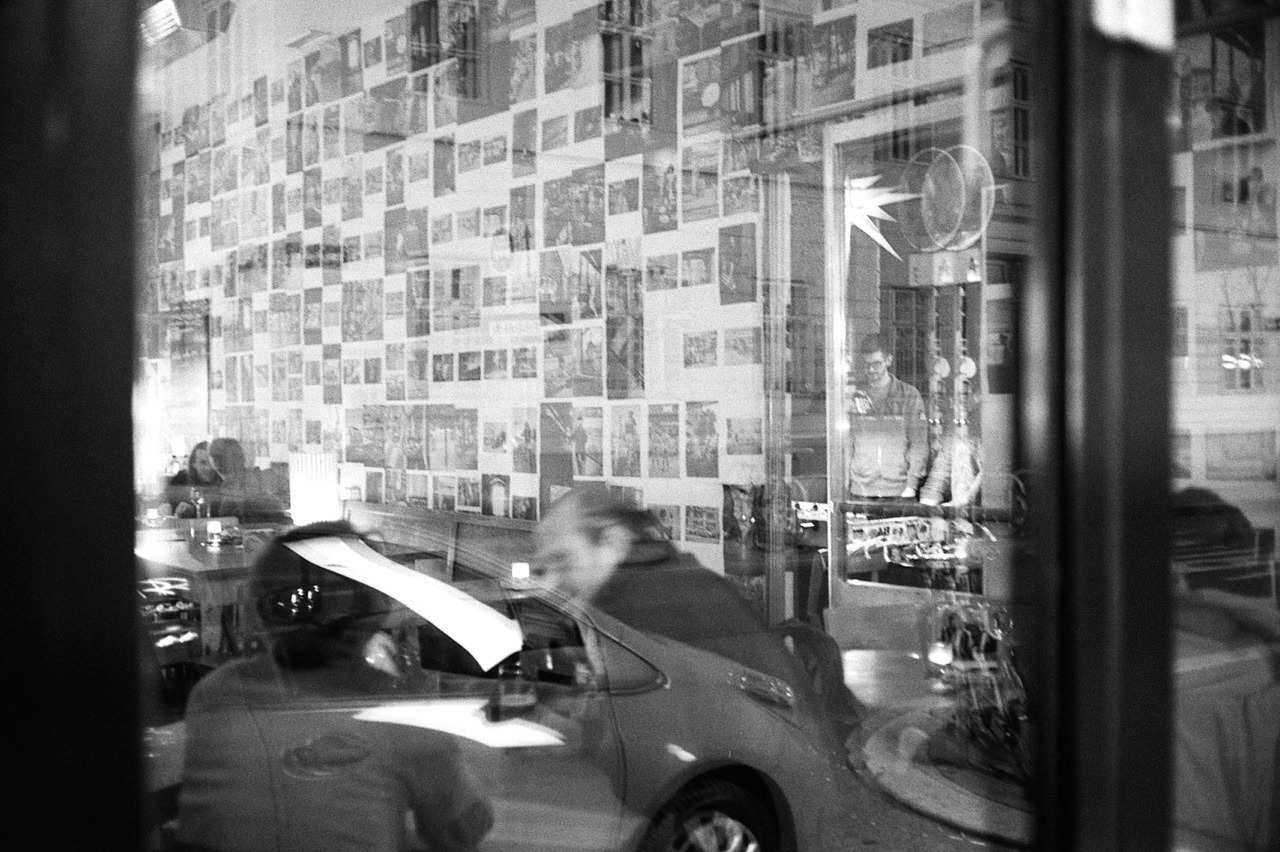
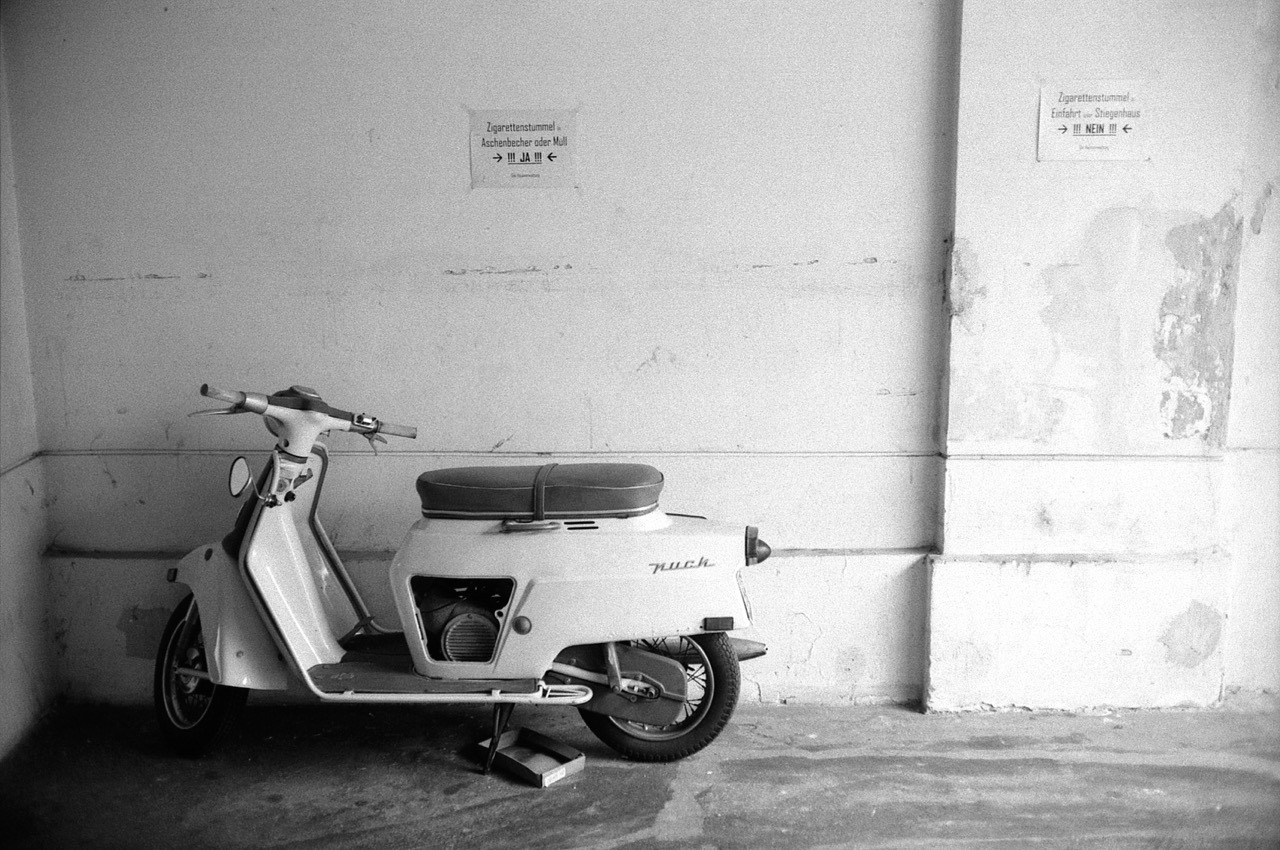
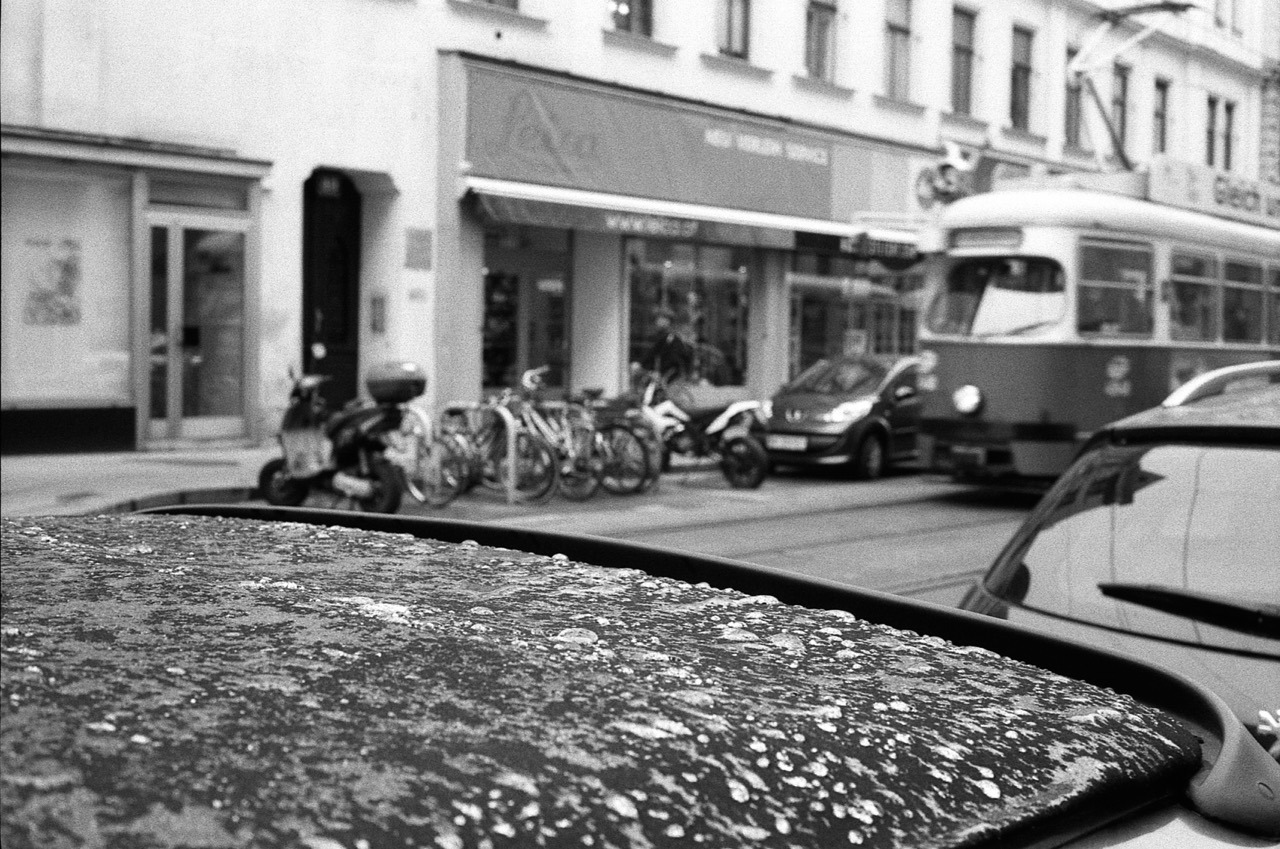
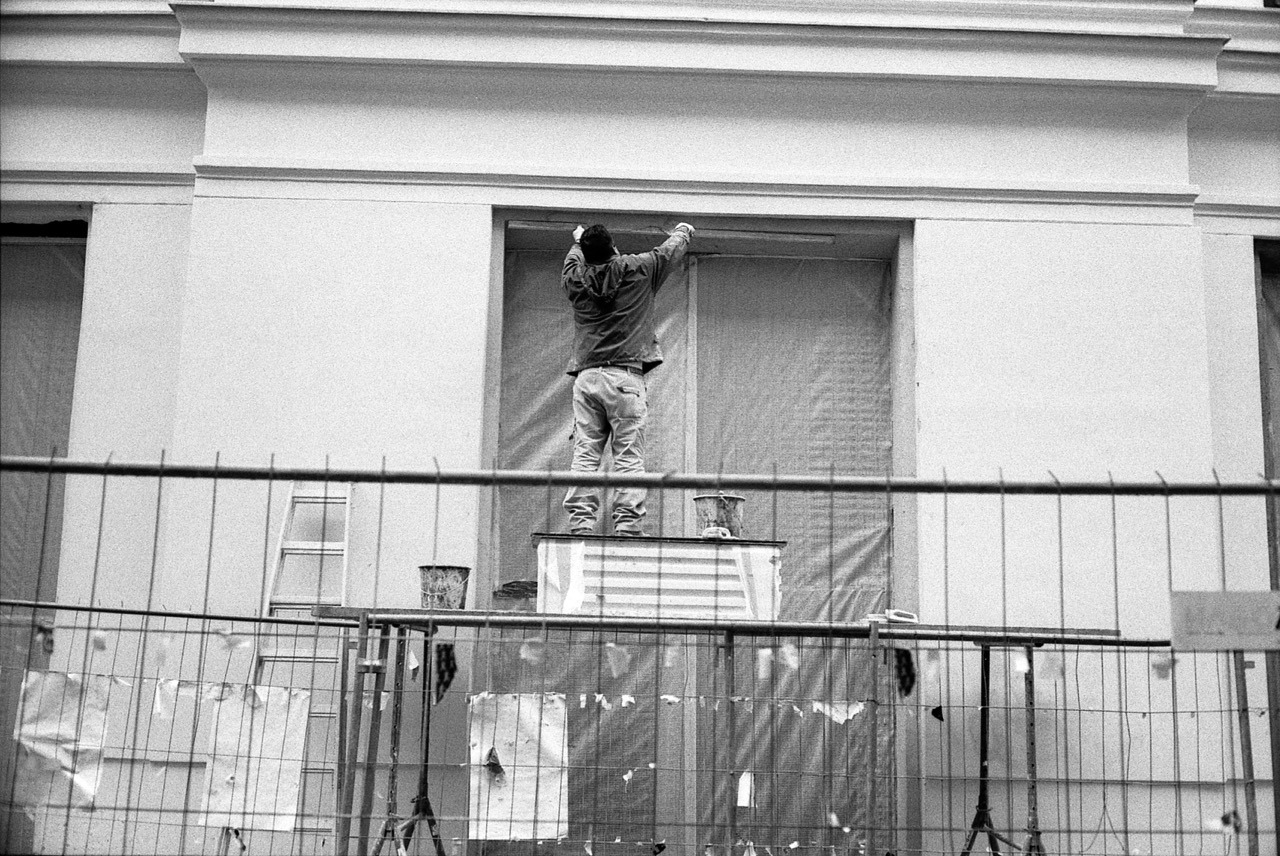
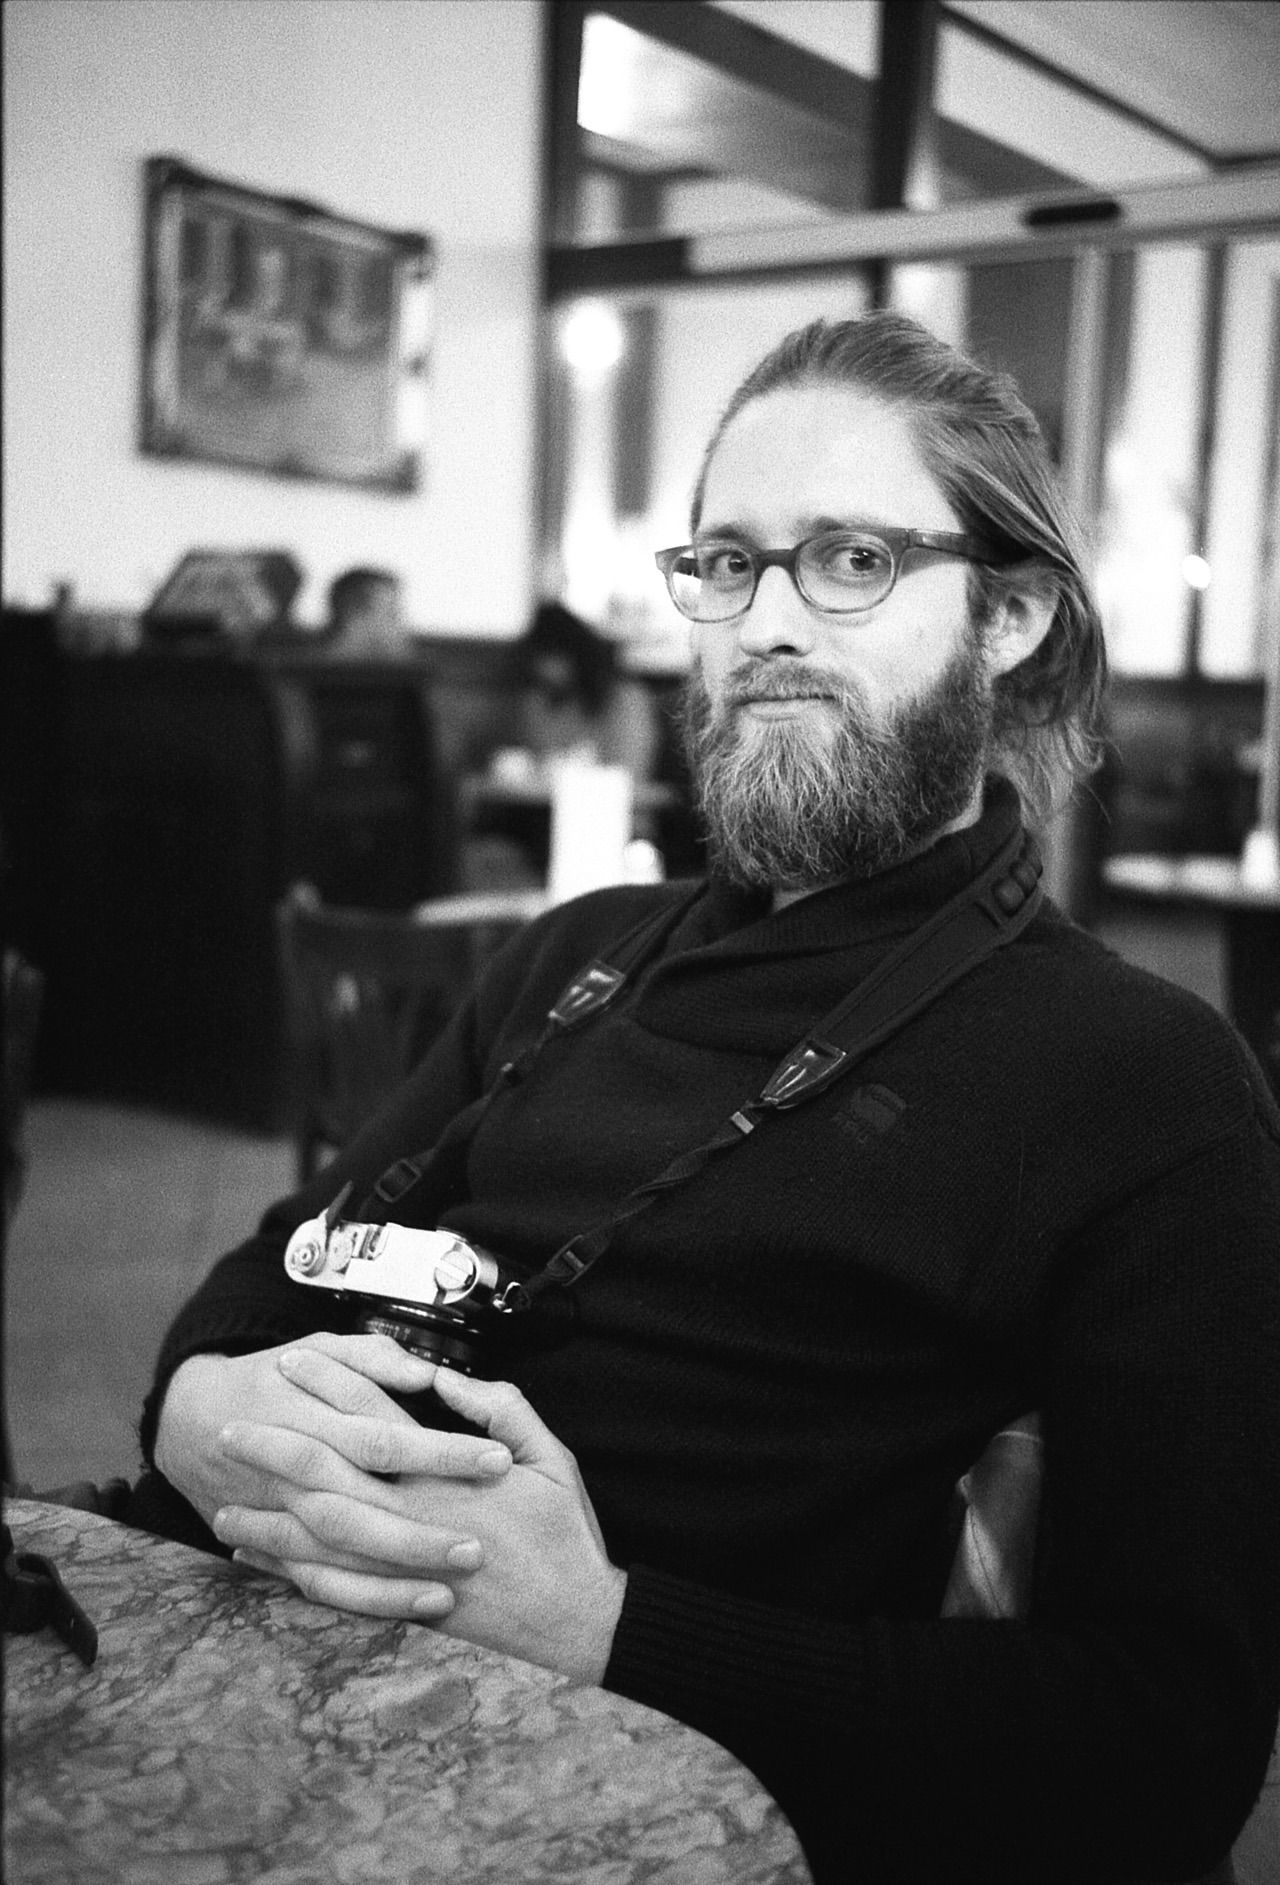
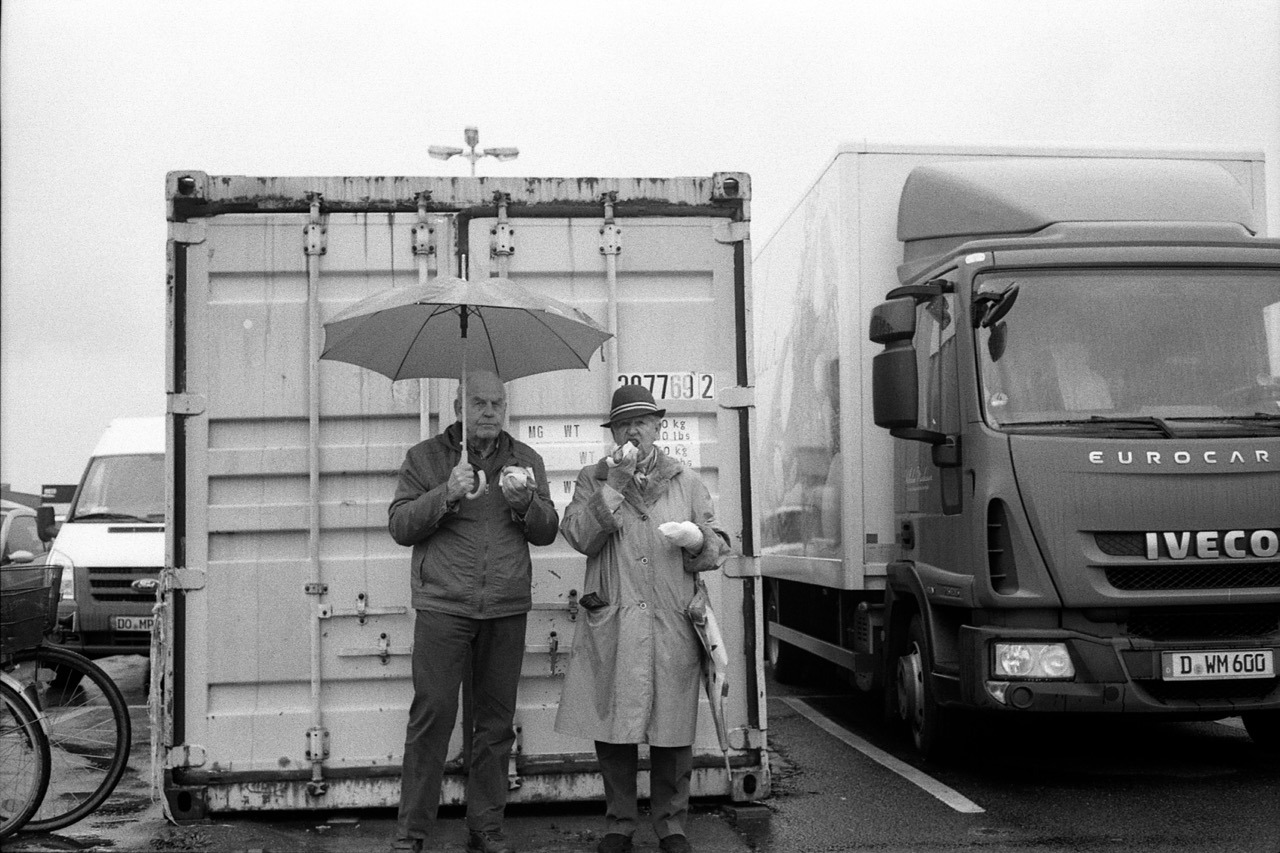
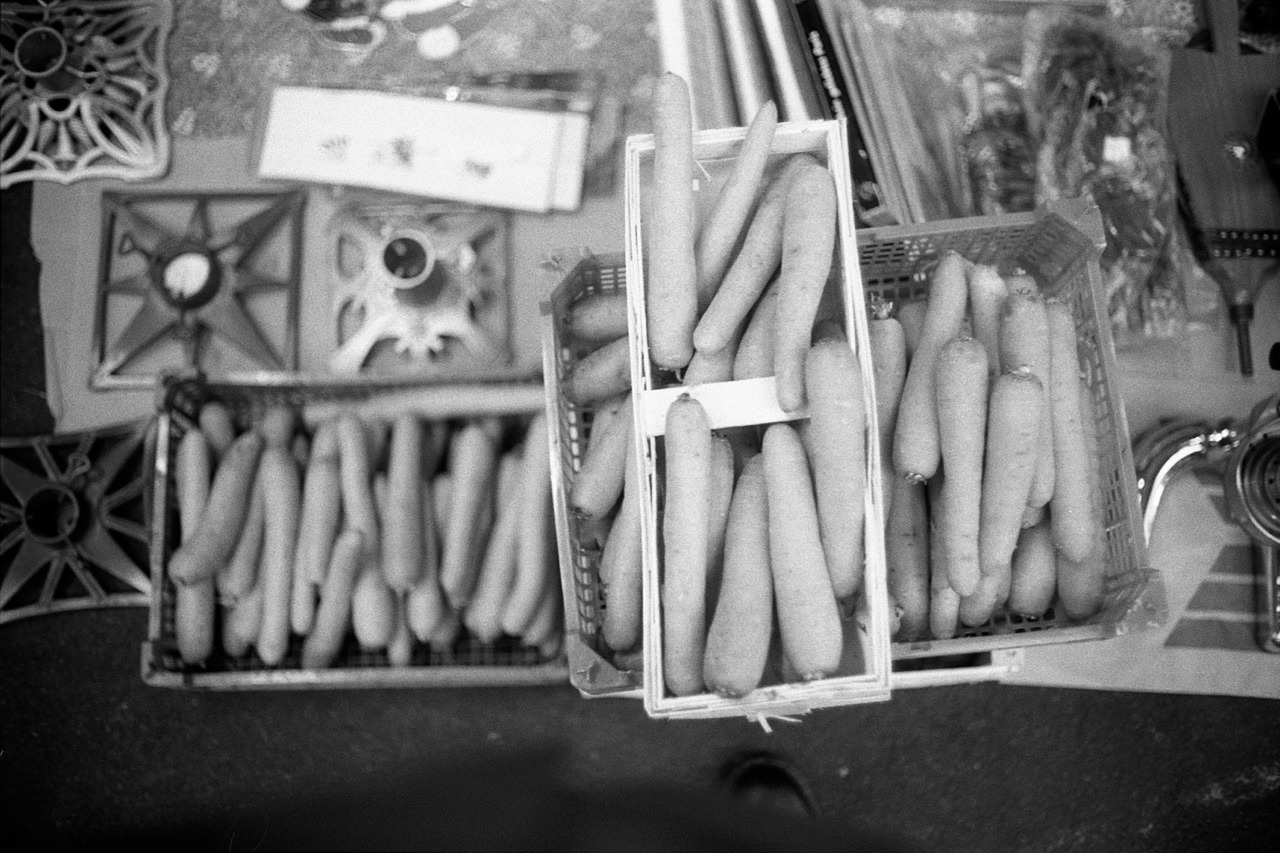
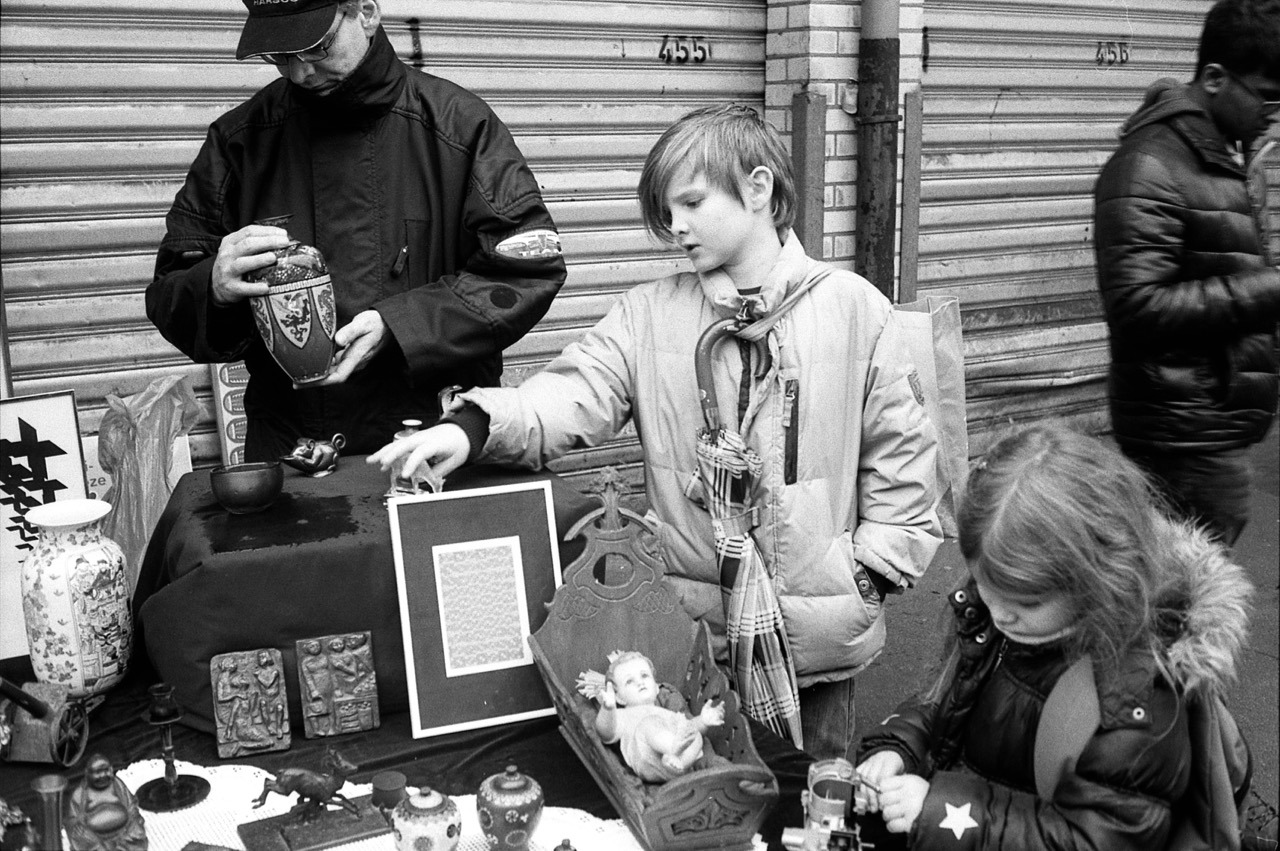
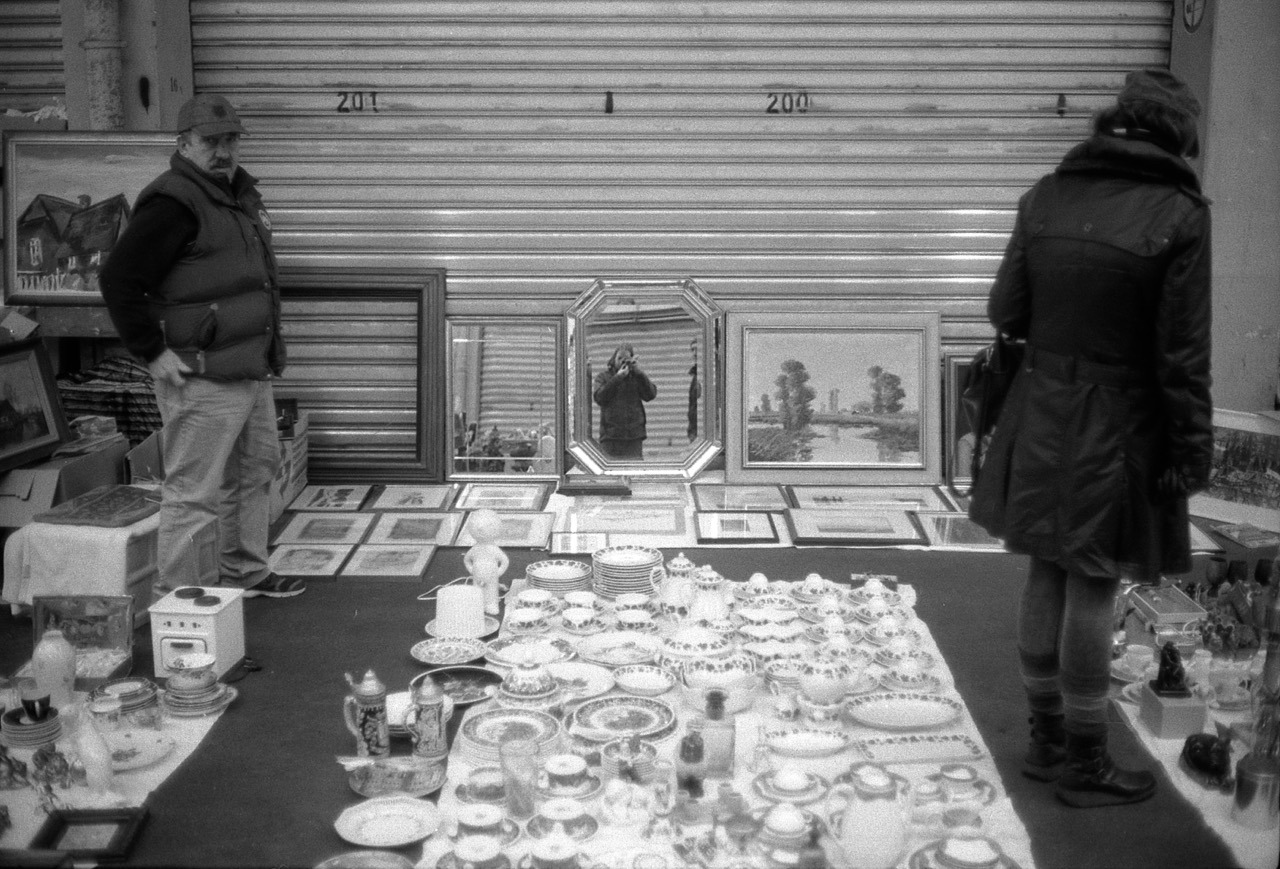
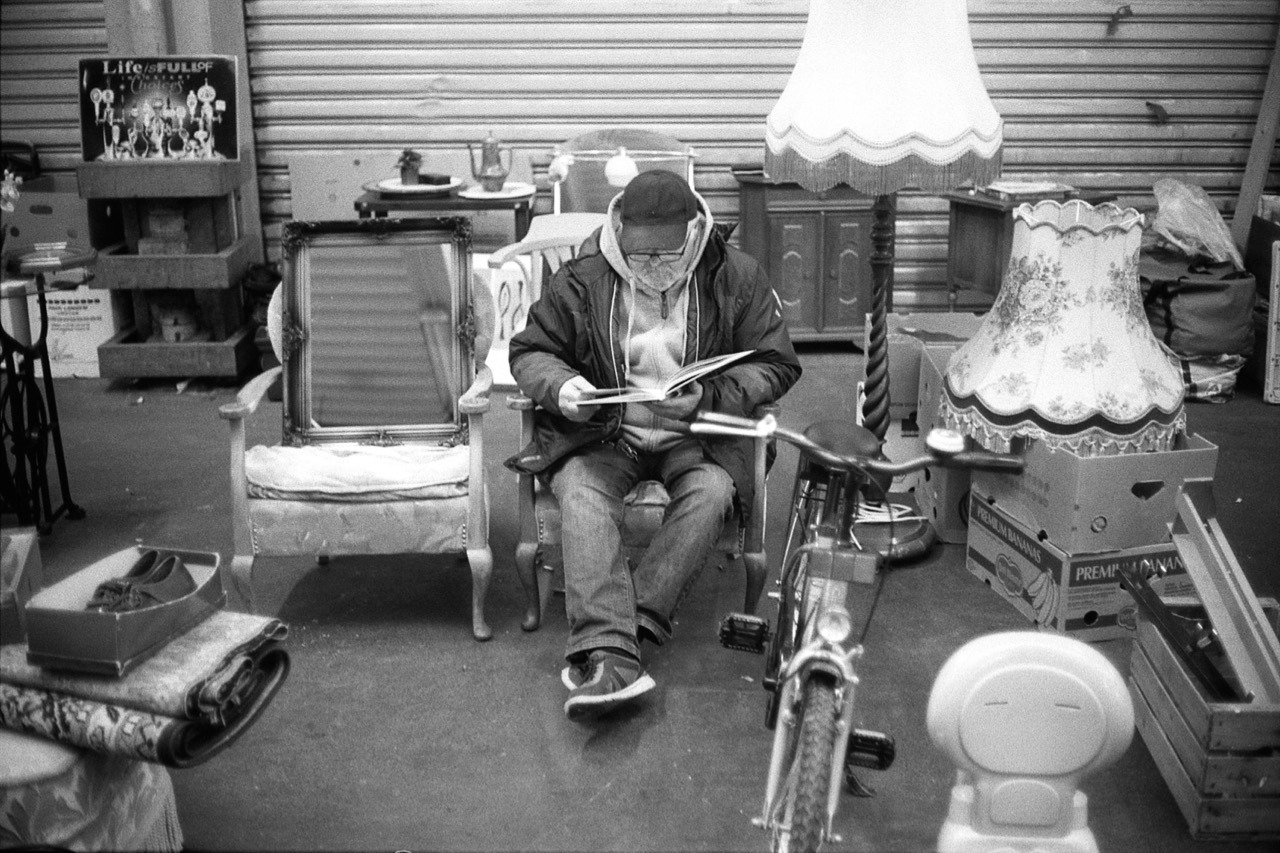
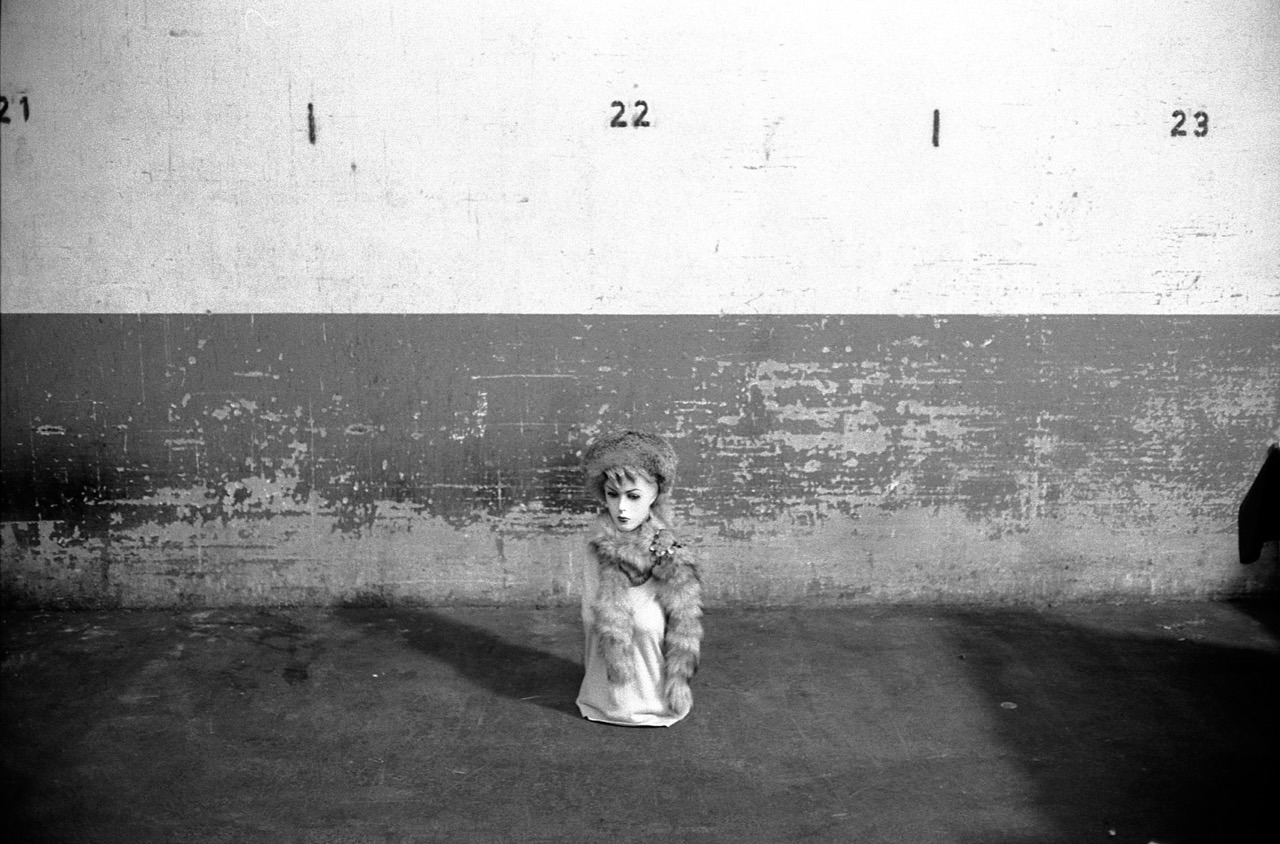
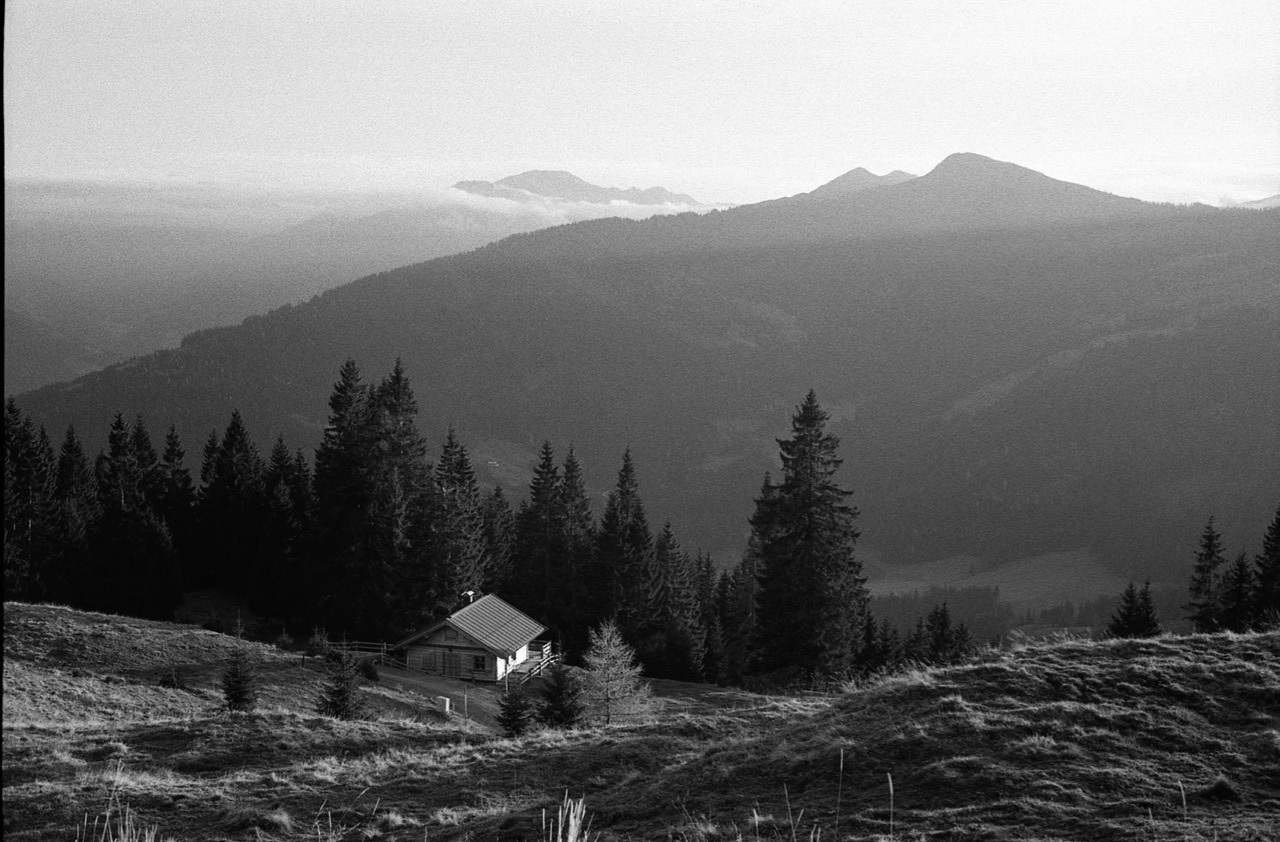
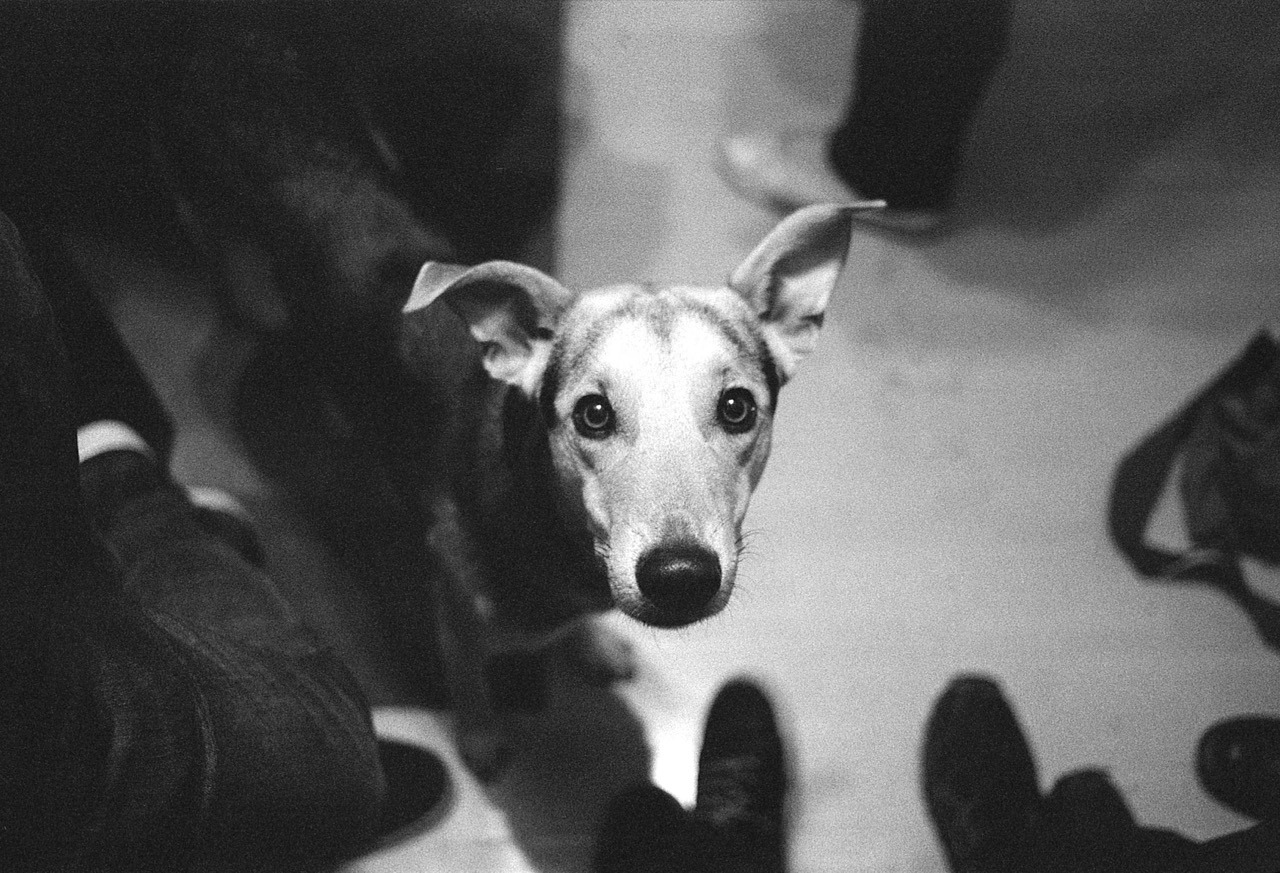
So, here are my impressions from these days in Vienna. One roll was shot on my Olympus Trip 35, but most photos were taken with a Canon Canonet G-III QL-17. The films were either Ilford HP-5 Plus, Kodak Tri-X or Ilford FP-4. The rolls were developed in Xtol 1+1 and scanned with the Epson V200.
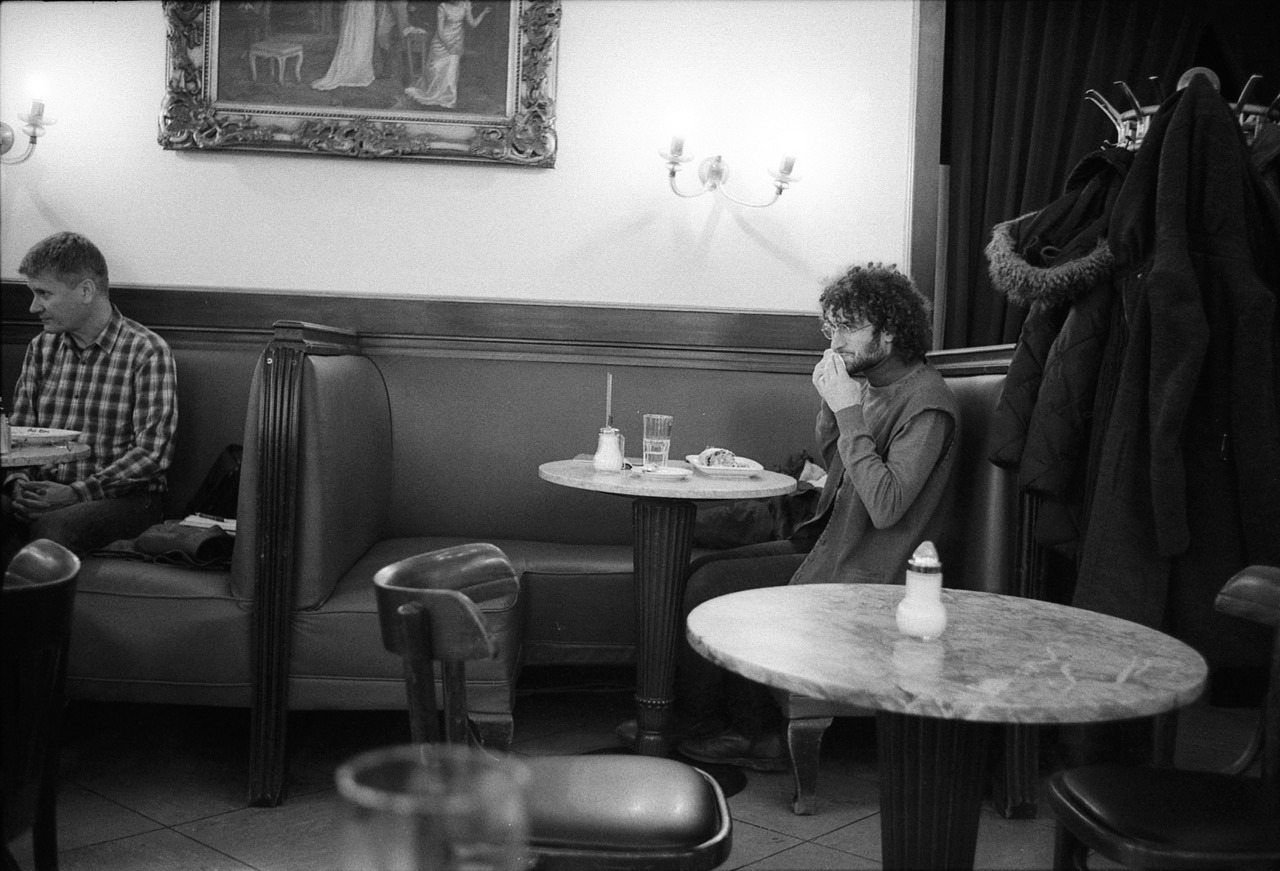
MoonlightCafé Wirr with Severin’s Vienna-Mag hanging on the walls.It was cold!
On Thursday, the first day of the workshop, we met at Café Ritter, had coffees and got to know each other. We then went out, walked on and around Mariahilferstraße and shot quite a few frames before having an early dinner.
First meetup with Severin at Café Ritter.Read More...