Like Jumpcut, this app hasn’t been updated by the original creator in a long time. But someone else made a little adjustment to make sure it keeps working on newer macOS versions. And I’m very thankful for that! Because every time I tried an alternative in the past, it simply wasn’t as good and I kept coming back to good old MenuMeters.
Setting up a new Mac, I pretty immediately notice what software I can’t live without. One of them is the little clipboard utility Jumpcut. It keeps a history of items I copied into the clipboard, and makes them easily accessible via keyboard shortcut. That way I can paste previously copied text again and again.
Jumpcut hasn’t been updated in ten years now, but it still works. It’s free, simple and does its thing well. What more can you ask for?
[UPDATE: it now has been updated and is supposed to work on newer macOS versions. Has a new homepage, too: https://snark.github.io/jumpcut/.]
Did work a full day today. That means not too much progress at home. But managed to finish the assembly of a cupboard for the living room, hung one set of curtains in Zoe’s room and put up our desk. Plus, Nicole did some work in the kitchen and bathroom, too. Actually that’s some ok progress, now that I think of it.
Been to the dentist this morning. The pain was close to unbearable. And luckily he was able to help me, so that I no longer had to quietly sit down and suffer every half hour. But there’s a root treatment coming up soon. 😕
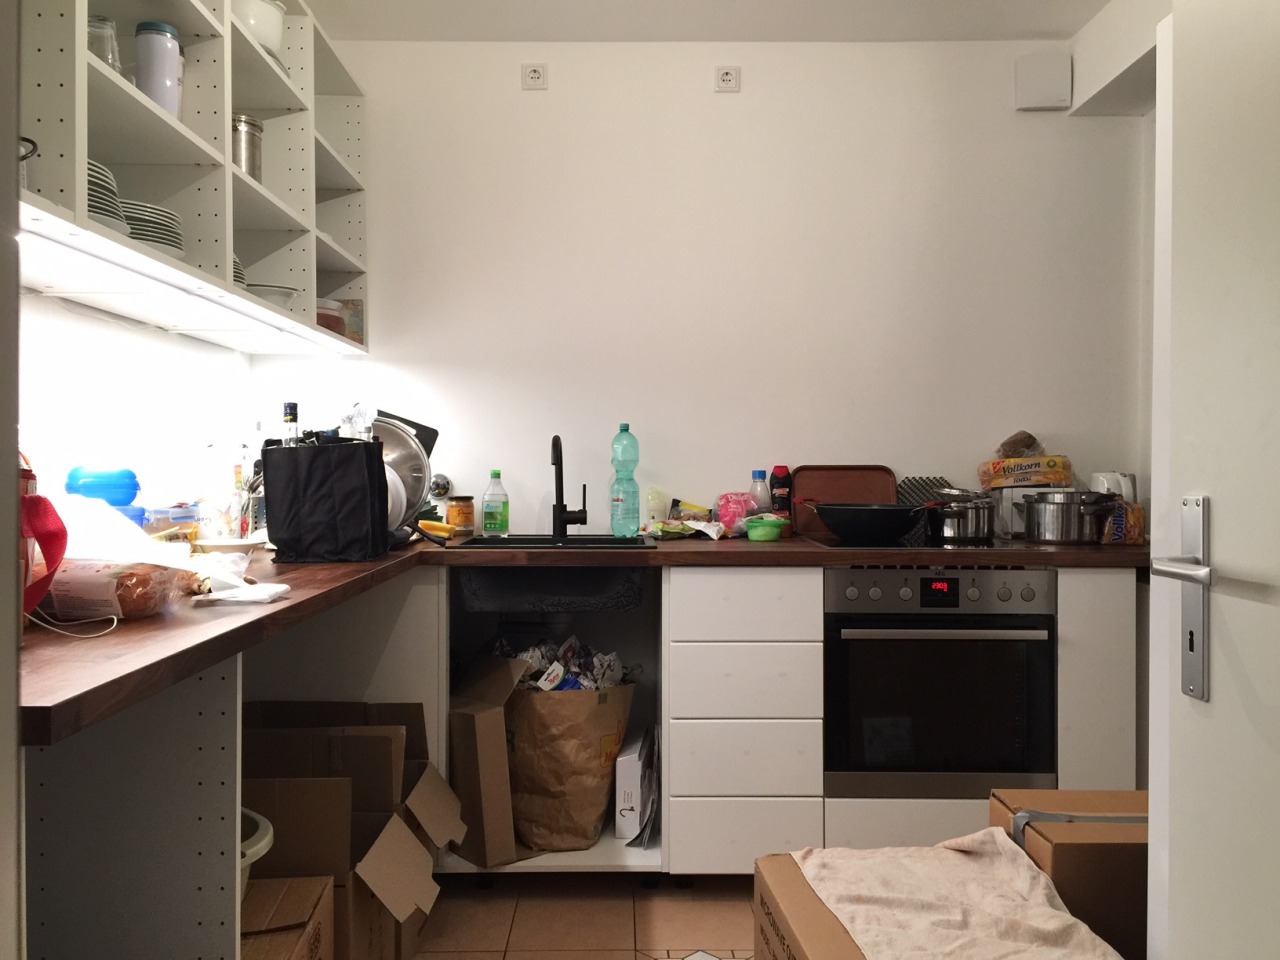
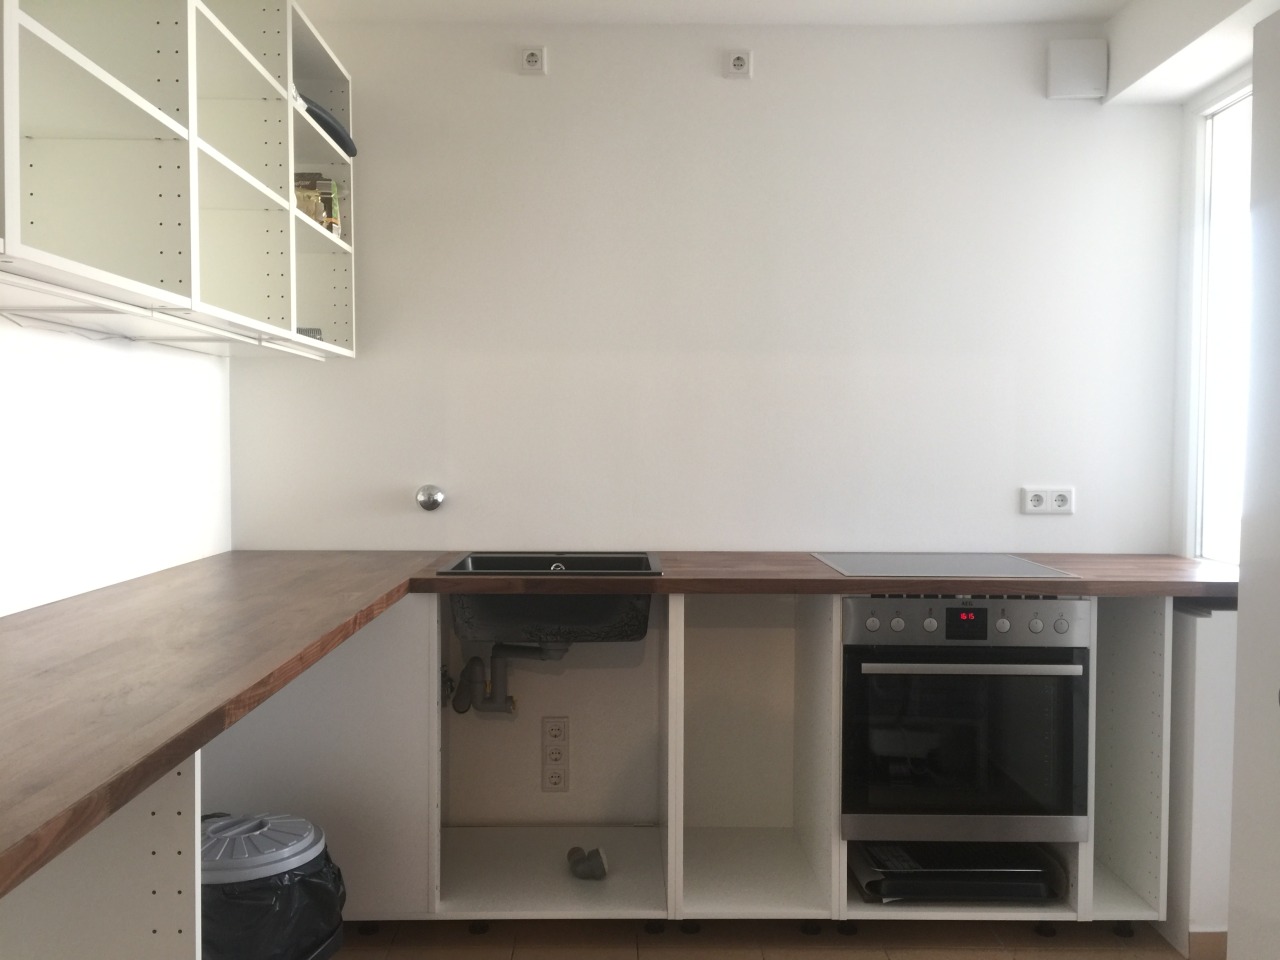
The moving-in is progressing, but it feels like a never ending story. The kitchen is driving me a little mad. Anyhow, here’s the latest visual update of that room:
This must be our most exhausting move, yet. Taking over a completely empty apartment, plus having a child to take care of, makes everything just take so much longer than we are used to. But don’t really want to complain: we had great helpers and managed to get everything done we wanted to get done yesterday! And while there’s still a lot to do, we’re very happy having finally moved in to our new home in the new neighbourhood.
But then again – speaking of complaining – I started having toothache this weekend, plus the big toe on my right foot is half numb. Thank you very much, but that’s not exactly what I need right now.
Exhausted!
Made some progress today: assembled some more cupboards, put the sink in place, had the oven installed, received the fridge, connected and screwed on some kitchen lights, hung lamps, did an assortment of little things, cleaned up the whole place. And currently still packing things at the current place.
So, tomorrow can come! We’re moving. We hope Zoe will be ok, spending most of the day without us.
So, tonight’s my first night at the new flat. Because the kitchen appliances will be delivered any time after 7am tomorrow morning, and I don’t want to get up even earlier and drive all across town to get here.
Den bereits gekauften Wasserhahn können wir nun nicht in unserer Küche anschließen. Wir brauchen eine Niederdruckarmatur. Sachen gibt’s.
My little Focal Length Equivalents tool now features “automatic dark mode” on supporting operating systems and browsers. Meaning, when you have your operating system set to prefer a “dark” styling – like macOS Mojave offers for example – and you are using a compatible browser, the page will show with a dark background and bright text. If your operating system is set to something else, it will show the default white background and black text.
Unlike for my blog, this solution uses CSS only. I simply put the required media query at the end of the CSS file(s) and by doing so, overwriting existing default colours with the ones used for dark mode.
/* AT THE END OF THE CSS FILE. DEFAULT STYLING ABOVE THIS MEDIA QUERY */
@media (prefers-color-scheme: dark) {
  body {
    color: #DDD;
    background-color: #222;
  }

  a { color: #88F; }
  a:visited { color: #AAF; }

  body > footer {
    border-top-color: white;
  }
  /* ETC ETC */
}
Overwriting the colours like this could become unmaintainable in a more complex setup, but for this little page, this works just fine.
This morning our neighbour knocked on our door and told us she just noticed that all the house’s cellars rooms were broken into. All locks were cut and the rooms have been rummaged through a bit.
From our room, not much was stolen – of all things, my used photo chemicals are no longer there (wtf?) – and that luckily seems to have been the case for all the other rooms, too.
Police was there to record the case and to see if they can find any identifiable traces.
Since I started bulk loading my own film, I’ve collected a few notes and tips on how to make it all work smoothly and consistently. Plus, I have some extra tips on using those rolls in a Leica M.
To understand these tips, you’ll already have to know how to operate your daylight film loader. If you don’t, here’s a video explaining it in great detail using a Watson loader, which is very similar to mine: How To: Bulk Loading Film.
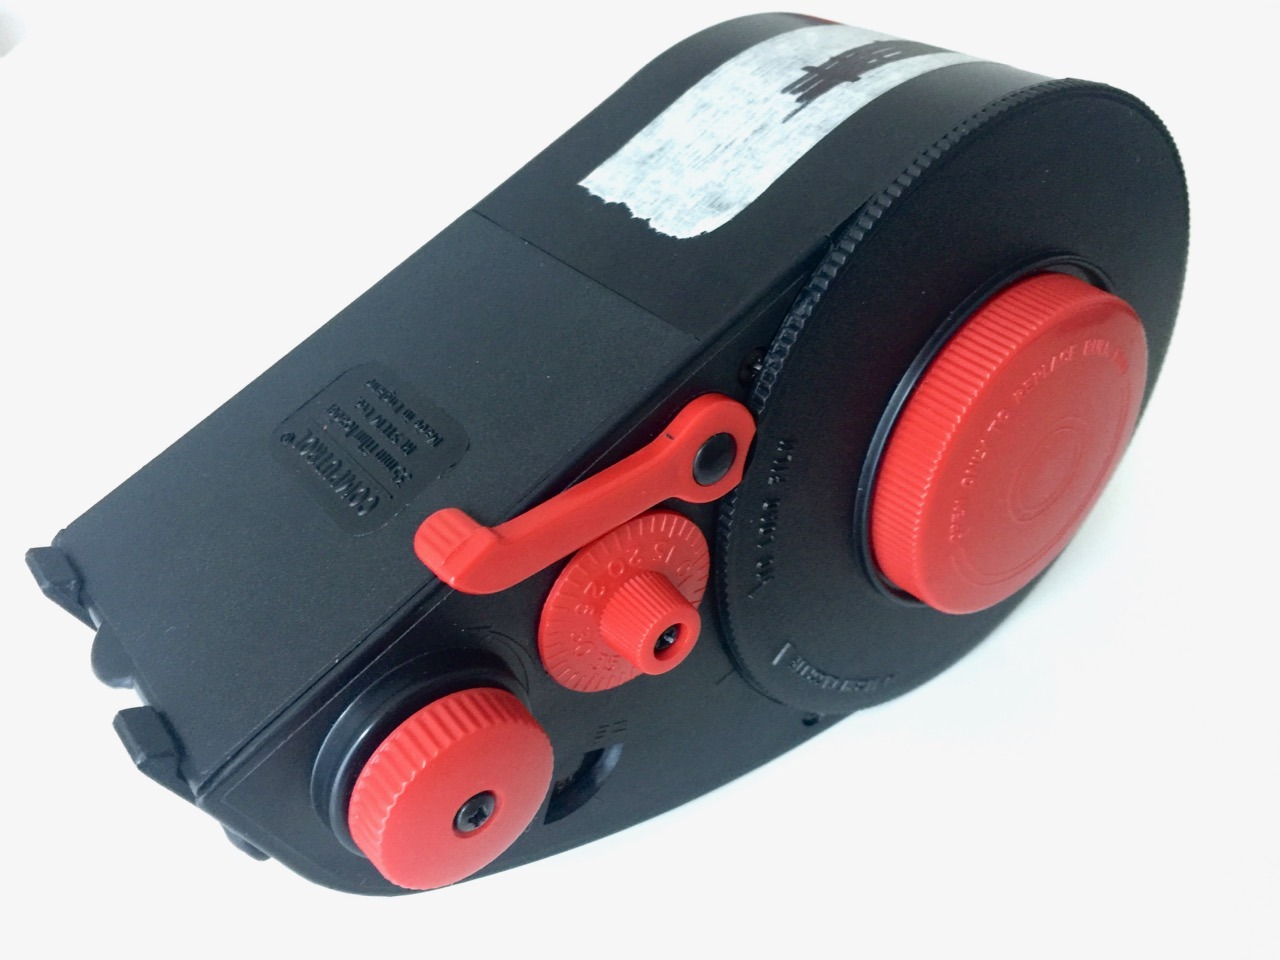
My Computrol bulk film loader
I’m using a Computrol 35mm bulk film loader. So that’s what these tips refer to. If you’re using a different style of loader, some might still apply, but some might not.
Let’s get started:
Canister loading tips
Currently, I’m using standard, already used 35mm film canisters and roll the bulk film onto them. For this, I tape the film from the bulk roll to the little bit remaining film that’s still attached to the canister. Here’s a video that shows how this works: Bulk Load Film Tutorial.
So, first some tips for inserting the film cassette and getting everything ready:
Make sure you tape on the film straight. Otherwise it won’t wind on nicely.
Before inserting it into the loader, manually wind in the taped part, so the Tesa/Scotch tape won’t get stuck on the outside of the canister once you start using the crank.
If you do run into problems winding on the film, don’t force it. It should work without much resistance. If that’s not the case, better start over.
Before starting to spool on, don’t forget to open the gate, so the film doesn’t get scratched and you can effortlessly turn the crank.
If you’re doing this for the first time – or haven’t done it for a while – load your film in a dim environment. Should you then have an accidental light leak, it won’t be as severe.
Winding tip: Load for one complete counter run
If you’re aiming for getting eighteen 36-exposure rolls out of your 30.5 meters (100 ft) of film, make sure you wind on a full counter run, which is 40 “clicks” or frames. So, before loading a new roll, I set my counter to “0” and wind on 40 clicks, until it’s back at “0” (which is equal to “40”).
The frame counter
With this method, I always get 18 rolls out of the 30.5 meters and each roll has at least 36 exposures on them. Plus, the counter is already reset for the next roll.
Canister unloading tips
When you wound on you film, it’s time to get the freshly loaded canister out of the loader.
Take out the spool before cutting it loose. This way it’s much easier to cut the film with scissors.
Cut the film relatively close to the canister. I usually cut after two sprockets. I found there’s already enough film in the canister for my 36+ exposures. No need to have even more on that roll. (Plus, then there’s already enough film sticking out of the loader for the next roll.)
Put some bright tape on the loader and use a pen to keep track of how many rolls you’ve already loaded. I found the built-in “meters/feet left” counter unreliable and tedious.
Tips for using bulk loaded film in a Leica M
When you shoot a bulk-loaded roll, you can’t simply shoot it until you can’t advance to the next frame any more. Because you would lose a frame or so at the end, since during the loading process both ends of the roll were exposed to light. So, you need to pay attention towards the end of the roll, to know when the film is full.
Here’s what I do to make sure I don’t lose any frames with my M:
Before inserting the film, make sure the shutter is cocked or has just been fired. That way, each time you wind on a fresh film, the travel will be the same for the first one to two advances.
Waste the first frame.
Start shooting at frame count “0”. (Now, to be 100% sure you get a full frame on this first shot, I’d waste one more and start at “1”.)
Shoot until and including frame “38”. Once the counter hits “39”, the film is full. (Sometimes that’s not the case and you get one more shot out of the roll, though. Which happens to me accidentally, when I don’t pay attention.)
Shooting my M4-2 from frame “0” to “38” indeed gives me 39 fully exposed frames most times. Occasionally, the first or last frame are incomplete. But it’s recently always been at least 38 frames.
Today, Zoe and I made a bike ride to a more far away playground. She likes playgrounds. And bike rides. Whenever she sees my bike, she wants to climb into her seat and put her little helmet on.
We had an enjoyable afternoon together.
Einfach mal auf’m Sofa eingepennt. Noch gerade rechtzeitig aufgewacht um ein paar Zeilen zu schreiben bevor der Tag zu Ende ist. Ziehe jetzt um ins Bett. Gute Nacht!
I’ve discovered bulk loading of film for myself. It’s like rolling your own cigarettes – but for film. I think. Because I never smoked.
Anyhow, I do it to save money. Others do it to be able to fill canisters with a different number of frames each roll. But I don’t do that.
Rolling your own is more time consuming than simply buying a pre-made 35mm canister. Plus you need to factor in the costs – albeit small – for the machine you need to be able to load the film in the first place. So, I would only recommend it to people who shoot film frequently.
But if you do, it’s well worth it. From where I buy, one roll of HP5 bulk-loaded is approximately €4 instead of €5.401 when bought standard. Furthermore I get to shoot cheaper films even cheaper. I recently shot a lot of APX 400. Bulk loading this brings its price per roll down from €4.50 to approximately €2.60. And that’s a nice price for a roll of a good black and white film.
A 10-pack of HP5 is currently €54.60. A 30.5 meter bulk film roll is ~€73, which I get 18 36-exposure films out of. ↩︎