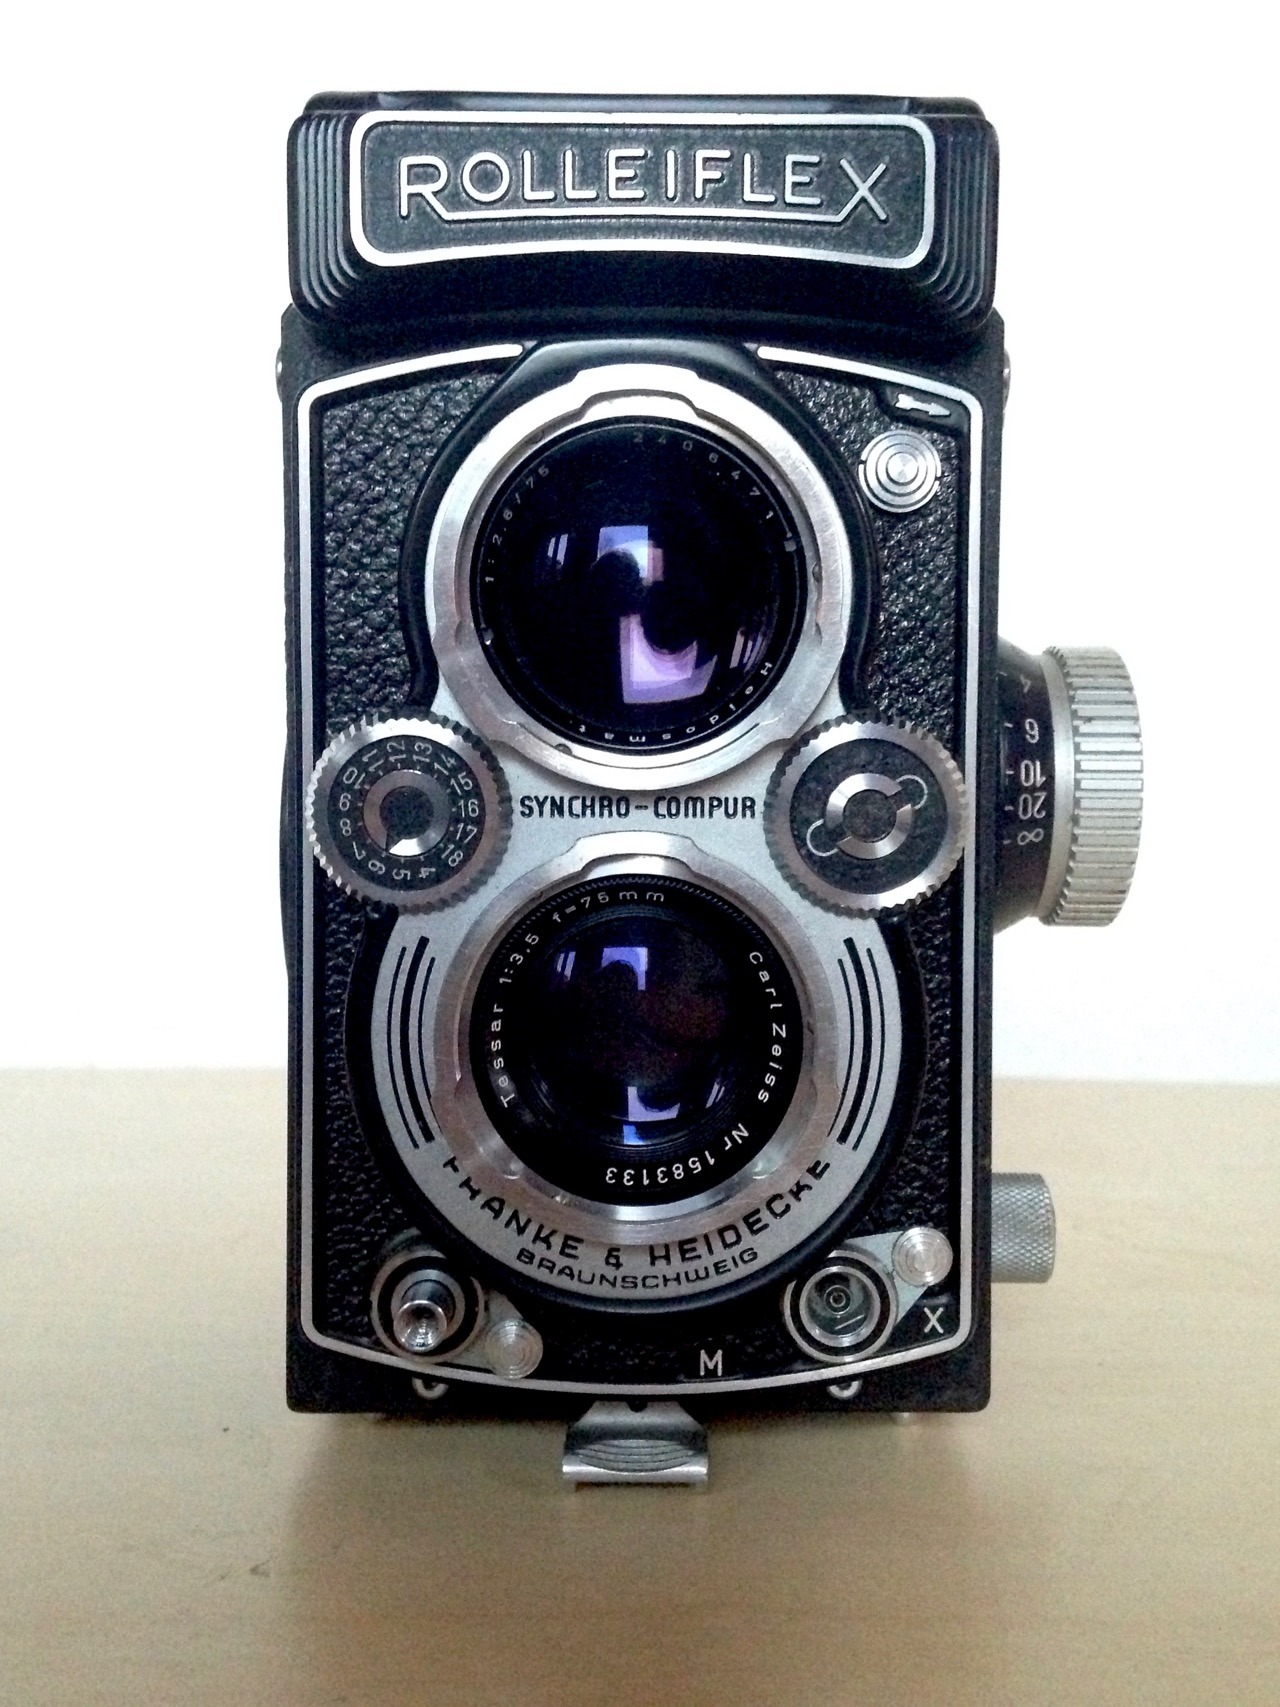
So, it was my birthday in March. And with a €100 voucher for Foto Leistenschneider, which Nicole gave me as a present, it was an easy choice what to spoil myself with this year: a beautiful Rolleiflex 3.5B (also called the MX-EVS).
Leistenschneider had a few used Rolleiflexes on sale and I eventually settled on the 3.5B for €270. This one has the 75mm f/3.5 Tessar lens.
I was enjoying my Lomo LubitelTLR very much, and I knew I wanted a TLR camera with a more high quality lens and easier operation eventually. And the Rolleis are just amazing for that. Apart from a little sticky shutter button, this one seems to work flawlessly. Not at all bad for a camera that is now 60 years old.
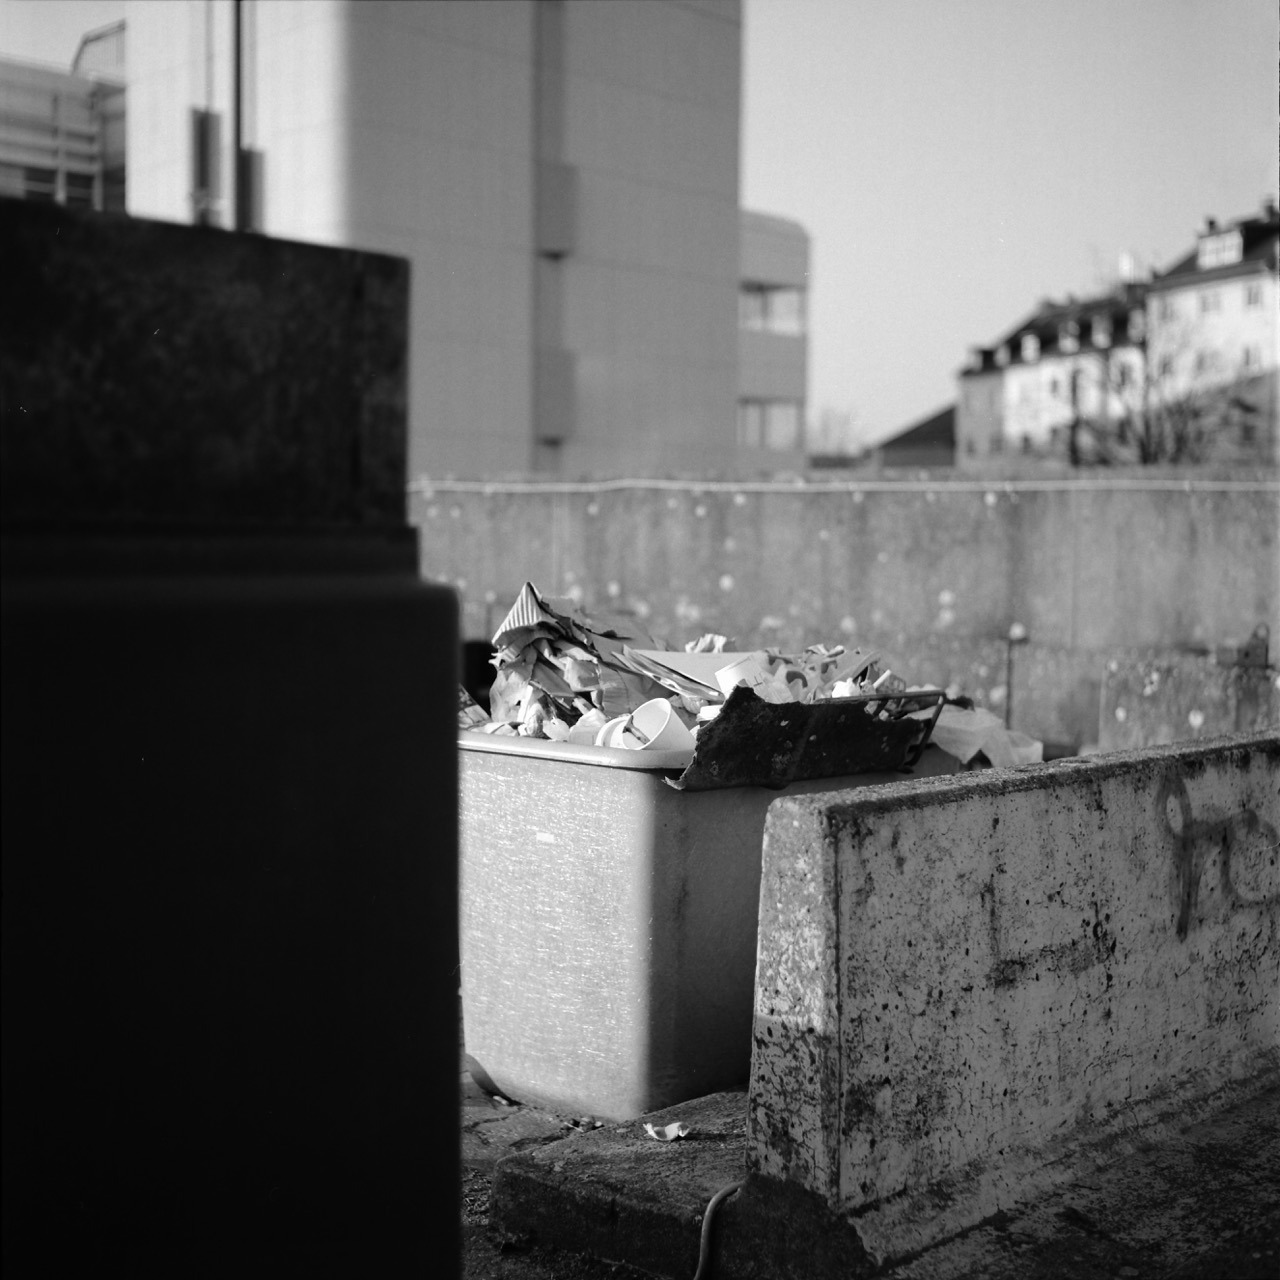
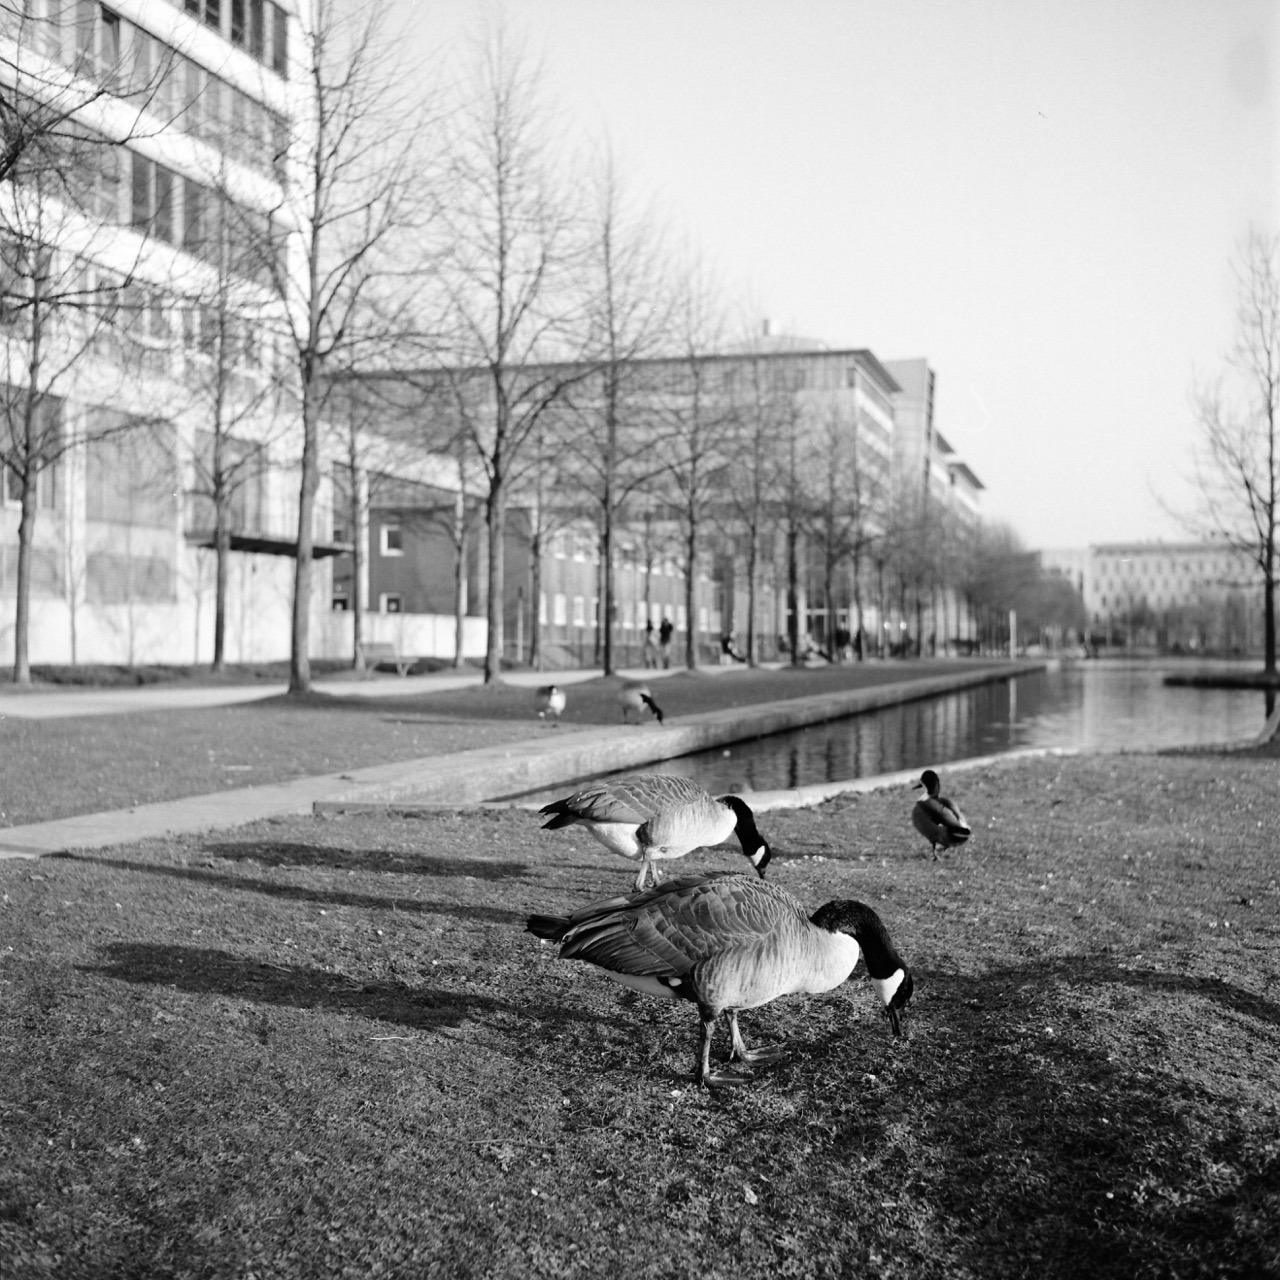
Of course, I immediately went out and shot a test roll with it. Here are a few shots from this test run. All shot on Fuji Acros 100 film, developed in 1+50 Rodinal, and scanned with the Canon CanoScan 9000F MKII.
Ok, holding this cam still with slow shutter speeds obviously isn’t something I’ve mastered, yet. But otherwise, it’s great fun to shoot! And certainly of a lot higher quality than the plastic Lomo Lubitel.
More Rolleiflex photos to come…
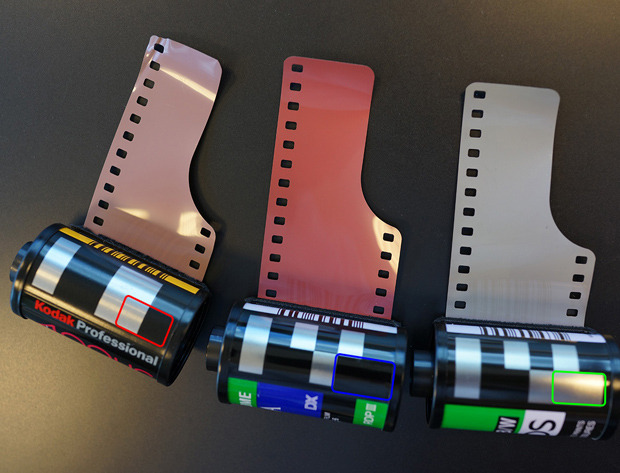
299/365: Am Sonntag war mal wieder Ratinger Fotobörse. Es war meine erste, und ich war ziemlich beeindruckt von der Menge und Qualität des Angebots. Habe auch direkt zugeschlagen und eine Rollei 35 S – so ziemlich die kompakteste Kleinbildkamera, die es gibt – und eine Lubitel 166 Universal - eine sehr günstige Lomo TLR-Kamera – gekauft.
As you may have noticed I have stopped posting new photos to my 365 day photo project. The reason is simple: the photos – and particular the one from Monday last week – are stuck on a film that’s still not full. I’ve loaded a new film last week Sunday evening, at the end of our 3rd hiking day. Unfortunately, I got sick during that night, unable to continue hiking the next day. Hence, I only took a few film shots the next morning instead of having had a whole day of shooting ahead of me. So, I returned home with 30+ photos still left on the film. And I haven’t yet managed to fill it up. Hopefully, I’ll manage to do so by the end of the week though, and then everything will be posted here in quick succession.
Just re-watched the excellent “Street Photography: Documenting the Human Condition”-documentary.
A good chat about film vs. digital and finding your own voice or style in photography.
A photo safari in London – this is Matt Stuart’s hunting ground. He prowls the streets of the British capital, stalking his prey, searching for the perfect moment. Senses on alert, he waits patiently, then emerges from undercover with his camera poised to shoot. He does not give up till he has bagged his prize – unique images full of colour, humour and the scent of the big city.
In the latest installment of the series, Dan K shares with us some technique tips that will help you find your way around the world of film photography.
Some great tips. This one regarding exposure is something I wasn’t so aware of, and probably explains why some of my recent film-photos not always turned out that great:
In practice, having lots of exposure latitude means you don’t need to be spot on with your exposure. As you over-expose, you will lose highlight detail. Conversely, as you under-expose, you may start to lose shadow detail. It’s best to get it right, but when I am working with high-latitude print film in a meterless camera, I tend to err on the side of over-exposure and give an extra stop of exposure for good measure. This is Old timers would say “Expose for the shadows”. In fact, you are supposed to be using something called “The Zone System” to balance shadows and highlights. Read up on it if you want to learn more. As a general rule of thumb, if the scene has a high dynamic range and your key subject is not the brightest part of the image, then expose to keep shadow detail. Let the emulsion’s greater over-exposure latitude handle the tricky highlights. This is the opposite of the way you’d do it with a digital camera, where you might try to avoid blowing out the highlights. Try it and once you have the hang of it, it will make a lot of sense.
Created by photographer Andrew Jamieson of Andy Creative, the video below shows his entire medium format process—from loading the film, to taking the picture, to developing the roll, to scanning in and post-processing the shots—in four mesmerizing minutes.
A great video indeed. And apart from the medium format film, this process is very familiar to me by now.
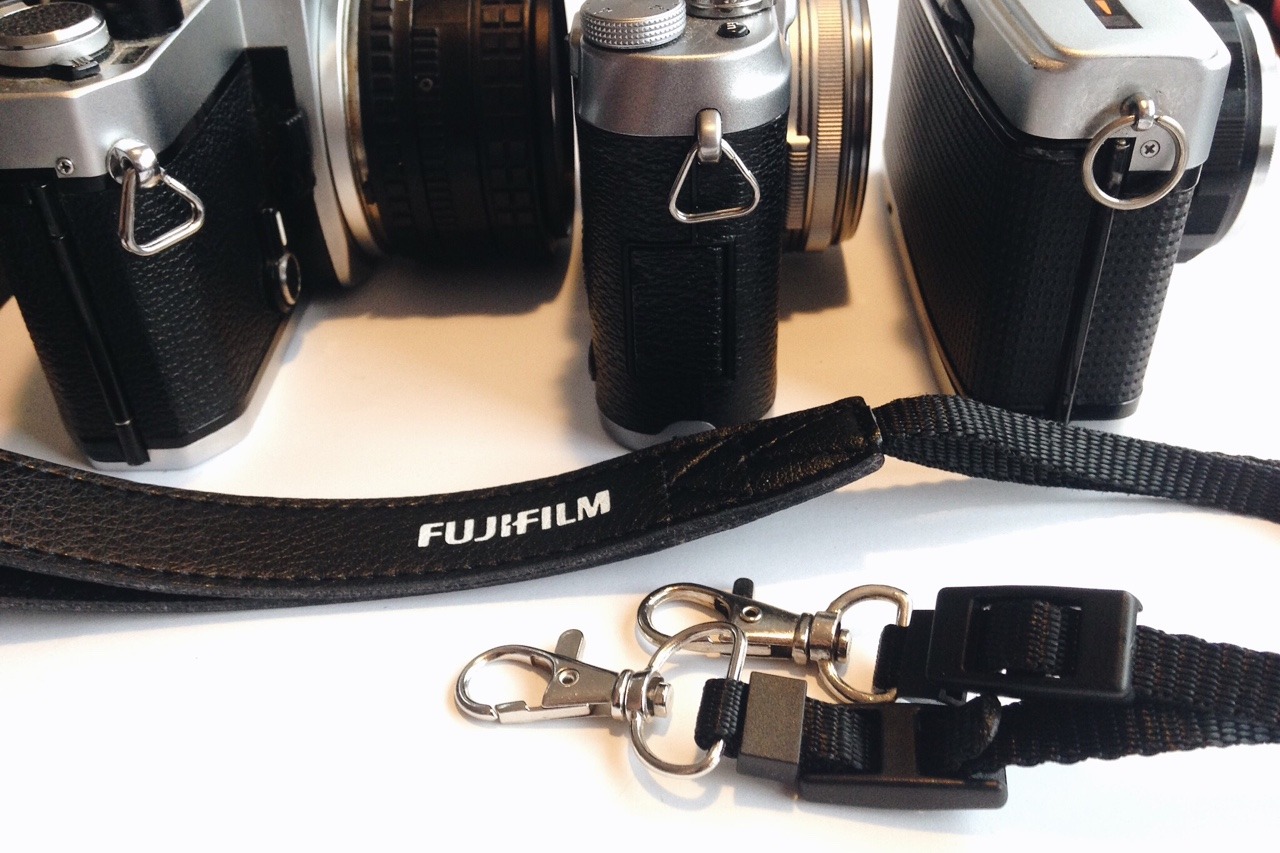
120/365: I put the clips of old conference-passes to good use today. I combined them with one of the camera-straps I had lying around and finally created a camera-carrying-system that easily attaches to every camera.
Jeff Keller’s photo editing software history seems to be pretty close to my experience. He’s not going to use the new Photos app:
Given everything that I’ve said above, you can probably tell that I’m not enthused about Photos. Not just because of the loss of features from Aperture, but also the software’s incredibly dumbed down interface, which feels a bit like someone stuffed an iPad into my MacBook Pro.
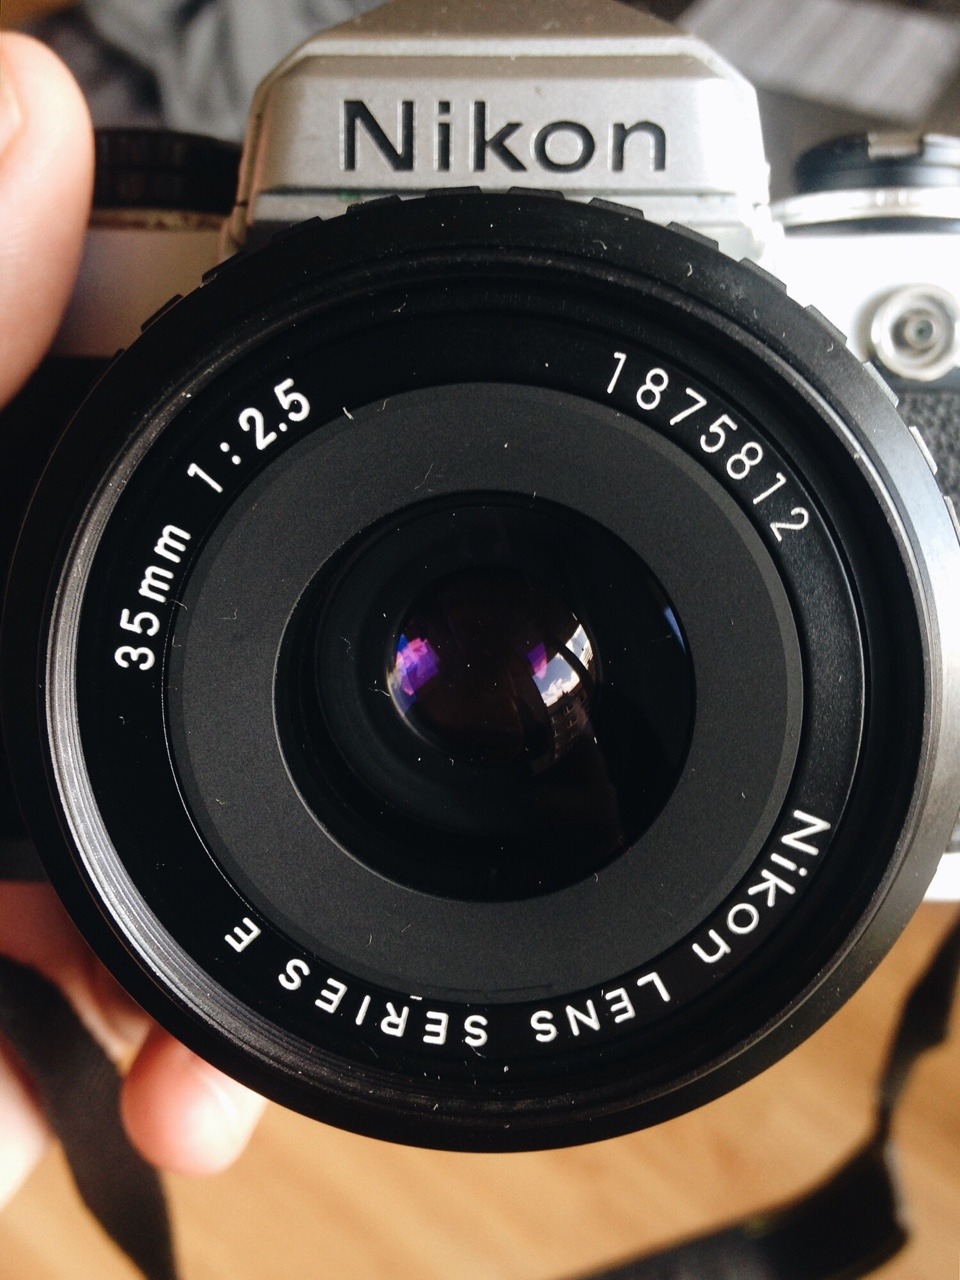
Hm… this lens was delivered yesterday. I’m worried I have GAS.